Evaluating the garden year

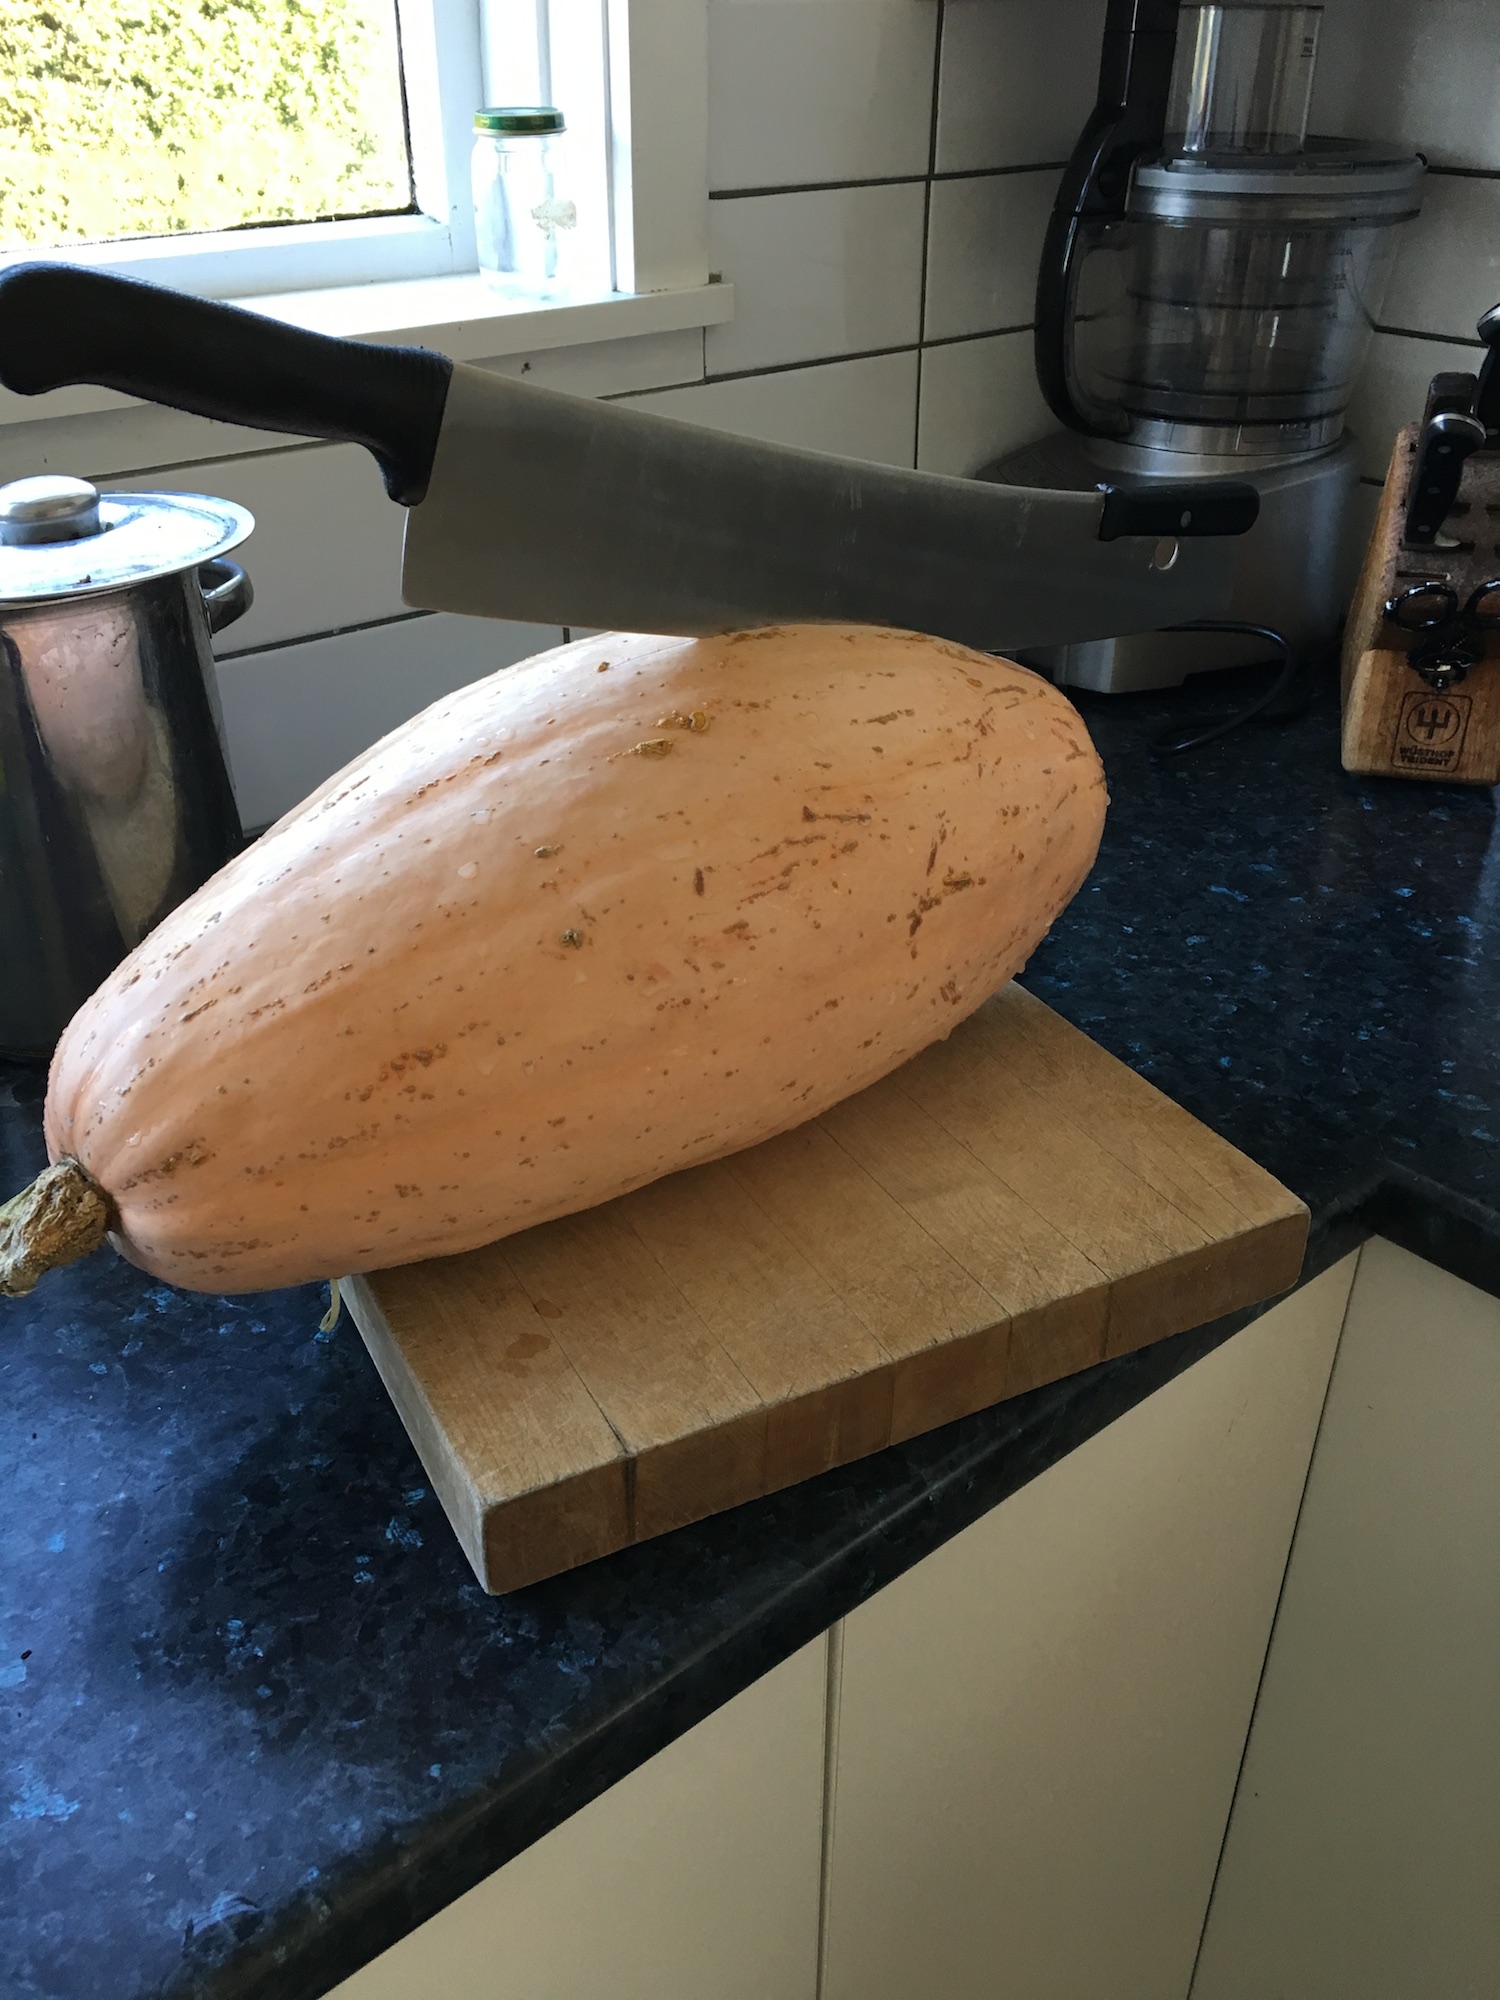
A jumbo pink banana squash--one of last year's winners.

A jumbo pink banana squash–one of last year’s winners.

The new seed catalogue will be out in a little over a week, so it’s time to consider which new plants did well and which didn’t last summer.

It’s difficult to really evaluate varieties I hadn’t tried before, because last summer was so devastatingly hot and dry, but I got a feel for them by how my tried and true varieties did.

Tomatoes were a bust—all varieties—it frosted extremely late, and then was just too dry. But I did find that one of the new varieties I tried—bloody butcher—was extra sensitive to the neighbour’s herbicide overspray. So that one’s off the list for next season.

Same went for the yard long red noodle beans—they didn’t recover from the overspray until March, and then it was just too late.

The blue corn was preferentially eaten by the rats, and none survived past seedling stage. Doesn’t mean I won’t try again next year, but I’ll need to protect it better.

Jumbo pink banana squash was a winner, though. Not only was it a spectacular plant in the garden (anything that can grow half a metre in one day has my vote), but the fruits were equally spectacular. They have good flavour and texture, too. The only real drawback is that it’s difficult to fit one in the oven, because they’re so big.

The purple carrot, pusa asita, was also a winner, though its germination was spotty, like all the purple carrots seem to be. The colour was worth it though, as the purple goes all the way to the centre.

And the fire candle radishes were fantastic—delicious, spicy, and slow to bolt.

I’m looking forward to the arrival of the new catalogue and the chance to try out some new varieties for the coming year!
Preserving the Harvest

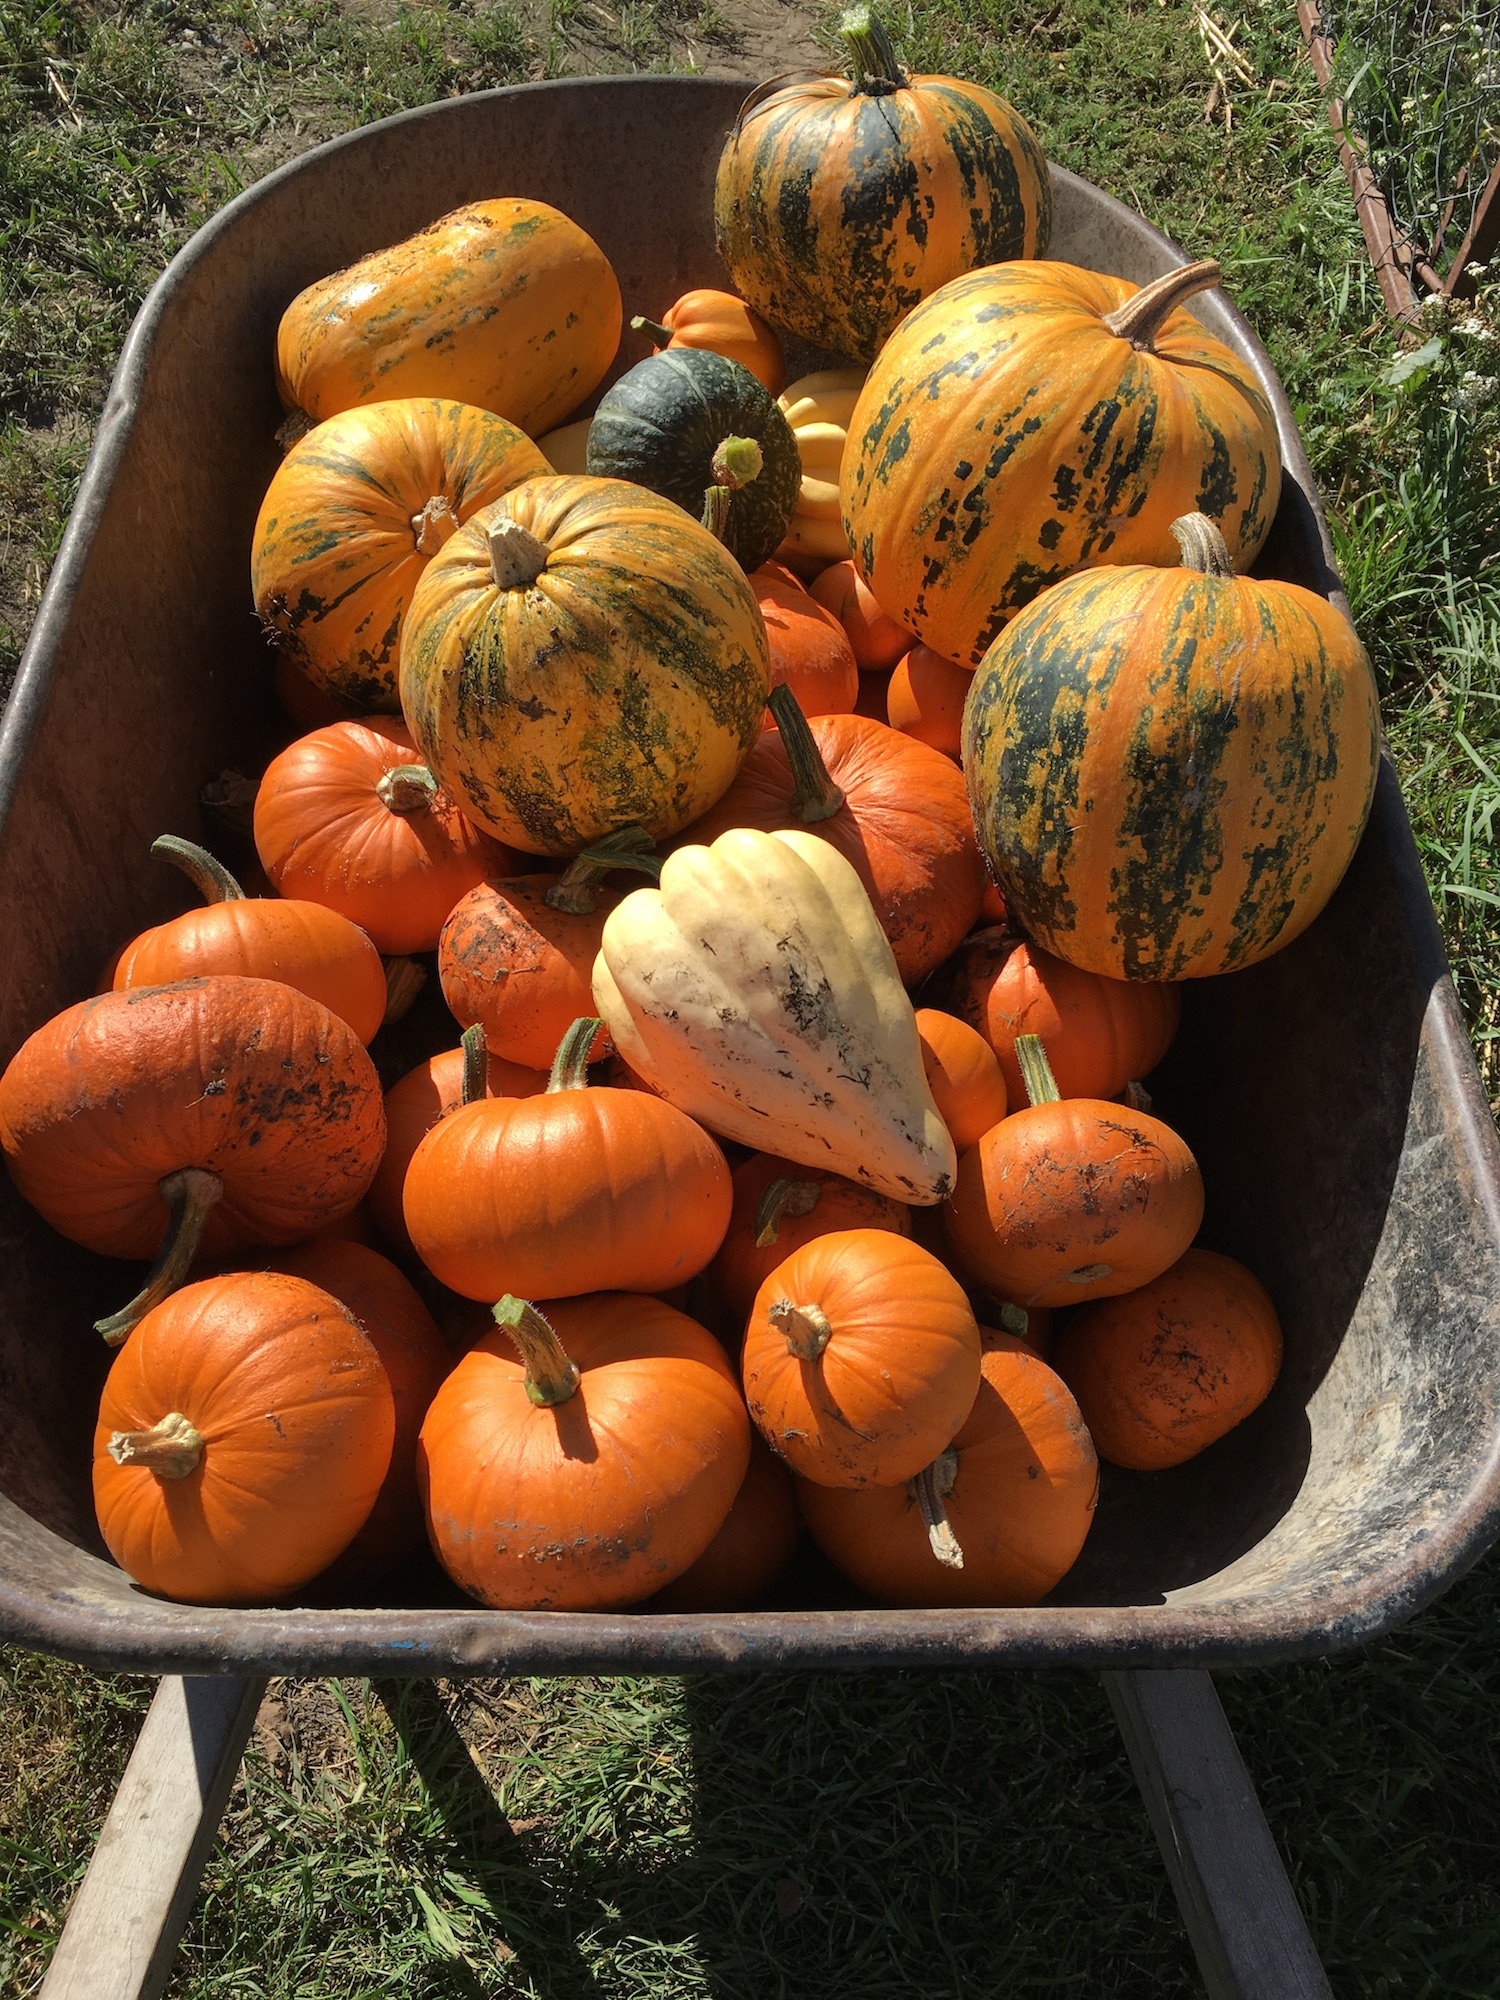
About a third of the harvest.

Gardening is a never-ending struggle against the elements.

Seeds must be stored cool and dry to maintain viability.

Then they need to be kept warm and moist in order to germinate.

But not too moist, or they’ll rot, or damp off once sprouted.

Then the plants need to be nurtured with just the right amounts of sun, shelter, water and nutrients so they will grow and produce. They need to be protected from pests.

With luck and hard work, the gardener can nurture the plants all the way to harvest.

But even once that produce is harvested, a gardener continues to fight—some foods can be canned, dried, or frozen so they keep longer, but others can’t. Or, maybe they can, but they’re better fresh. Or maybe there’s no room in the freezer for them.

It’s about now that these fresh foods begin to show their age.

Members of the onion family—shallots, onions, garlic—are stored as living bulbs. When the solstice is past, they want to grow, so they begin to sprout, even hanging in their riestras in the shed or the kitchen.

Then there are the pumpkins. In theory, some can keep for up to six months or more after harvest. That is, in ideal conditions—cool and dry, sitting on dry straw and not touching one another. I don’t have ideal conditions, nor the space to spread out my pumpkins. They hang in mesh sacks from the rafters of the cool, but damp shed—the only way to protect them from the rats.

Three months from harvest, the first pumpkins are beginning to rot. I discovered them today when I selected pumpkins for a galette for dinner.

Now comes the race to bake as many pumpkins as possible and freeze their pureed flesh before they go bad, and before the freezer is full.

I can fit about eight pumpkins at a time in the oven, unless they are jumbo pink banana squash or musquee de Provence, which only fit one at a time . There are sixty-six pumpkins left in the shed. That’s a lot of baking!

Pear Compote

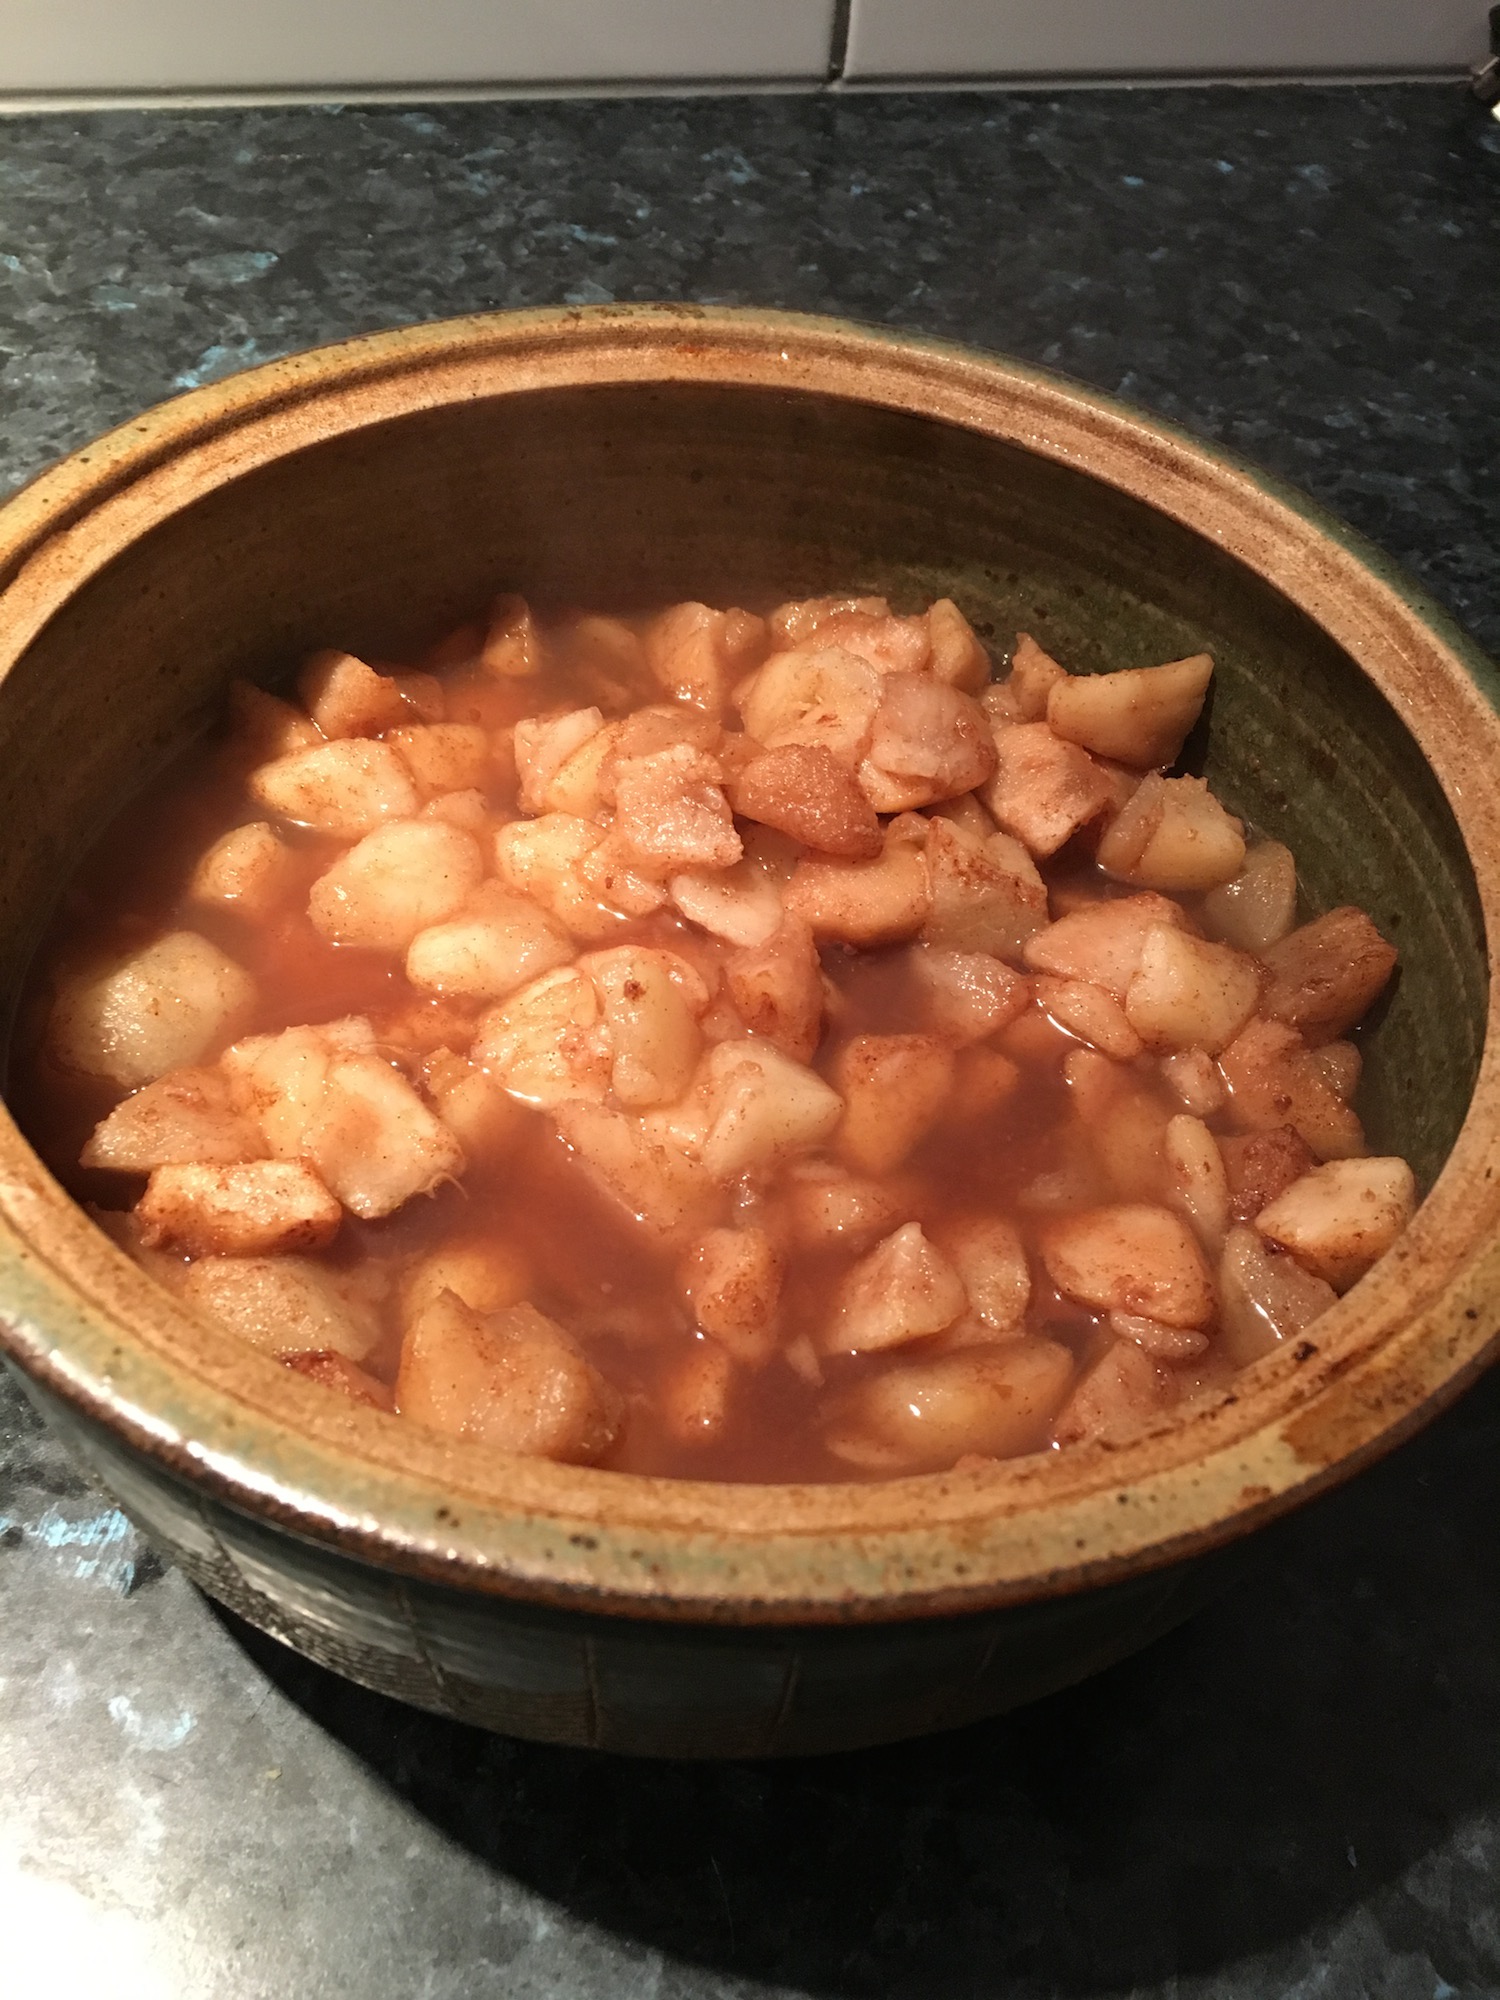
2016-06-14 18.46.11 smMy husband brought home a bag of pears yesterday. They were dead ripe, and there was no way we were going to be able to eat them all before they went bad.

I filled a casserole dish with peeled and cubed pear, added a few tablespoons of honey and a similar quantity of lemon juice, sprinkled it generously with cinnamon, and baked it for 45 minutes at 190°C (375°F).

The result was intense and lovely. We had it warm with whipped cream after dinner, but there’s plenty left over. I’m thinking it will be perfect on my granola in the morning…

The Care and Feeding of a Cookie Jar

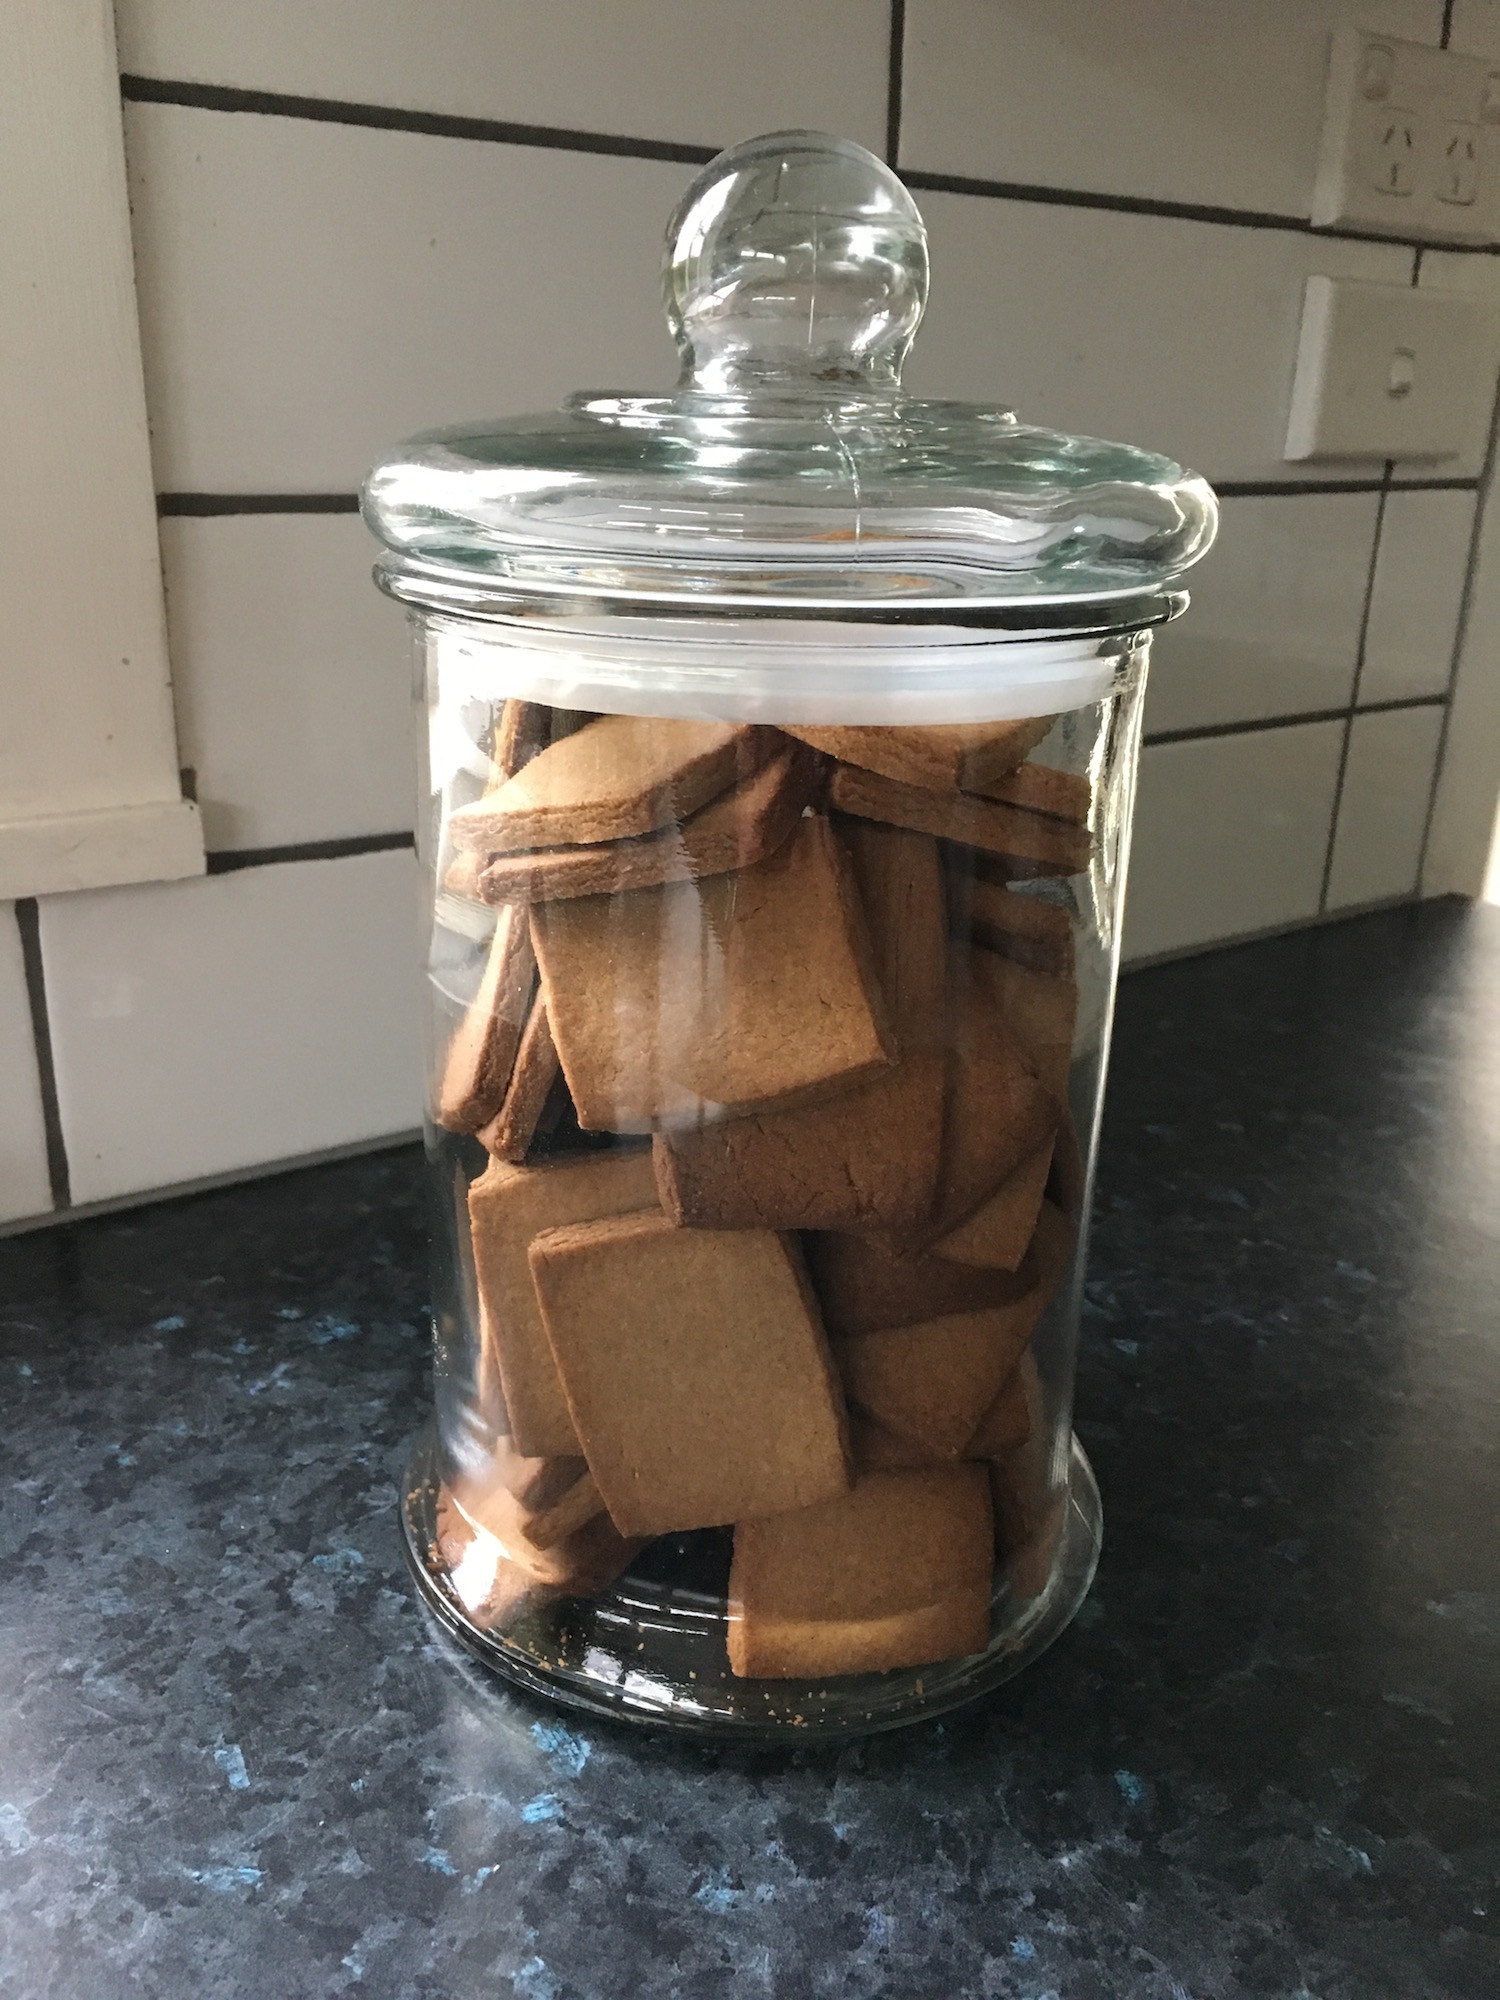
2016-06-12 11.06.35 smThe role of a cookie jar is to be full.

I didn’t fully understand this until I bought a cookie jar for my husband for Christmas. I didn’t realise the responsibility I was taking on with cookie jar ownership.

As with any pet, the cookie jar requires care and feeding. You can’t leave it sitting empty on the kitchen benchtop. It looks at you with those great big eyes, begging for some biscotti or a few macaroons. Maybe some chocolate chip cookies? You might be able to ignore it for a while, but that empty jar will sidle into your field of view, whimper a bit, and rattle its lid.

Next thing you know, there is butter, flour and sugar all over the kitchen. The air smells of cinnamon and cloves. Kids are hanging around waiting for a bowl to lick clean.

An hour later, you glance at the clock and realise it’s time to start cooking dinner, but you have no idea what you’re going to make. But the cookie jar is full, so everything is alright.

Don’t be George Bush: Eat Broccoli

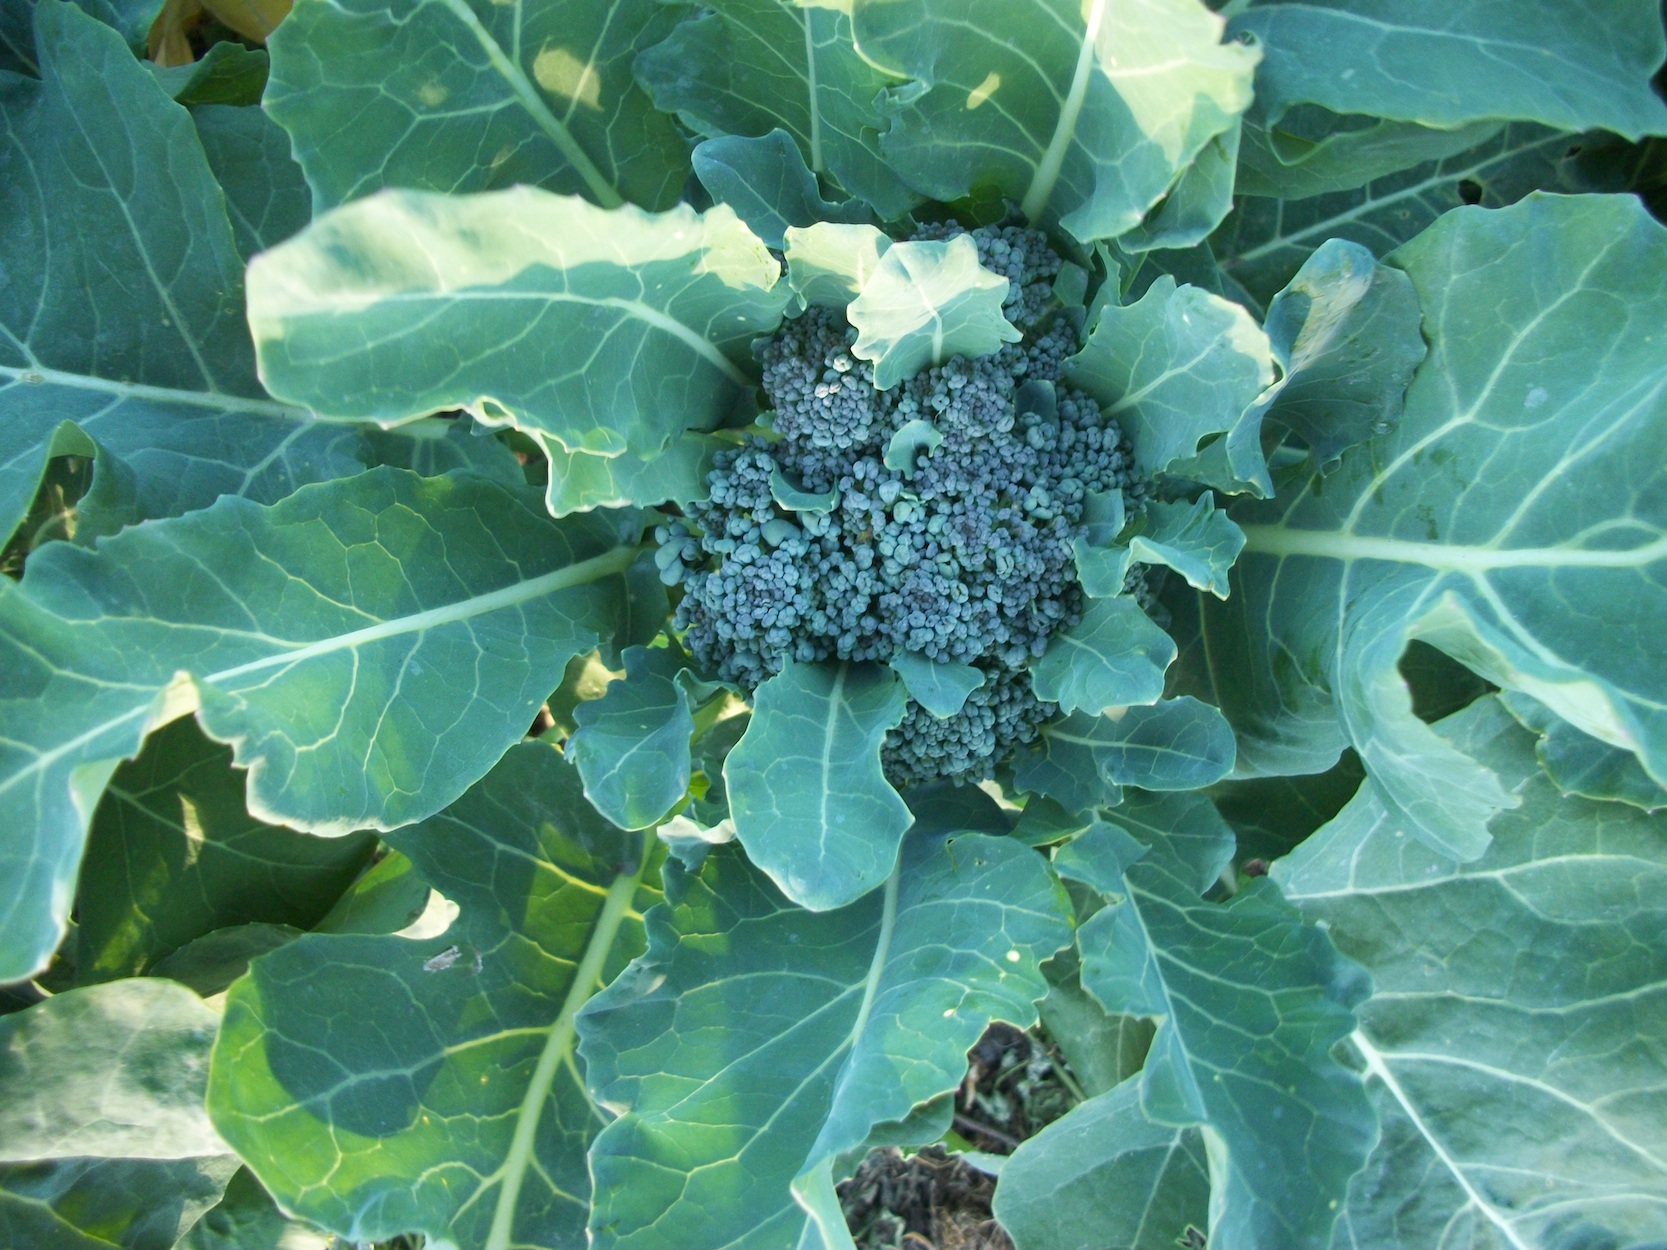
100_4038 smAs the cooler weather finally hits, we slip into winter eating. That means the stored foods like pumpkins and potatoes, but it also means the cool-weather crops, like broccoli.

Broccoli gets a bad rap, and anyone who has ever eaten overcooked, mushy broccoli has my sympathy. But it’s worth giving broccoli a second chance, even if your first experiences with it were less than delicious. Because it can be grown year-round here, it is a staple in our diet.

Broccoli can be good raw, lightly cooked, or well cooked—it’s all a matter of choosing the right level of cooking for the dish. Here are some diverse and delicious ways to eat this maligned vegetable:

Add raw or very lightly steamed broccoli to a green salad.

Dip raw broccoli florets in your favourite cheese dip.

Lightly steam long broccoli spears and serve with butter, salt, and a squeeze of fresh lemon.

Add chopped broccoli to pizza or pasta sauce, or layer it into a potato gratin.

If you’re feeling adventuresome, make a broccoli soufflé—the broccoli, cheese, and egg combination is delicious.

Marinate and grill long broccoli spears.

Roast broccoli florets along with other vegetables in the oven.

Fabulous Fennel

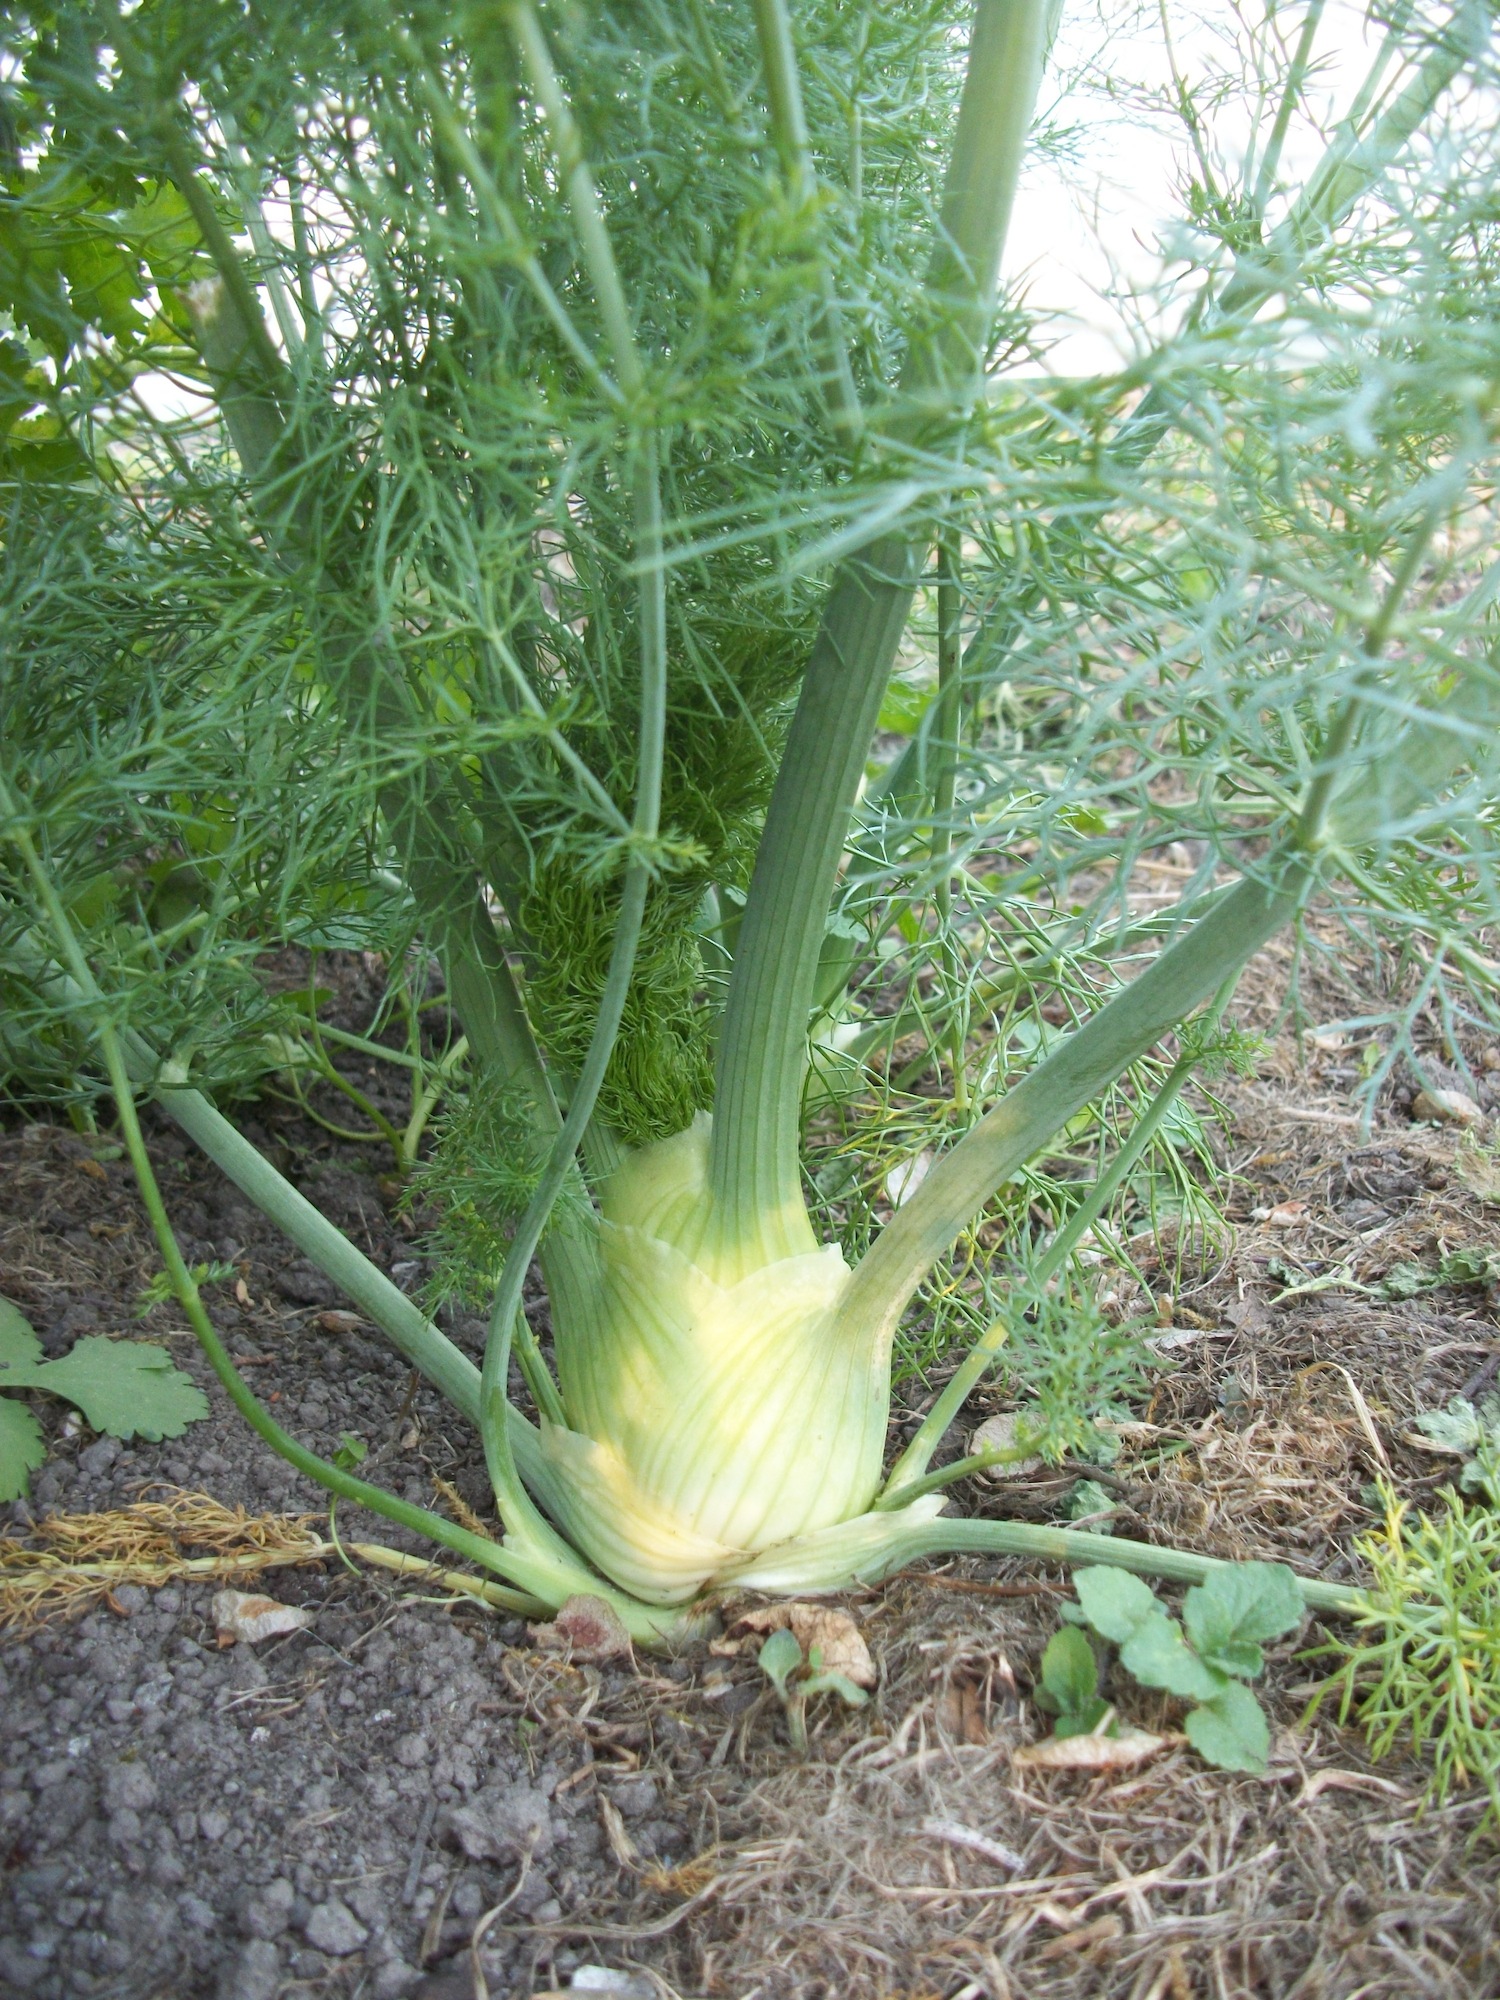
100_4031 smThere’s not a lot coming out of the garden at the moment. The summer crops are pretty well finished (though we’re still scrounging the odd pepper or eggplant from the tunnel house), and the winter crops barely had a chance, with the hot dry weather we’ve had until last week. But among the few crops that are available right now is fennel.

This little-used vegetable is versatile and delicious in the kitchen, and attractive and useful in the garden. Leaves, seeds, and bulb are all edible.

Fennel grows year-round here, though the cooler months are when we appreciate it most. I plant it in both spring and autumn, but it seeds in readily, and we eat as many volunteer fennel as we do planted ones.

Fennel has a mild anise flavour that goes well with many other vegetables. When raw, the flavour is refreshing and numbing.

Raw fennel, sliced thin, makes a crisp and refreshing addition to salads. Or it can make a salad all on its own.

It can be braised and eaten as a side dish, or chopped and added to stews or casseroles. It goes particularly well with potatoes in a cheesy gratin, and makes a delightful risotto.

Fennel leaves can be added to salads and stews, even if the bulbs aren’t ready to harvest.

The ground seeds make a zesty addition to burgers, chai, and cookies, too! Or just crunch a few between your teeth after a meal to sweeten your breath.

In the garden, fennel’s big yellow flower heads attract all sorts of beneficial insects that help keep pests in check, and when the plants get too big and rangy, I can feed them to the goats, who love fennel as much as I do.

Corn Chips

2016-05-29 17.58.56Usually, when I want tortilla chips, I first make tortillas, then cut them into wedges, brush them with oil and bake them. It makes absolutely divine chips, but it’s rather labour intensive.

Last night my husband made a vat of chilli for dinner, and I gave in to my craving for chips. Instead of the usual tortilla chips, I made these simple corn chips. They take almost no time to mix up, and are quite good, though fragile. There wasn’t a single crumb left by the time the meal was over.

1 cup cornmeal

2/3 cup all-purpose flour

1 tsp salt

1 tsp baking powder

2 T dry milk powder

½ cup water

¼ cup vegetable oil

Combine the dry ingredients. Add the water and oil, and mix well.

Grease two large baking sheets. Divide the dough in two, and roll each half out quite thin (about 2mm) directly onto the sheet. The dough will be very oily, but you may need to dust your rolling pin with flour to keep it from sticking. Cut into triangles.

Bake on fan bake for 12-15 minutes at 175°C. Remove from the pan when they are browned, and cool completely on a wire rack.

If you’re a fan of flavoured chips, you might add paprika, smoked paprika, chilli powder, or finely grated parmesan cheese to these chips.

Don’t try to use these in nachos—because they are baked, they turn to mush when smothered in toppings.

Pumpkin Pie for Breakfast?

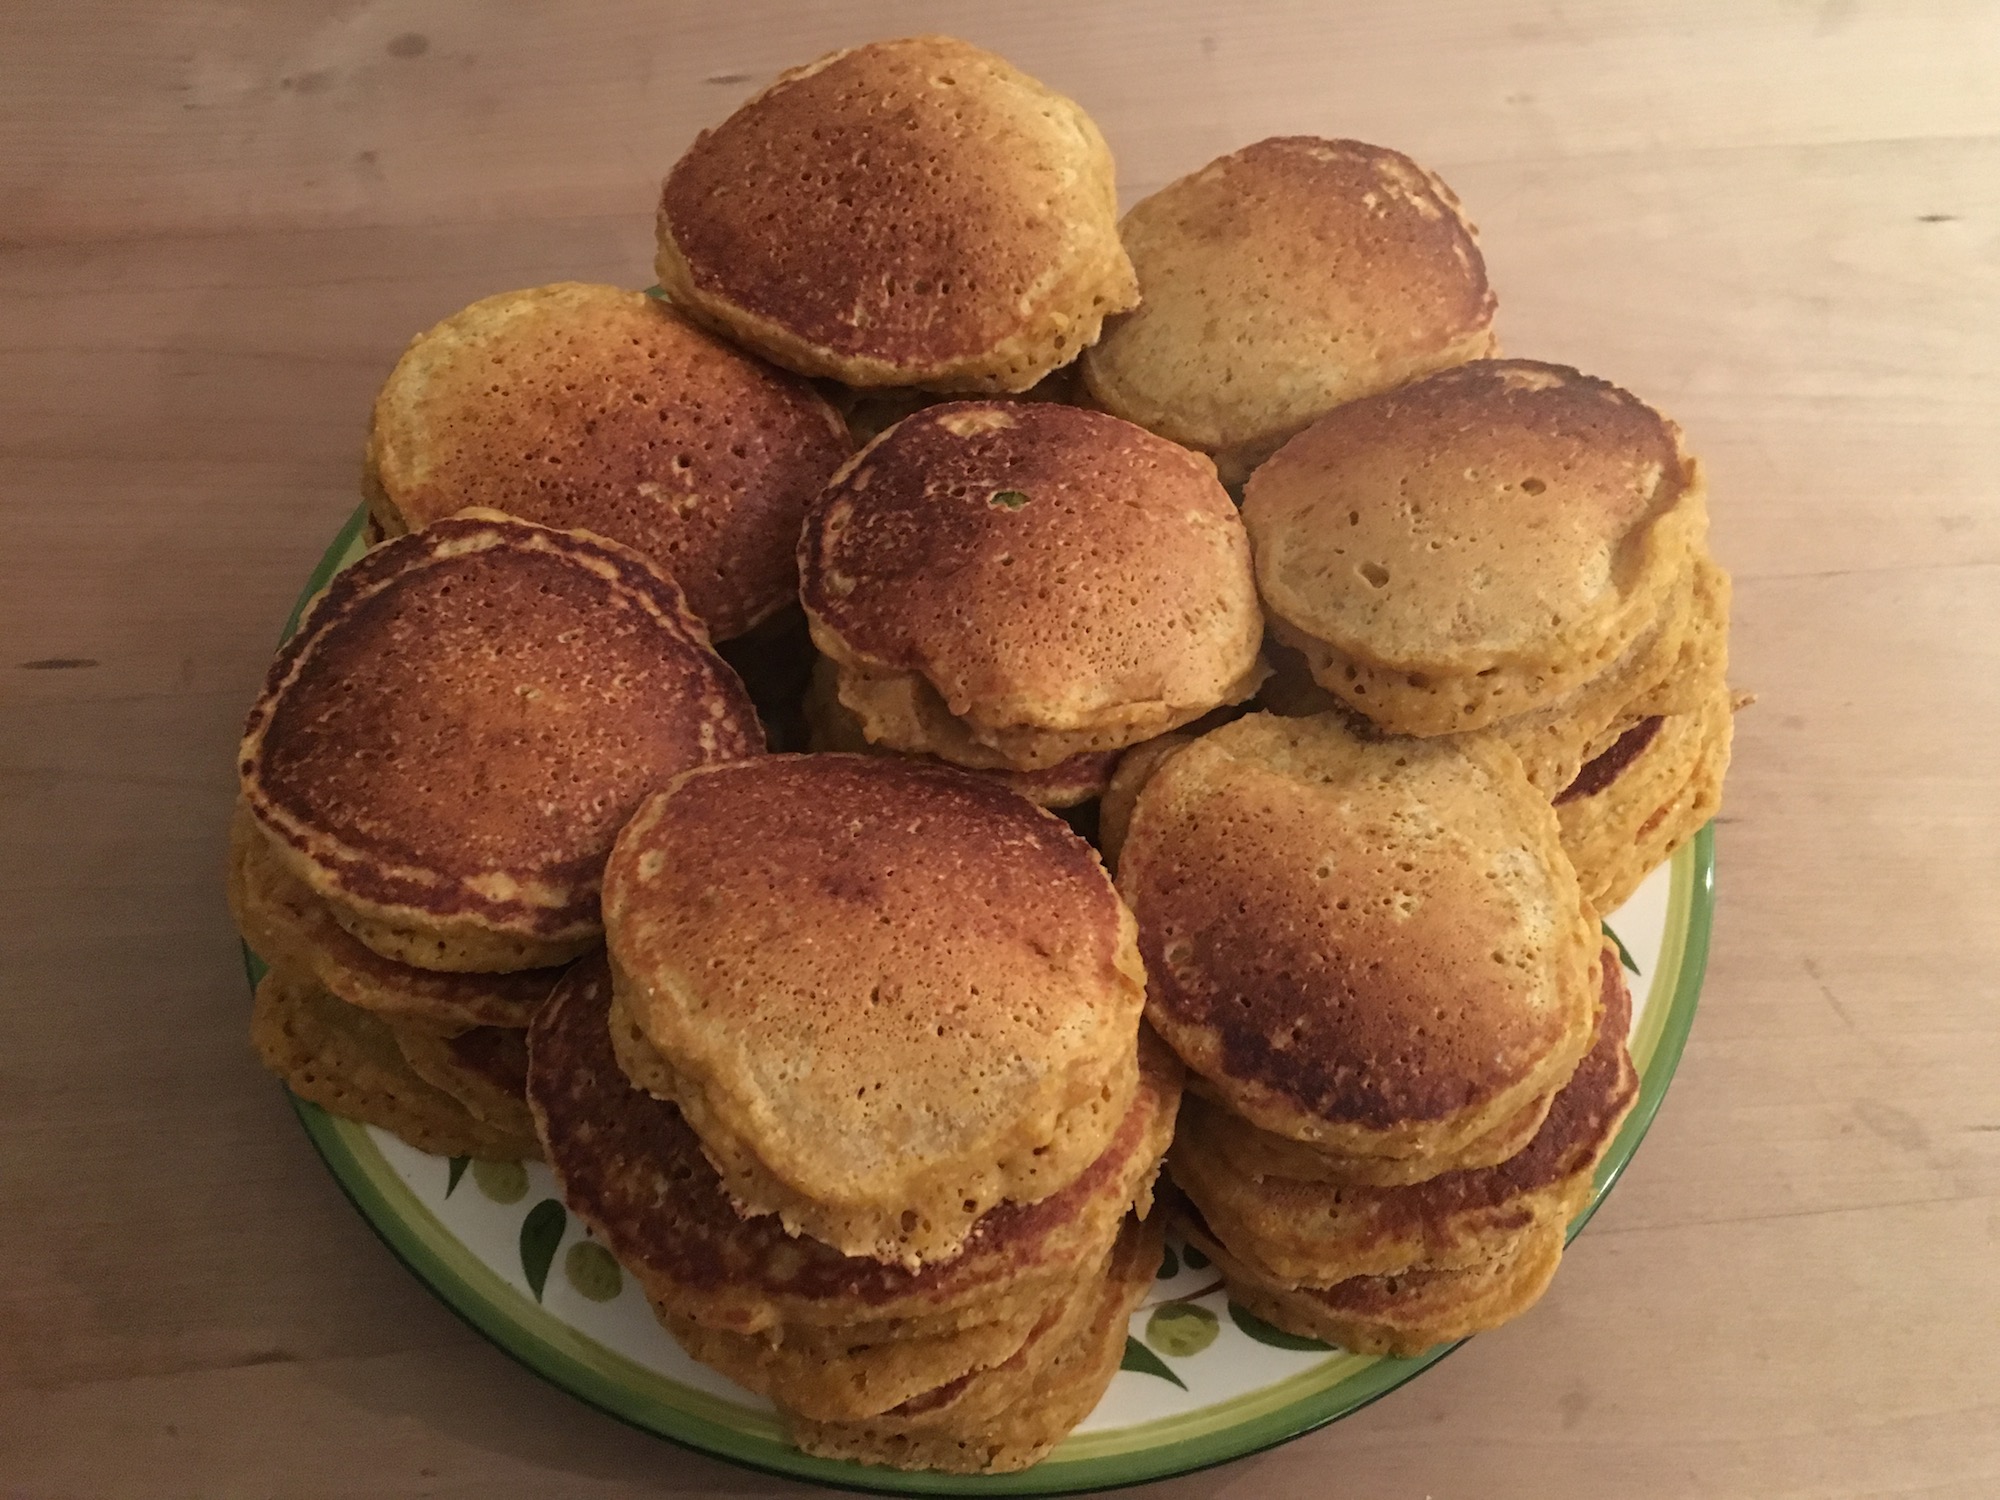
2016-05-29 07.08.49 smI made a variation on my standard pancake recipe this morning—pumpkin pancakes.

They were good—moist and heavier than plain pancakes. A bit like eating pumpkin pie for breakfast. Mmmmm! This recipe makes a huge stack of pancakes—enjoy!

1 cup all-purpose flour

1 cup whole wheat flour

1 cup cornmeal

3/8 cup sugar

3 ½ tsp baking powder

1 tsp salt

1 tsp cinnamon

½ tsp cloves

½ tsp ginger

3 eggs

2 cups cooked, pureed pumpkin flesh

2 cups milk

6 Tbsp butter, melted

Combine flours, cornmeal, sugar, baking powder, salt, and spices in a medium bowl. Whisk together eggs, pumpkin, milk and melted butter in a large bowl. Add the dry ingredients to the wet, and stir just until combined. You may need to add more milk to get the right consistency if your pumpkin is particularly dry (mine was, and I added another ¼ cup).

Fry on a preheated griddle or frying pan, as for normal pancakes.


A Five-Alarm Waffle

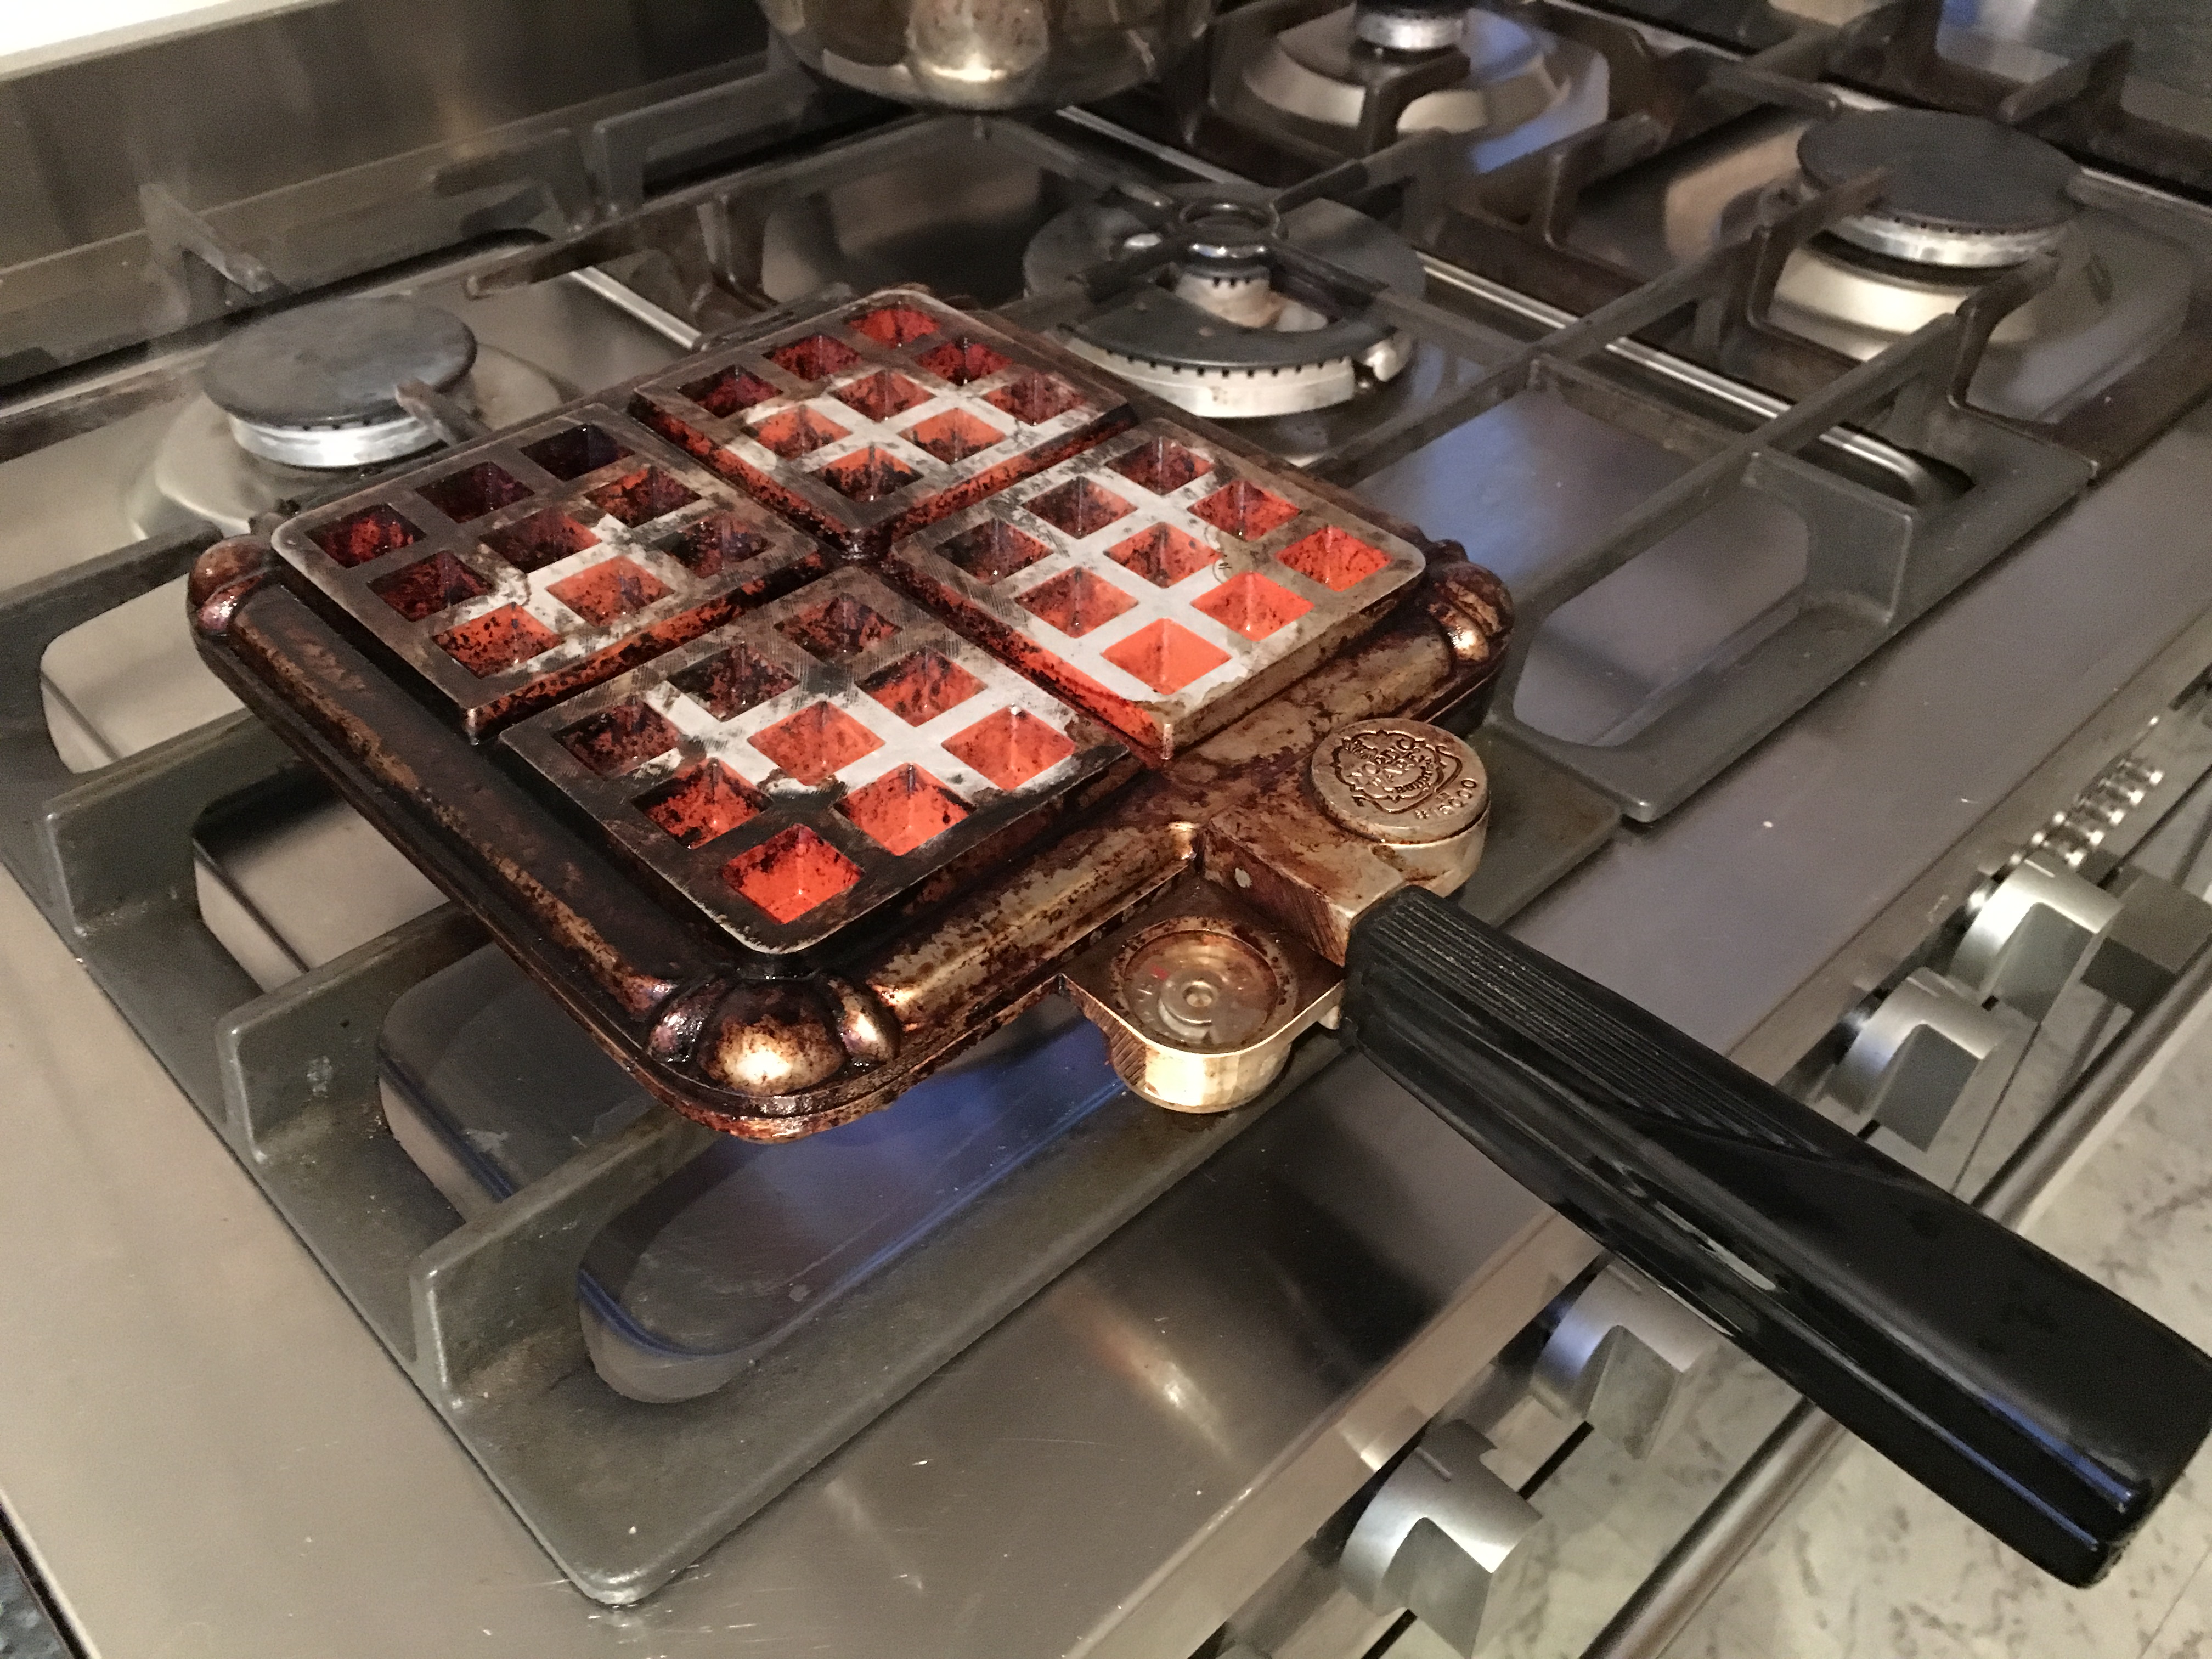
2016-05-15 07.33.29We love waffles at our house, but I make them only occasionally. There are two reasons for this—I don’t get to eat breakfast with everyone else when I make waffles, as I’m stuck tending the iron, and waffles have a tendency to set off the smoke alarms.

A well-seasoned waffle iron is…frankly, disgusting. It’s covered in a perfect layer of burnt butter. Unfortunately, that butter smokes every time you use the iron.

Even if I turn the extractor fan on, the smoke alarms go off.

So I’ve learned I can only make waffles on days it will be warm enough to open all the windows at 6.30 am. A good breeze blowing through clears the smoke and prevents the alarms from going off.

That usually means waffles only in summer, but since it’s been unusually warm, I decided to make pumpkin spice waffles on Sunday.

The morning was warm, so I opened the windows and turned on the extractor fan.

But the air was so still, the smoke hung indoors.

My son wasn’t yet out of bed when the alarms went off…

Well, no one was late for breakfast, at least.

Here’s a double recipe, so you’ll have waffles left over for breakfasts all week.

2 cups all purpose flour

1 ½ cups whole wheat flour

4 tsp baking powder

1 tsp salt

2 tsp ground ginger

2 tsp ground cinnamon

½ tsp ground nutmeg

¼ tsp ground cloves

2 cups cooked, mashed pumpkin

4 large eggs, separated

1/3 cup packed brown sugar

2 ½ cups milk

200g butter, melted

Combine all the dry ingredients in a large bowl. In a separate bowl, whisk together the pumpkin, egg yolks, and brown sugar. Add the milk and whisk until the sugar dissolves. Gradually whisk in the butter.

Pour the liquid ingredients into the dry and mix just until all the flour is moistened.

In a medium bowl, whisk the egg whites until they hold soft peaks. Fold the egg whites into the batter.

This batter is thick, and you will need to spread it with a spatula to get it evenly spread in the waffle iron.

Try them with warm applesauce!

Saturday Stories: 2016 World Pea Shelling Championship

100_4237 smAaaannnnnd they’re off!

The contestants are off to a quick start! Jill takes the early lead, with three pods shelled, to Carla’s two. Kelly seems to have pulled a difficult one for her first—bad luck there, as she’s fallen behind.

For those of you who might be new to competitive pea shelling, these ladies are using Greenfeast peas—the only variety allowed in international competition. To attain the skill required to compete on this level, these women have been training eight to ten hours a day for the past six months. They’ve worked hard, and it all comes down to this moment.

And their intense training has paid off. These ladies know what they’re doing! And now Kelly has caught up to Carla. They’re running neck and neck for second place. Jill is still out in front, just finishing her sixty-third pod. But, OH! She’s dropped one! That’ll cost her!

Jill has suffered a number of setbacks this season. A touch of arthritis kept her out of the Iowa Open this year. Let’s see if she can come back from that fumble.

Oh! She might not get the chance! Kelly’s racing up from behind! She’s passed Carla, passed Jill. She’s going for the finish! Ninety-nine, one hundred!

Kelly! Champion of the World Pea Shelling Competition!