Leftover Soup

There could be anything in here...

There could be anything in here…

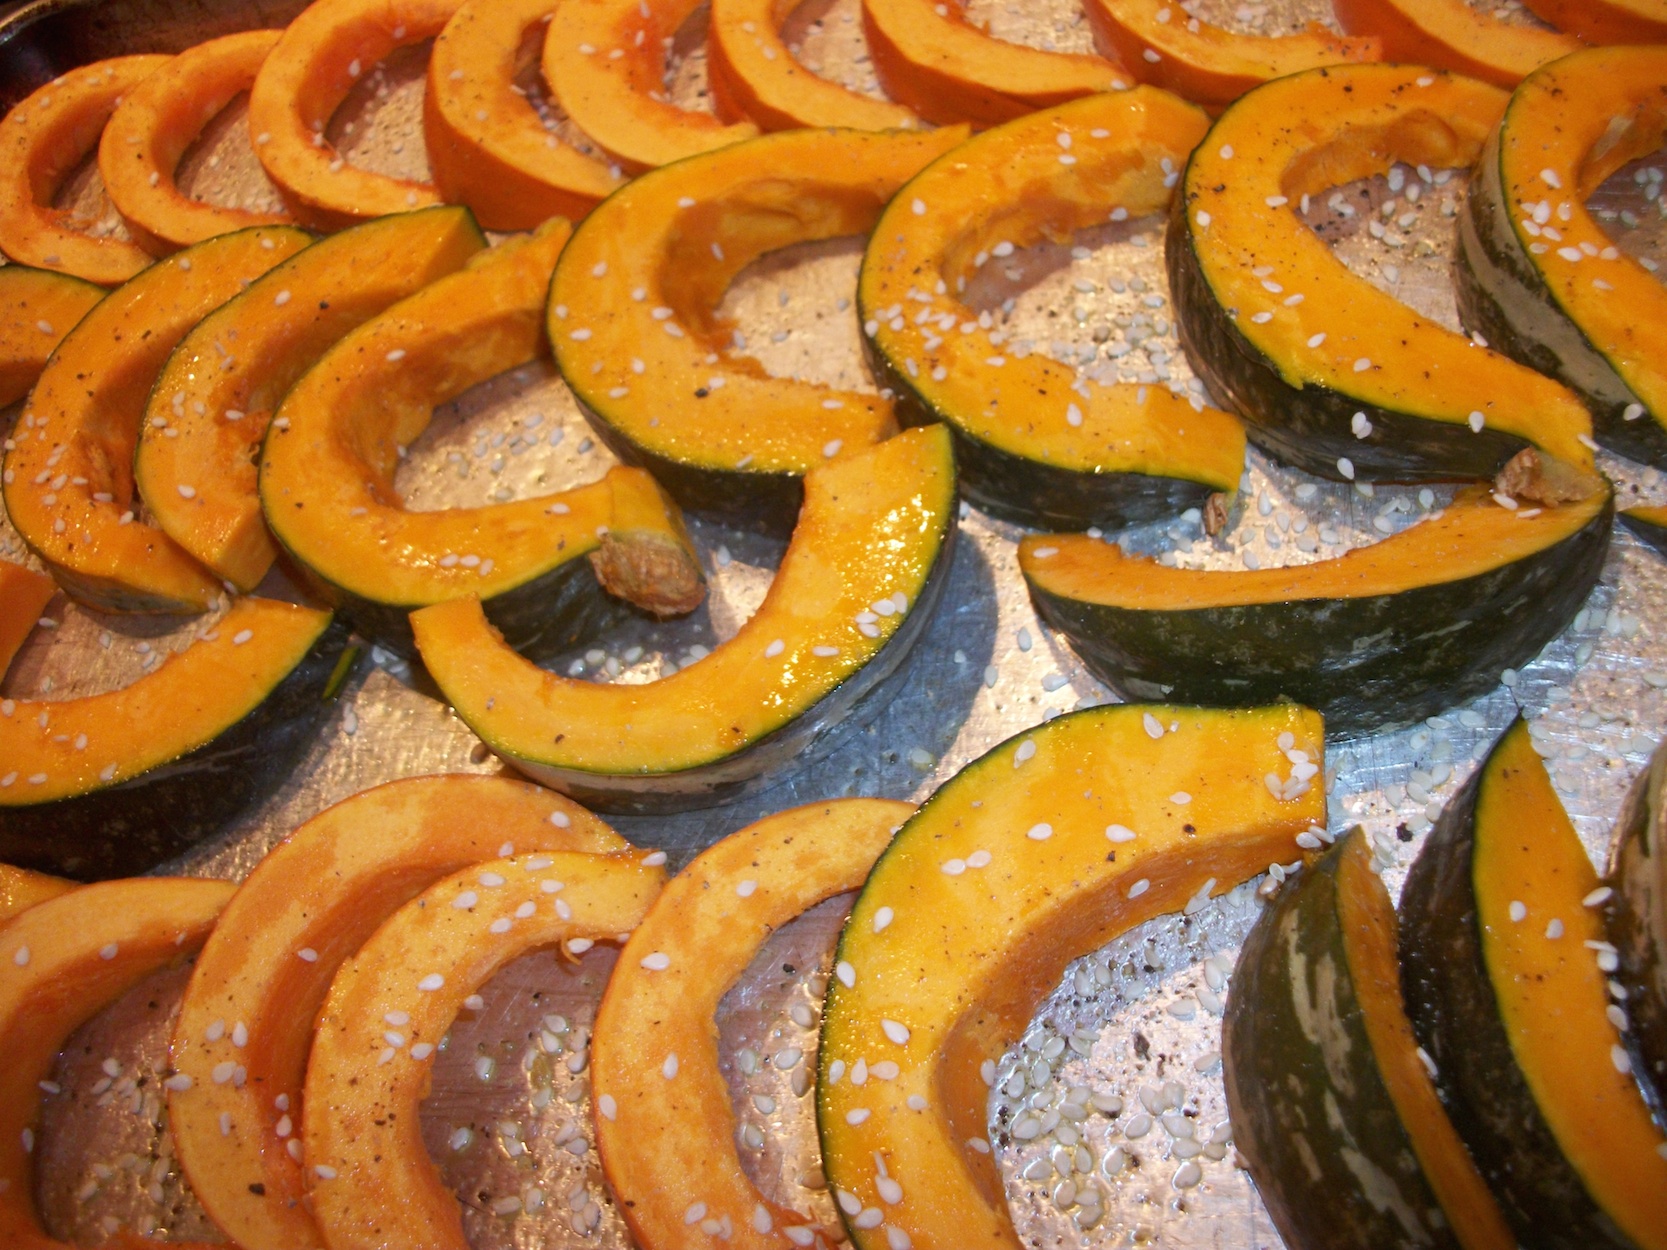
It always happens. At some point in winter, we start to see the end of the vegetables. Winter’s vegetables lose their fight against the cold and rain. The remaining potatoes are small and beginning to sprout, the pumpkins are nearly gone, as are the onions. The garlic is sprouting. The frozen and canned vegetables are harder to find, requiring rummaging around in the freezer or cupboard. There are still vegetables to eat, but we can start to see the bottom of the barrel.

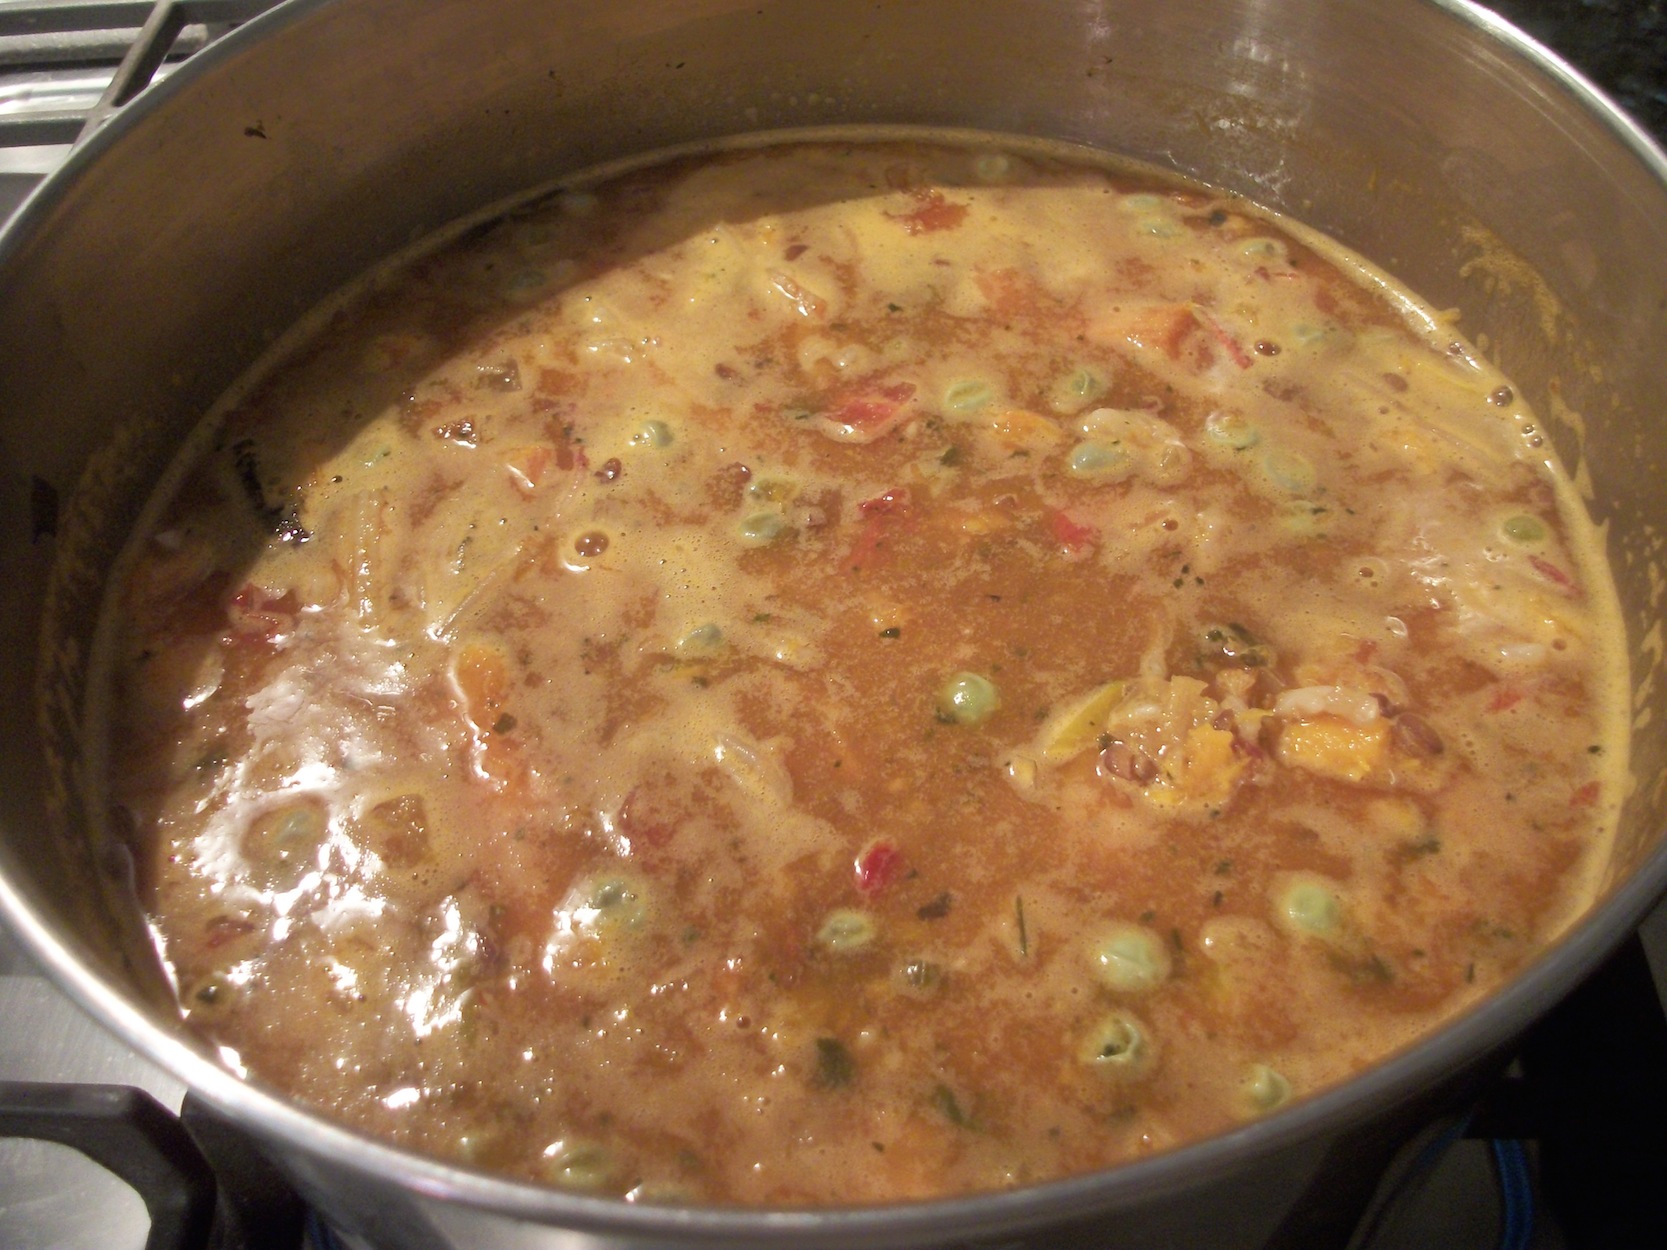
At that point, leftovers from dinner stop going to the chickens. We keep an ice cream tub in the fridge, and leftovers go there instead. When the ice cream tub is full, we have enough for leftover soup.

Leftover soup is always a surprise. Indian food mixes with Italian food. Tomato sauce might mix with a BĂ©chamel. Doesn’t matter what it is, it goes in. Add a little water, maybe make some savoury muffins to have with it, and ‘voila’! A dinner that doesn’t deplete the remaining stores from summer. And, usually, it’s not half bad, either! It usually takes us a week to build up enough leftovers for soup, and we’ll often time a leftover soup night for Friday. An easy dinner, then a family movie is a great way to kick off the weekend!

Half Way!

Wine:peppers smI have reached the halfway point—half way through my 365 Days of Food blogging challenge. So far, except for technical difficulties, I have not missed a day.

It has been an interesting journey from a writing standpoint, and I still feel as though I’ve not begun to exhaust my ideas around food. Winter, I will admit, is tough because there is little to do in the garden, and our diet tends to shrink to a few ingredients that store well. But invariably, every day brings something blog-worthy.

This morning, I took two friends to the airport for their trip home to the US. We spent the past week travelling, talking, and eating…and often talking about travelling and talking about eating. It was good to talk to them about food and our relationship with food. They asked probing questions that forced me to verbalise some of my thoughts about food that I have not really discussed with anyone before. Their reactions to my food and lifestyle choices made me reassess and appreciate anew the value of those choices.

I’m sure those discussions and new perspectives will make their way into this blog over the next days, weeks and months, and I suspect that when I reach the end of my blogging Food Year there will still be more to be said. So pour yourself a glass of wine and settle in!

Potato Soup

Potato soup is one of those comfort foods. A winter warmer that takes the chill off even the coldest day.

I grew up eating my mother’s delicious potato chowder, with milk and hard boiled eggs, but my potato soup repertoire has expanded since then, and I’ve tried many variations on the theme.

One my favourites has become this shockingly simple potato leek soup. It’s simplicity belies its rich, satisfying flavours.

1kg potatoes

4 large leeks

3 Tbsp butter

Âľ tsp salt

Salt and pepper to taste

Slice the white part of the leeks as thinly as possible. In a large pot, sauté the leeks very gently in the butter until they are golden. Peel the potatoes and slice as thin as possible (We use our mandolin on the thin setting. You could use a food processor, or slice them by hand, too). Put the potatoes into the pot along with the salt, and add just enough water to cover. Bring to a boil and cook until all the potato slices are soft, and some are disintegrating. Adjust salt and season with black pepper to taste.

*If you like potato skins, as I do, you can leave the skins on, but peel off several strips of skin from each potato. Otherwise the skins will slip off the thin slices in long rings and make your soup stringy.

Travelling

100_3358 copyA couple of friends are visiting from the U.S. this week. Poor ladies, coming from summer to record cold weather here!

We’ve done our fair share of travelling, so one of the things I asked them was, “What do you normally eat for breakfast?” Breakfast is such a fundamental meal. It sets up your whole day, and when you don’t get the breakfast your body wants, it can throw off everything. When I travel within New Zealand, I always bring my breakfasts with me. If I can have my usual bowl of homemade granola in the morning (and have it at 5.30 am, like I’m used to), I can handle any amount of lousy, erratic meals the rest of the day. When visitors come, I try to provide them a breakfast as close as possible to what they’re used to, so they can enjoy more fully the wonders of New Zealand.

Try it next time you travel. Take breakfast with you and see how the right start perks up your whole vacation!

Truffles!

truffles1One of my husband’s colleagues (Alexis Guerin-Laguette at Plant & Food Research) is working on the commercialisation of truffle production in New Zealand. They’ve just harvested this year’s crop, and as an ‘insider’ Ian got early access to the bounty.

“You don’t want to know what I paid for these,” he said of the five tiny mushrooms nestled carefully in a tissue-lined jar.

But, who cares—they were truffles! The real, if-you-have-to-ask-you-can’t-afford-it thing! They weren’t a food item, they were a life experience!

Of course, I will admit that they smelled odd. My son described it as, “sort of like petrol,” and my daughter declared the odour “weird”. I reserved judgement until the fungi were properly prepared and sitting on my tongue.

Ian described the flavour as “Sitting in my grandfather’s green leather chair in front of the fire on a crisp autumn night.” He obviously experienced it much more intensely than I did, because my description didn’t come close. I very much enjoyed the flavour—strong, rich and earthy, and unlike any other mushroom I’ve eaten. I also appreciated the crisp texture of the paper-thin slices on top of creamy risotto. Was it worth it? Yes. Worth every penny (even at $2500/kg)!

For those of you near Christchurch who want to try out some truffles yourself, check out the truffle festival July 11-18!

Vegetarian Meatballs

100_3355 copy“Why do we call them meatballs when there’s no meat in them?”

A fair question, from my daughter one day as I stood in the kitchen making one of the family’s favourite meals—spaghetti with meatballs.

Of course, as vegetarians, our meatballs contain no animal muscle tissue whatsoever. Their effect on the gustatory pleasure centres is comparable to a good traditional meatball, though, so the name sticks.

When I was breast feeding my son (13 years ago!), there were very few foods I could eat without causing him colic. It took eight weeks of round-the-clock screaming for me to work this out, and when I finally got him to stop howling by reducing my diet to nothing but carrots, rice and potatoes for a week, I was loath to add anything back in, lest the crying (his and mine) resume. I needed a source of protein, though, and eventually found that tofu was ‘safe’. The problem was that I wasn’t terribly fond of tofu. I knew it could be delicious, because I’d eaten some incredible tofu dishes made by a friend. I rang her up and begged her to send some recipes. One of the recipes she sent was for tofu meatballs.

Those meatballs (minus about half their ingredients) kept me alive for that year of breast feeding. When I was through nursing and was able to add back into the recipe the onions, mustard, and peppers that would have caused my son grief, they stayed on the menu. They are one of those foods that induces overeating. My husband admits that he refrains from using tofu for stir fries or other dishes in the hope that I’ll make meatballs.

I don’t know where this recipe originally came from, and I would love to cite the source. If you recognise it and can enlighten me, please do so!


Mix together in a large bowl:

500g firm tofu, crumbled

1 grated carrot

1 onion, finely chopped (I sauté the onion first—we prefer the flavour that way)

1 green pepper, finely chopped

ÂĽ cup fresh parsley, chopped

Âľ cup finely ground walnuts

1 c bread crumbs

2 eggs

3 Tbsp soy sauce

2 tsp Dijon mustard

1 ½ Tbsp sesame oil

1 tsp ground fennel

1 ½ tsp dried basil

1 tsp dried oregano

ground black pepper to taste

Form into small balls and place on an oiled baking sheet. Bake at 190°C for about 30 minutes, or until beginning to brown. Serve with a simple tomato sauce over pasta.

Banish the winter blues!

100_3345 copyIt’s a drizzly, dark day. The whole family slept in this morning (well, apart from me), and they still all rose before sunrise. It was a day to either stay in bed or do something to banish the winter blues. So I made lemon cupcakes iced with bright yellow flowers—my kitchen is sunny, even if the sky is grey!

The original plan was to teach my daughter some cake decorating techniques, but we discovered we were out of confectioner’s sugar, so I made a buttercream frosting instead of a quick frosting. That took a lot longer than a quick frosting, and by the time the frosting was ready, a friend had arrived to play. Since all the cake decorating equipment was already out, I figured I’d have some fun, even without my daughter. (She did manage to stop playing long enough to eat a cupcake).

Favourite Kitchen Tools: rotary grater

sunflower seeds grater4 sm

Works great on seeds, too!

Time for another favourite kitchen tool. This time, the rotary grater. I loved this tool right from the start for grating parmesan cheese and nutmeg without taking off my knuckles, but it really captured my heart when I discovered what it does to nuts.

Grinding nuts with a food processor or coffee grinder works well, but when both coffee grinder and food processor died several years ago, I resorted to doing it by hand with a knife. The process is tedious and yields poor results. Then I tried the rotary grater. It yielded the most beautiful, fluffy nut powder I’d ever seen. In fact, now that I have a food processor again, I still use the grater, because it does a better job.

Beans, Beans

Beans baked overnight in the bread oven

Beans baked overnight in the bread oven

Beans, Beans

The wonderful fruit.

The more you eat,

The more you toot.

The more you toot,

The better you feel,

So eat your beans

With every meal.


I have no idea where that poem came from or who wrote it. My husband apparently learned it at Scout camp when he was a boy. It makes the 12 year-old in me giggle.

The truth of the matter is that beans don’t make me toot, and they are, indeed, wonderful. We eat beans regularly, in many different forms. Usually I can grow enough beans to get us through the year. I grow black, borlotti, and soy beans. We eat most of the soy green, but I always save some for dry beans. Beans are one of those wonderful, long-storing products from the garden. They’re a low-maintenance, high-yield sort of crop, like potatoes. Best of all, they’re delicious in a wide variety of dishes.

Burritos and burgers are probably my family’s favourite ways to eat beans. They’re time-intensive meals, but well worth the effort. Baked beans, too, are time intensive—mostly oven time, so we usually only make them when we have the bread oven fired up. They bake beautifully in the long tail-end of the oven’s heat.

Simple beans and rice is the most common way we eat beans. If I remember to put the beans to soak in the morning, it becomes an effortless meal, and a perfect winter warmer.

The best flavours to go with beans (no matter how they’re cooked)? Fresh cilantro (added at the very end of cooking), smoked paprika, and cumin. A bit of tomato is lovely, too.

Baked pumpkin slices

100_3334 smI think my husband was the first to try it—baked pumpkin slices. We all love pumpkin, but it can be a real pain to prepare—either you spend an hour baking whole pumpkins, or you peel and cube dangerously hard raw ones. These lovely slices, with the peel on, are easy to prepare and bake up quickly. They make a wonderful side dish with lentils or burgers (and probably go well with animal flesh, too, for the meat eaters among you).

Halve a pumpkin or other winter squash. Scoop out the seeds. Slice each half into wedges about 1.5 cm thick. Place on an oiled baking sheet, flipping each slice once to make sure it’s coated with oil on both sides. Sprinkle with coarse salt, freshly ground pepper, and sesame seeds. Bake at 190°C (375°F) for 20-30 minutes.