Cake Season, 2025

Those of you who have followed my blog for years will know that the first three months of the year are birthday months in my family. For years, I called it crazy cake season, because I would obsess over birthday cakes all month, and spend literally weeks designing and making crazy birthday cakes.

Like the octopus:

The geode:

The peripatus:

An alpine botanical scene:

And many others.

But now that the kids are adults, the crazy cake season is far less crazy. It still involves cake, of course, but the cakes are more subdued and geared toward adult tastes.

This year, my daughter said ‘surprise me’ when I asked about her cake preferences.

So, faced with a kitchen full of beautiful ripe peaches from our trees, I made her a three-tiered peach upside down cake using my favourite upside down cake recipe, from King Arthur Flour’s Whole Grain Baking book. 

The cake recipe is meant for nectarines, but I’ve also made variations of it with pears, lemons, peaches, and plums, and it’s fabulous.

I recommend reducing the sugar in the batter, because it can be overly sweet, with the gooey fruity sugar that soaks in from the topping. I also adjust the spicing to suit the fruit and my own tastes. And I always use more fruit than the recipe suggests. 🙂

Here’s the original recipe:

Topping:
3 Tbs butter (43 g), melted
1/2 cup brown sugar
1/4 tsp nutmeg
1/4 tsp cinnamon
2 large nectarines
2 tsp lemon juice

Batter:
1 3/4 cups whole wheat flour
1 3/4 tsp baking powder
1/4 tsp salt
4 Tbs (57 g) butter, softened
3/4 cup brown sugar (I use 1/2 cup)
2 large eggs
1 tsp vanilla or almond extract
1/2 cup milk

To make the topping: Place the melted butter in an ungreased 8-in (20 cm) square baking pan, tilting to coat the bottom evenly. Mix together the brown sugar and spices, and sprinkle evenly over the butter. Slice the fruit (either peeled or unpeeled is fine) 1/4-inch (half a centimetre) thick and arrange the slices in the pan on top of the sugar and butter. Sprinkle with lemon juice. Set aside.

To make the batter: Whisk together the flour, baking powder and salt in a small bowl. Cream together the butter and sugar in a large bowl until light in colour and fluffy. Beat in the eggs, one at a time, and the vanilla. Stir in half the flour mixture, then the milk. Add the remaining flour mixture, stirring until the batter is evenly moistened. Gently pour the batter over the fruit in the pan.

Bake at 375℉ (190℃) for 45 minutes or until the cake begins to pull away from the sides of the pan and a cake tester inserted into the centre comes out clean. Allow to cool 5 minutes in the pan. Then invert the pan onto a serving platter and let sit for 1 minute before removing the pan. Serve warm, with whipped cream or ice cream, if desired.

We enjoyed our peach upside down cake with homemade peach ice cream, made by my husband.

In Praise of the Sauerkraut Crock

There are certain pieces of kitchen equipment that don’t get used often—the milk frother, the crinkle cut knife, the herb scissors … Most of these items are really unnecessary, and some don’t work very well, so they’re only pulled out on rare occasions when you feel like faffing around with something.

Other equipment is absolutely essential, but serves a specific purpose.

The sauerkraut crock is one of those.

This heavy, straight-sided 3-gallon stoneware crock is the perfect vessel for fermenting cabbage. It holds a large amount of cabbage, and is easy to pack and empty. With straight sides, weighting the cabbage while it ferments is easy to do, and we’ve made a custom ‘chaser’ for this very purpose.

For six weeks of the year, the sauerkraut crock is full of bubbling cabbage.

For the remaining forty-six weeks, it sits in the corner of the living room—a dubious decoration in an otherwise unused corner. It’s pretty much useless for anything else in the kitchen—it’s heavy, bulky, and an inconvenient shape. The custom chaser, too, is of limited use—it gets tucked into the unreachable cabinets above the refrigerator. 

By the time I pull the crock out again, it’s full of dust and dead insects.

You might think it’s not worth keeping around. And for many items I use maybe once a year, I’d agree.

The milk frother, crinkle cut knife and herb scissors … when they break, I won’t replace them. The sauerkraut crock, I will.

Because I can’t imagine not making sauerkraut, and the crock is the only tool that will do for the job.

The (not quite) Perfect Icing, Part 2

I took another step on my quest for the perfect carrot cake icing on Sunday. This variation on cream cheese icing is made into a fluffy confection with the addition of quite a lot of cream, slowly beaten into the already fluffy cream cheese. 

I had my doubts. I’m not overly fond of a straight whipped cream topping. Would the cream cheese flavour come through enough? Would there be enough tart zing to it to offset the sweet?

The answer was no. 

Don’t get me wrong, this icing is GOOD! There’s enough cream cheesy goodness to give it body and depth of flavour. And the addition of cream means it gets away with having half as much sugar as other cream cheese frostings. The texture is divine—smooth and creamy, with a lightness you don’t often get in a cream cheese frosting. It’s delightful on the lemon and blackberry cupcakes I used it on. 

But is it the perfect carrot cake icing? Not quite.

So, the first icing was great on flavour, lousy on texture. This one is amazing for texture, not right for flavour. I can work with that. Trial number three will be a fusion of the two, hoping for that perfect balance.

It’s a tough job, but somebody’s got to do it. 😉

Meanwhile, I do recommend frosting #2. I think it would be spectacular on chocolate cake, and absolutely stunning rolled up in a bûche de Noël. Here’s the recipe if you want to give it a go:

170 g cream cheese
3/4 cup icing sugar (confectioner’s sugar), sifted
1 1/2 tsp vanilla
1 cup heavy cream

Beat the cream cheese until fluffy. Add the sugar and vanilla and beat until smooth. With the mixer on low, slowly pour in the cream. Then turn the mixer on high and beat until stiff peaks form.

Because of the quantity of cream in this frosting, I recommend storing cakes with this frosting in the fridge.

Cardamom Coconut Pound Cake

I love cardamom, but I don’t use it very often. Inspired by the book, A Whisper of Cardamom by Eleanor Ford, which I checked out of the library last week, I decided to use it more frequently.

I’ve made Coffee Cardamom pound cake before (from Sweet by Yotam Ottolenghi and Helen Goh), and that was my first thought. But I didn’t have the instant coffee the recipe calls for, and anyway, coffee wasn’t what I wanted. I considered chocolate cake with cardamom, which would be good, but wasn’t really what I wanted either. 

What about coconut? Maybe with a spark of lemon to brighten the flavours? I decided to give it a go. Starting with a vanilla pound cake recipe, which I only loosely followed, I added lemon zest, cardamom, coconut, and a lemon glaze. The result was quite lovely. Here’s the recipe if you want to give it a go.

2 1/2 cups wholemeal (whole wheat) flour
1 cup all purpose flour
3/4 tsp salt
1 tsp freshly ground cardamom
250 g (1 cup) butter
1 cup icing (confectioner’s) sugar
1 cup granulated sugar
1 tsp baking powder
4 eggs
1 cup yogurt
2 tsp vanilla
grated zest of one lemon
1 cup coconut

For the glaze:
1/4 cup lemon juice
3/8 cup granulated sugar

Combine the flours, salt and cardamom in a medium bowl.

Cream together the butter, sugars and baking powder in a large bowl until light and fluffy (about 5 minutes). Add the eggs, one at a time, and beat well after each addition. Add the flour mixture alternately with the yogurt. Stir in the vanilla, lemon zest and coconut.

Bake in a greased bundt pan at 180℃ (350℉) for 55 minutes to an hour. Remove the cake from the oven and let sit in the pan for 5 minutes before turning it out onto a rack. 

To make the glaze, combine lemon juice and sugar in a small, microwave-safe bowl. Microwave on high for about 30 seconds, and then stir until the sugar is dissolved. Brush the glaze onto the warm cake until it’s all absorbed.

Summer Soup 2024

Making and canning vegetable soup used to be a whole family activity, with the kids pitching in from a young age, picking and chopping vegetables alongside my husband and me. My husband would cook the soup while the kids and I washed dishes, and then I would can (bottle) it up.

We called it Summer Soup, because we made it at the height of the summer vegetable season (which ironically always falls in early autumn). On the cold rainy nights winter we could open a jar and enjoy a bowl of summer. 

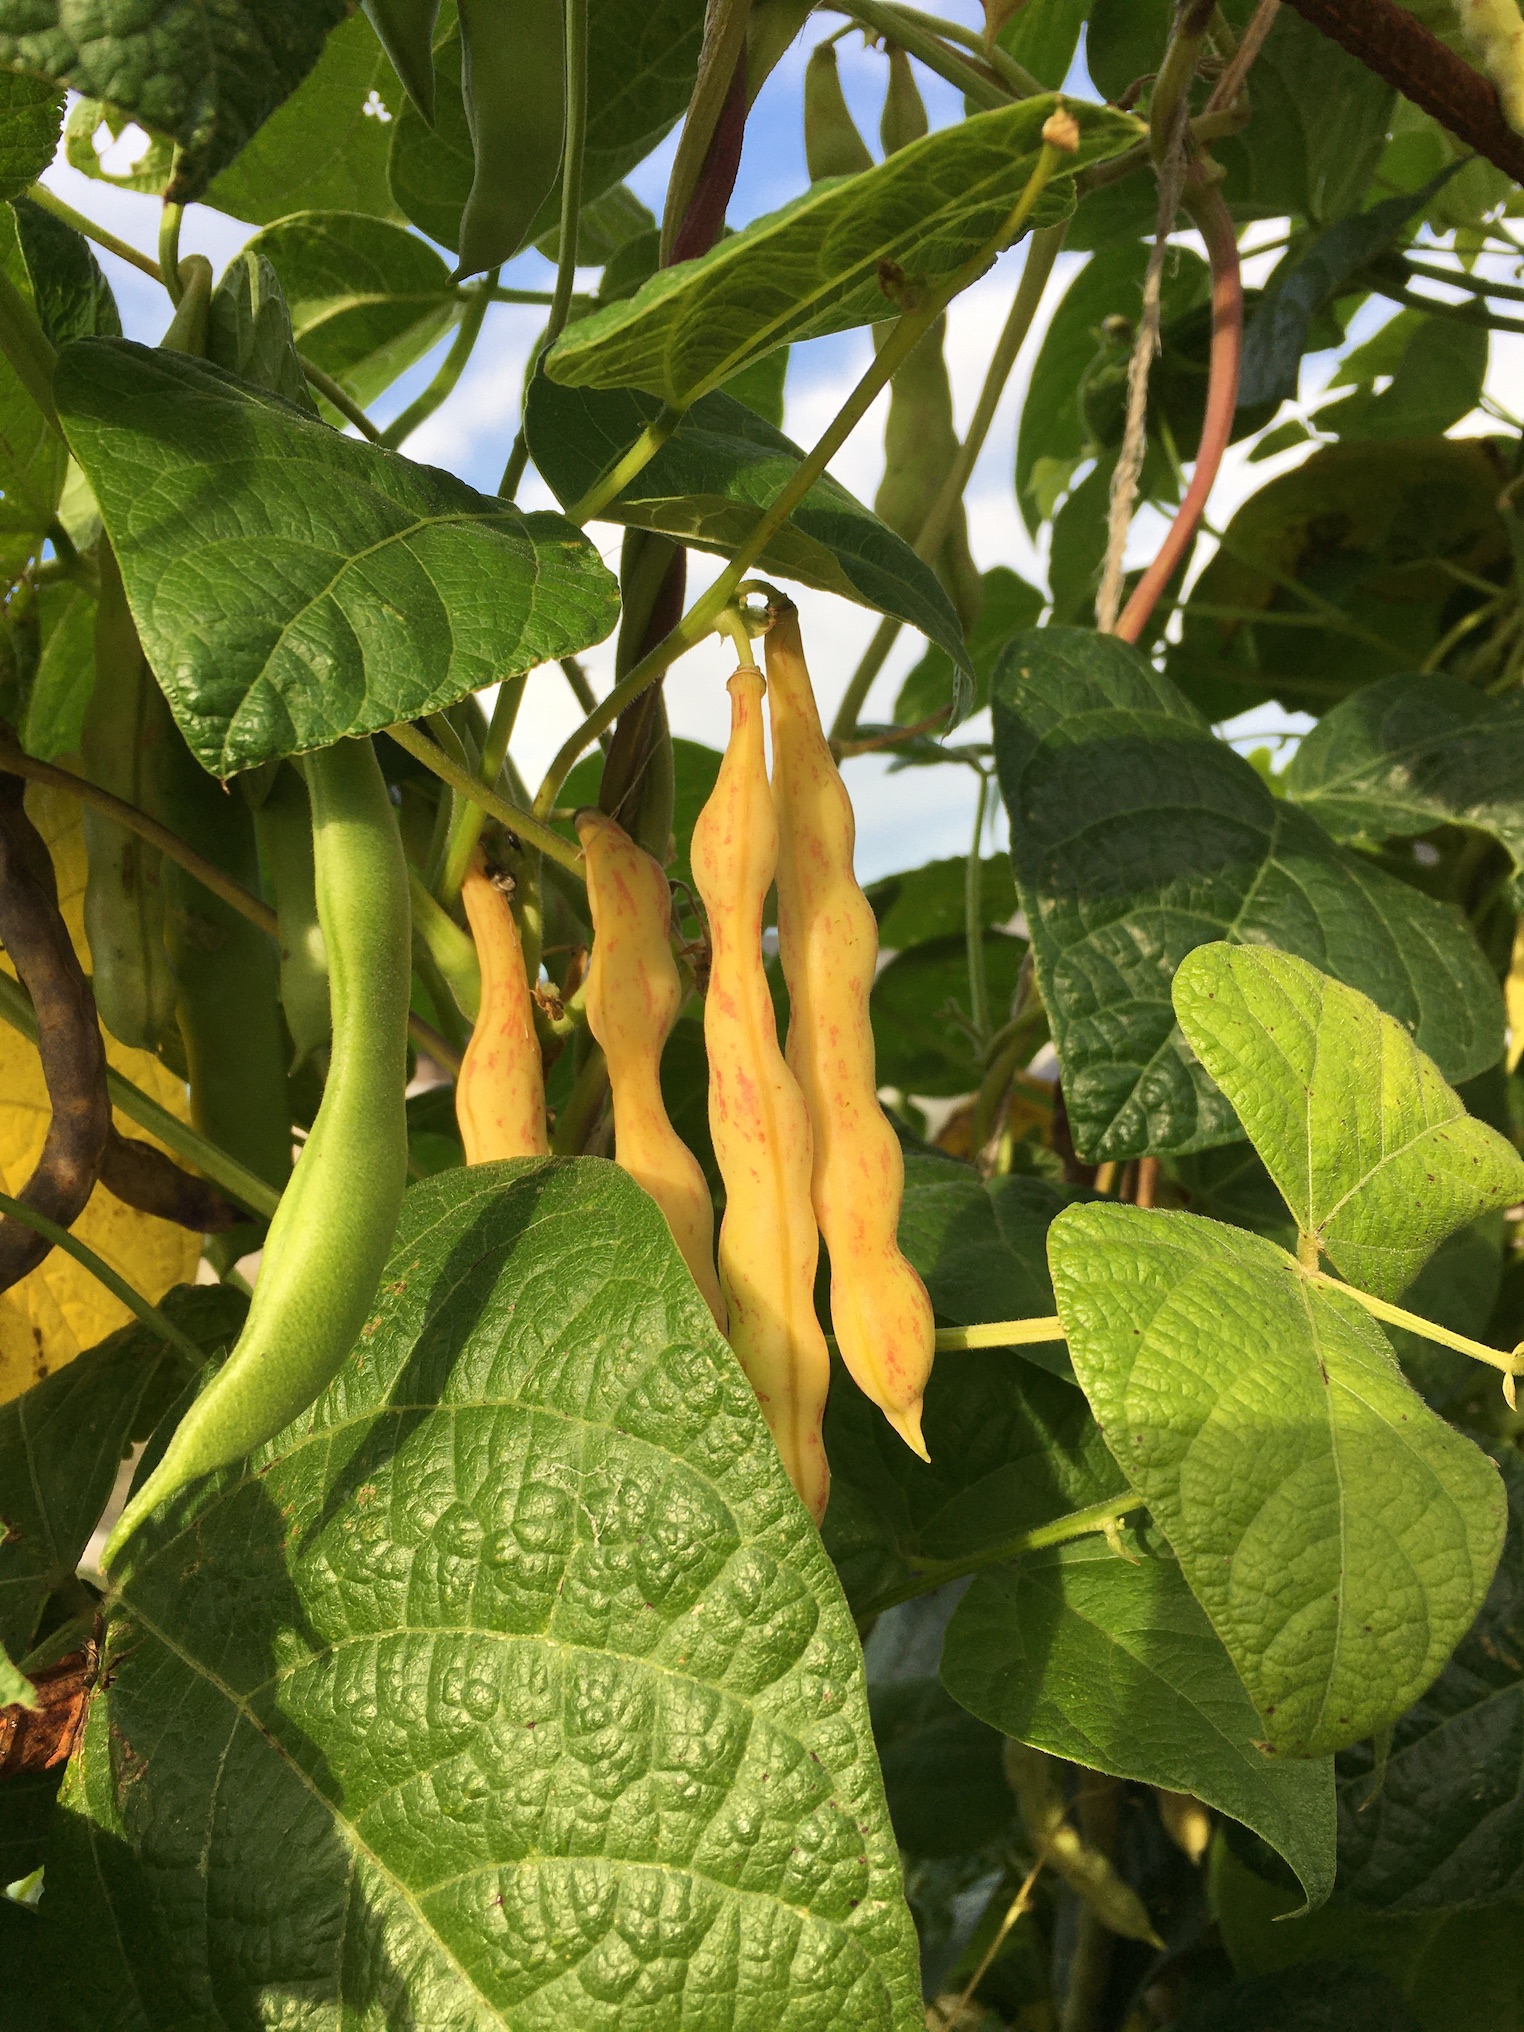
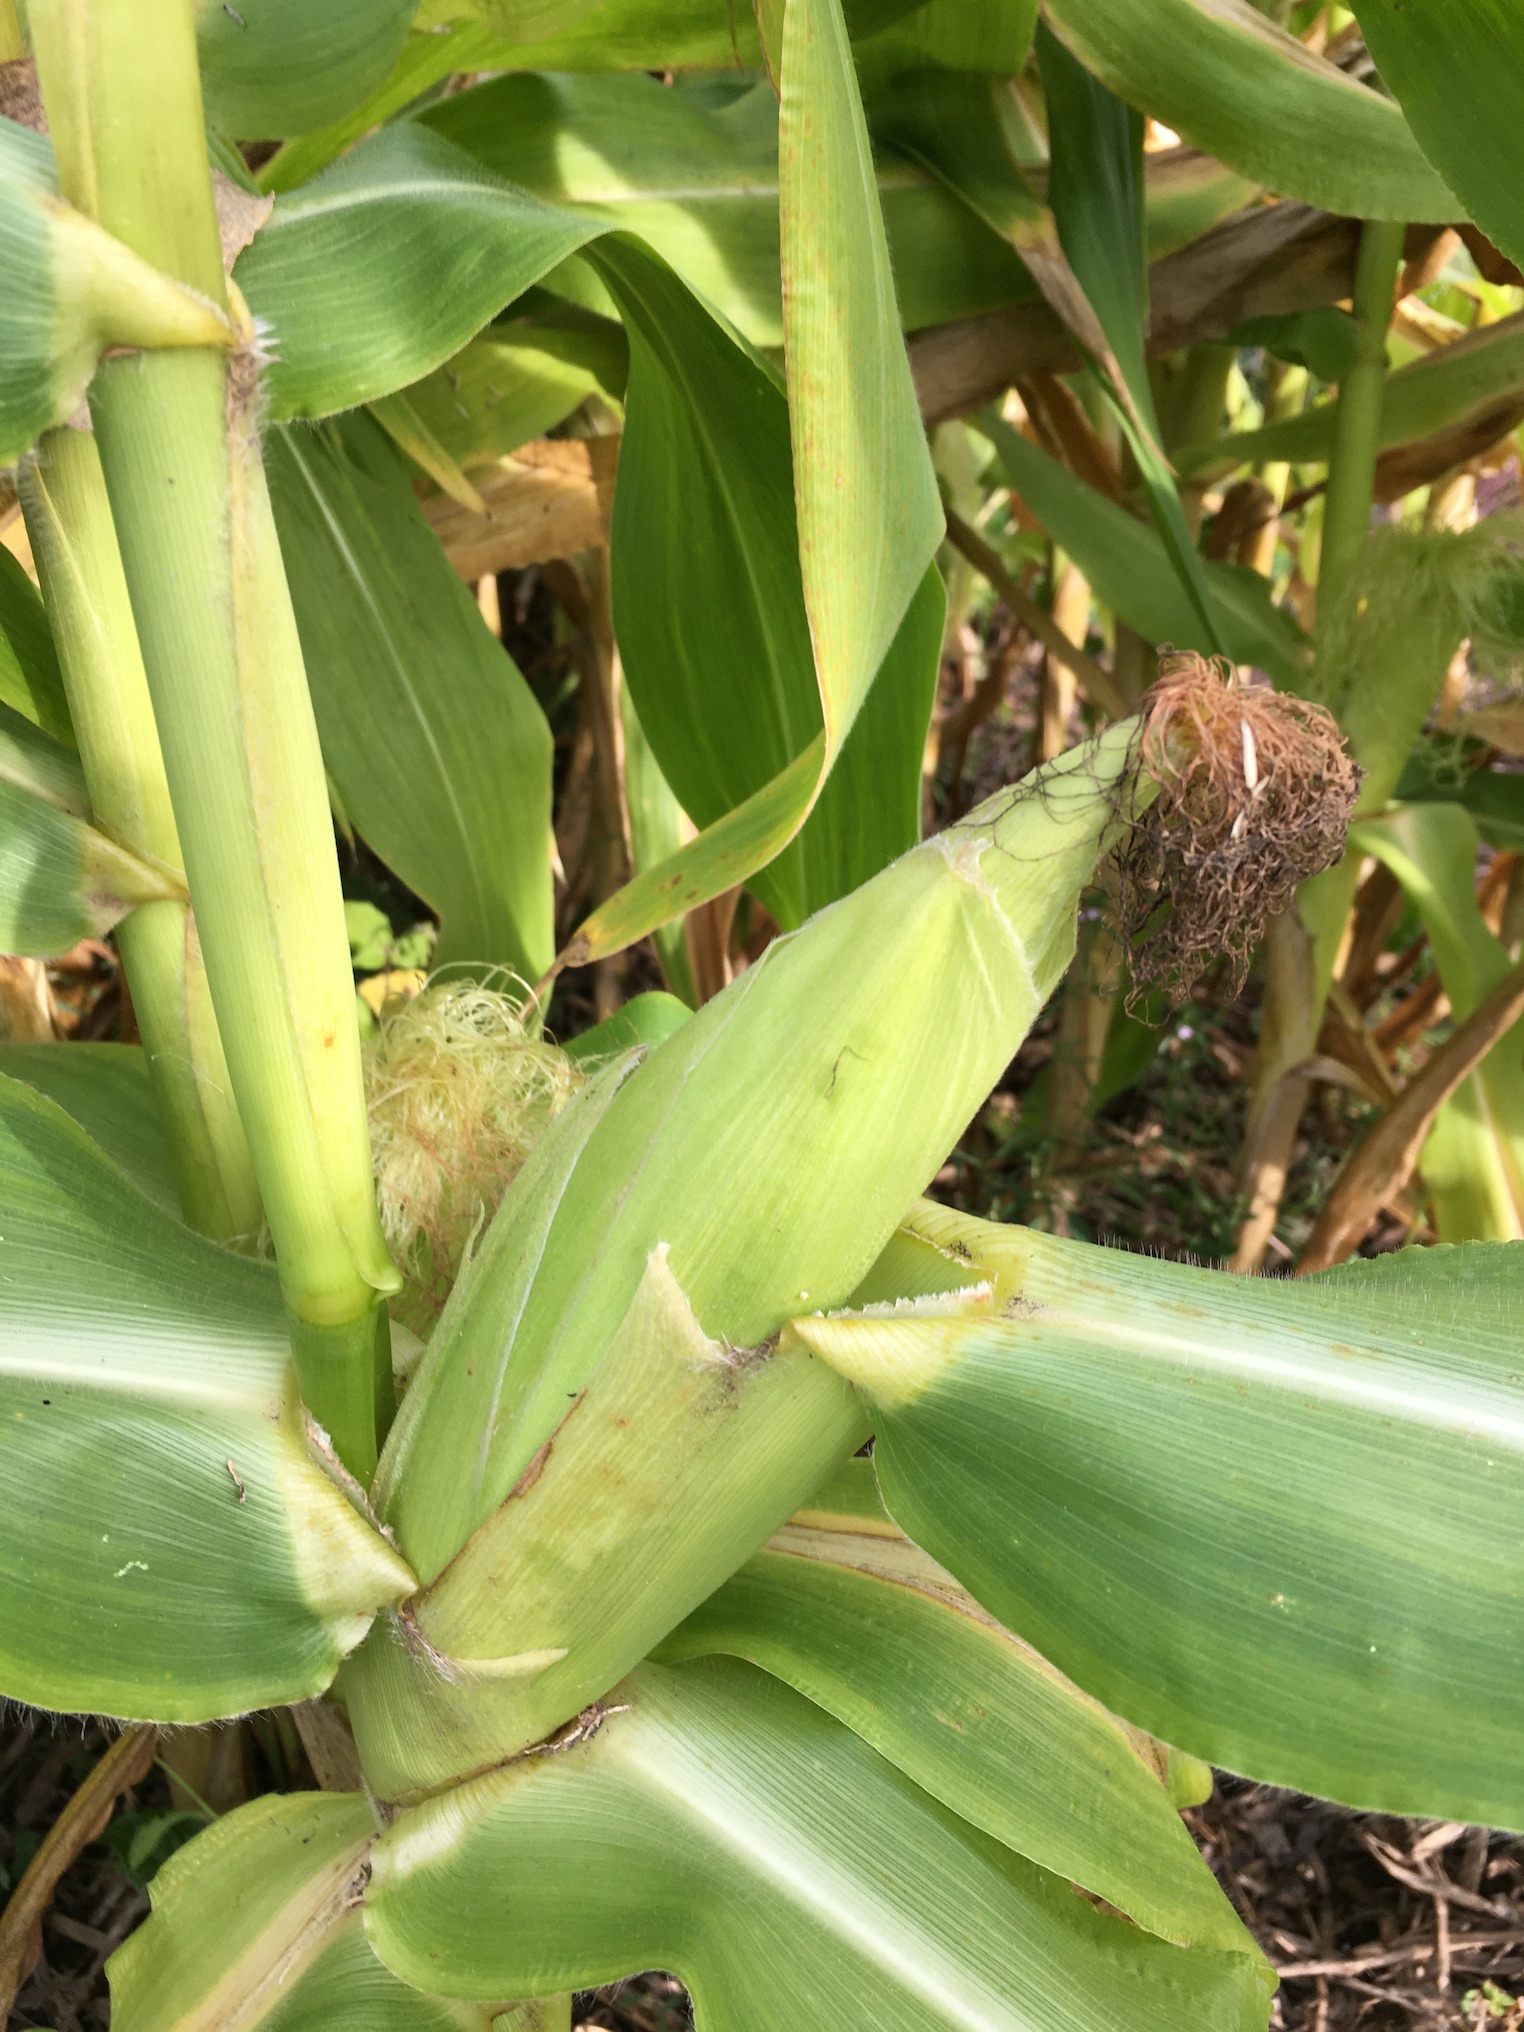
When the kids were young, they delighted in recounting which vegetables they chopped, proud of their part in feeding the family. These days, making summer soup is a mostly solitary activity for me, the kids being all grown up. It hasn’t stopped me from making a vast quantity of soup. Last Sunday I designated as Summer Soup day because I had heaps of tomatoes, green beans, sweet corn, zucchini, and other vegetables to put in it.

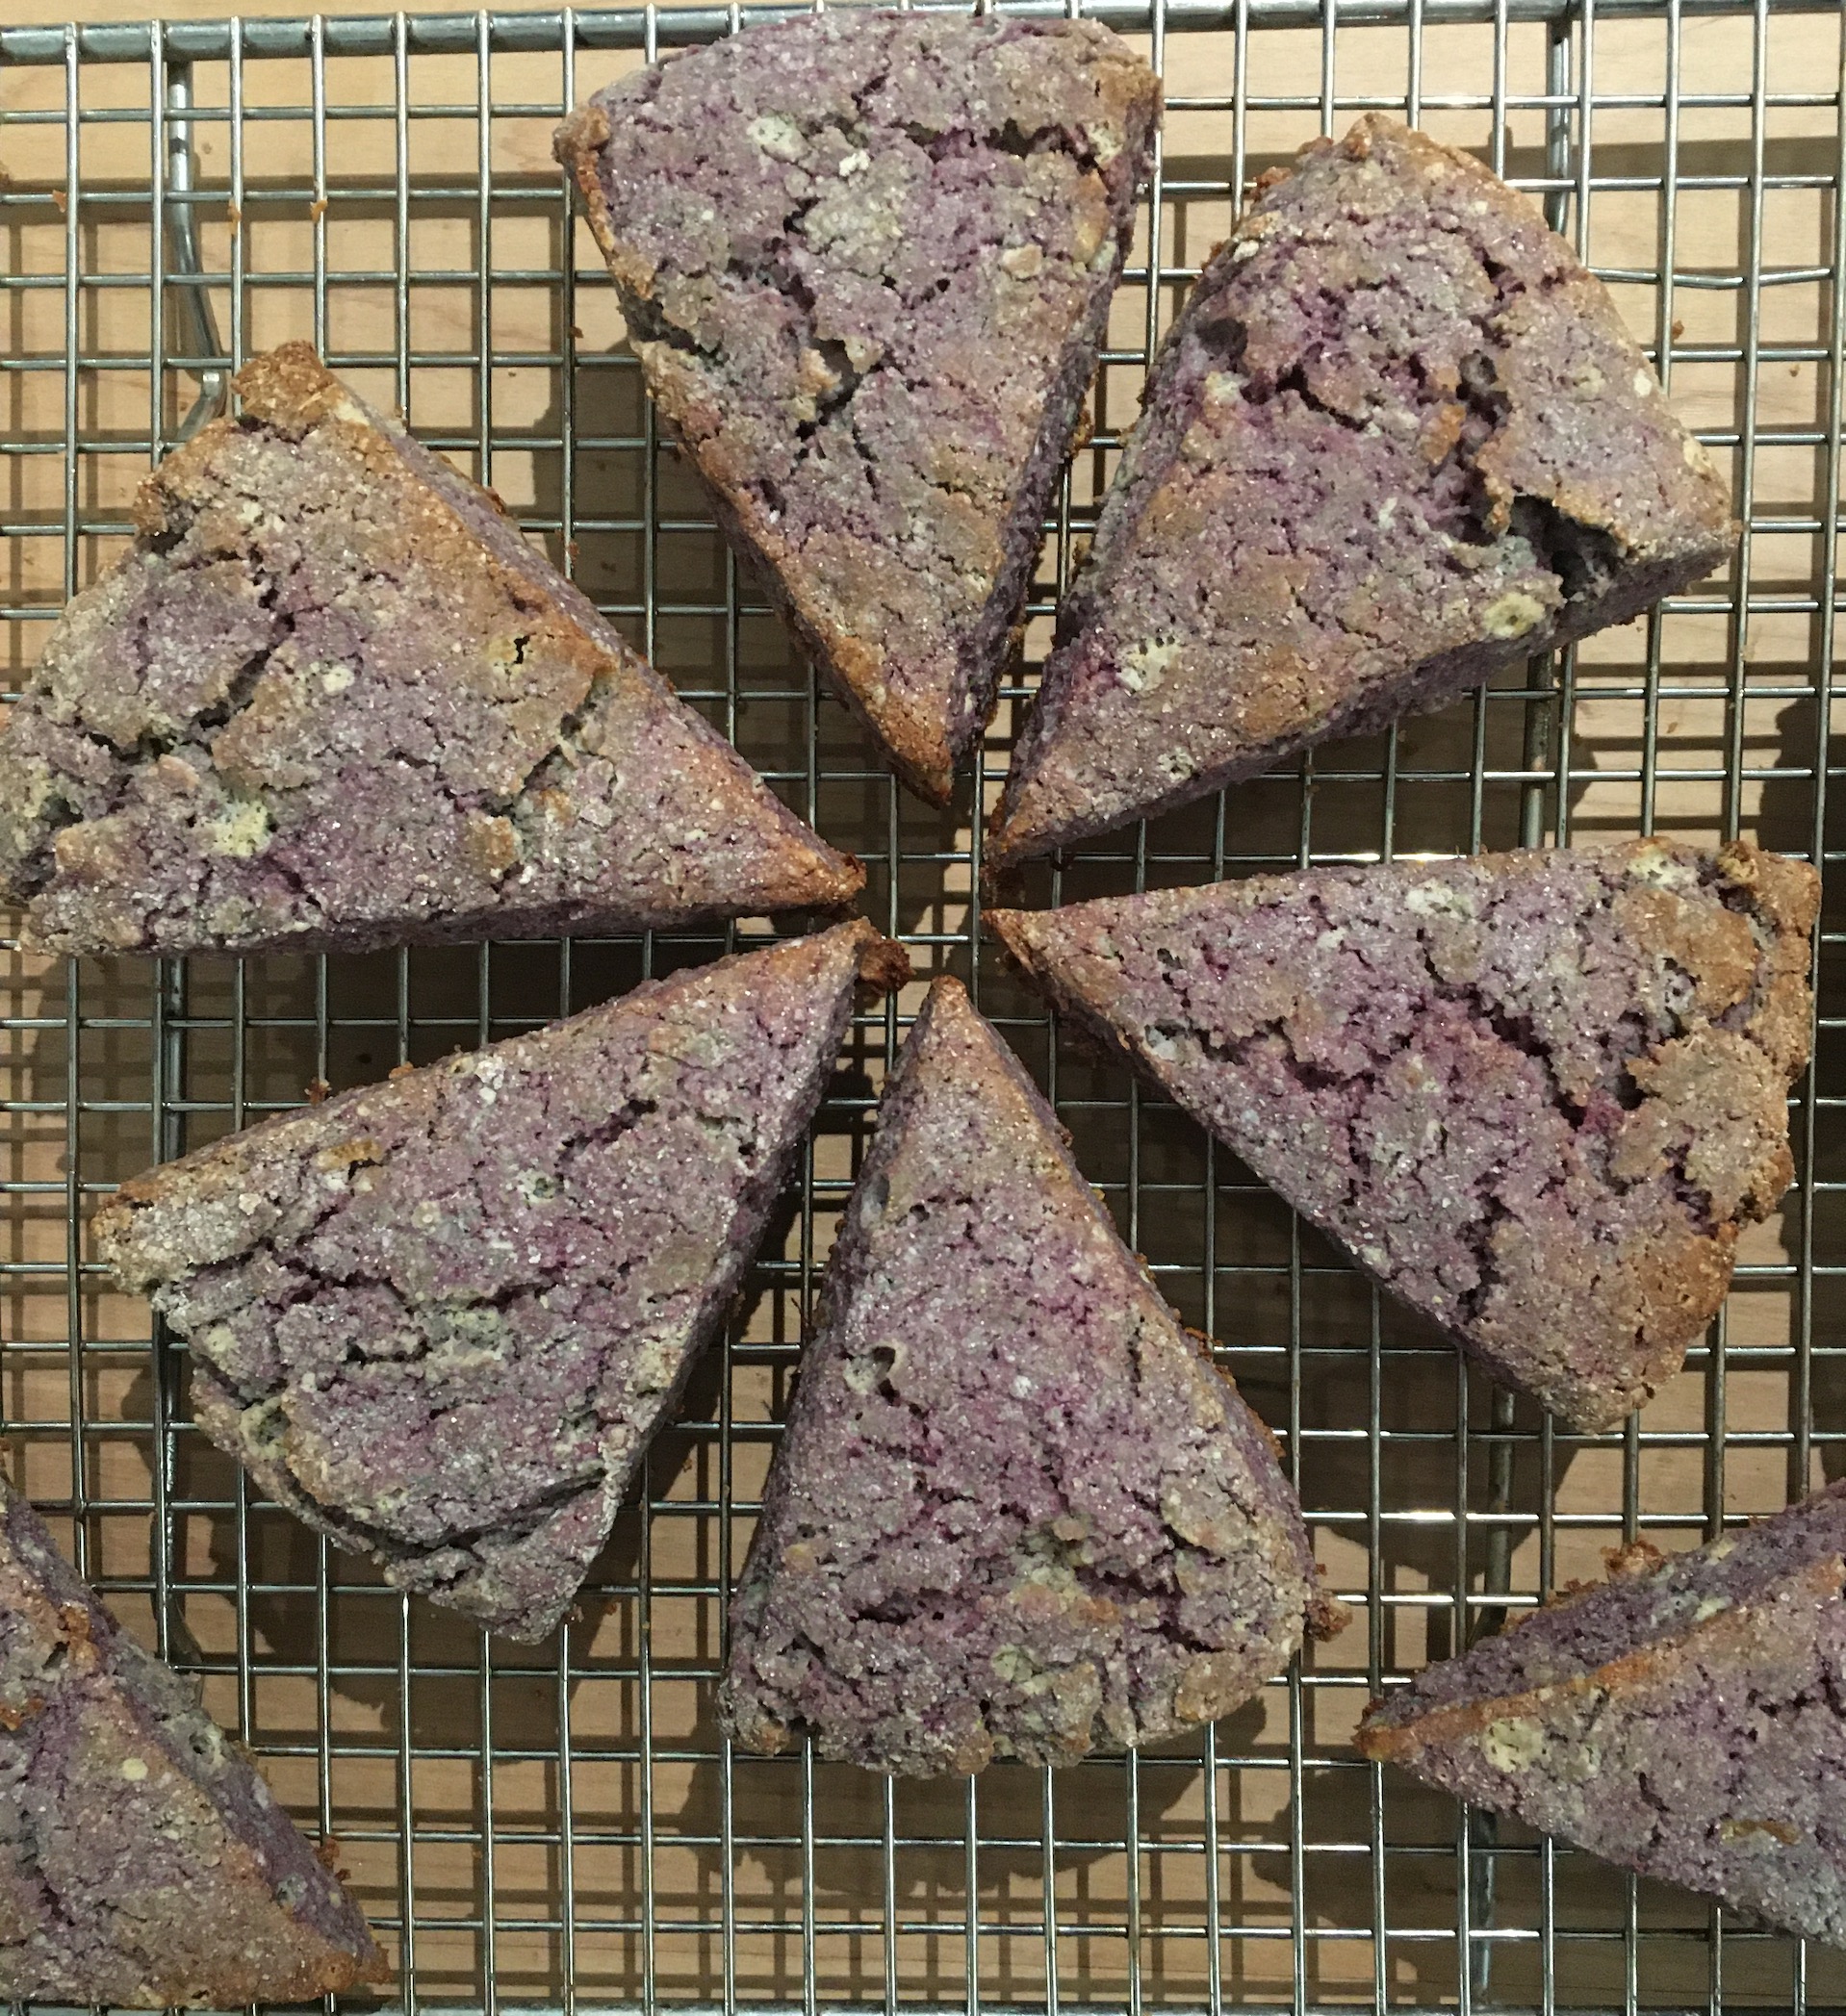
Because it was Sunday, I started off at 5.30 am by making muffins for breakfast. While the muffins baked, I began chopping vegetables …

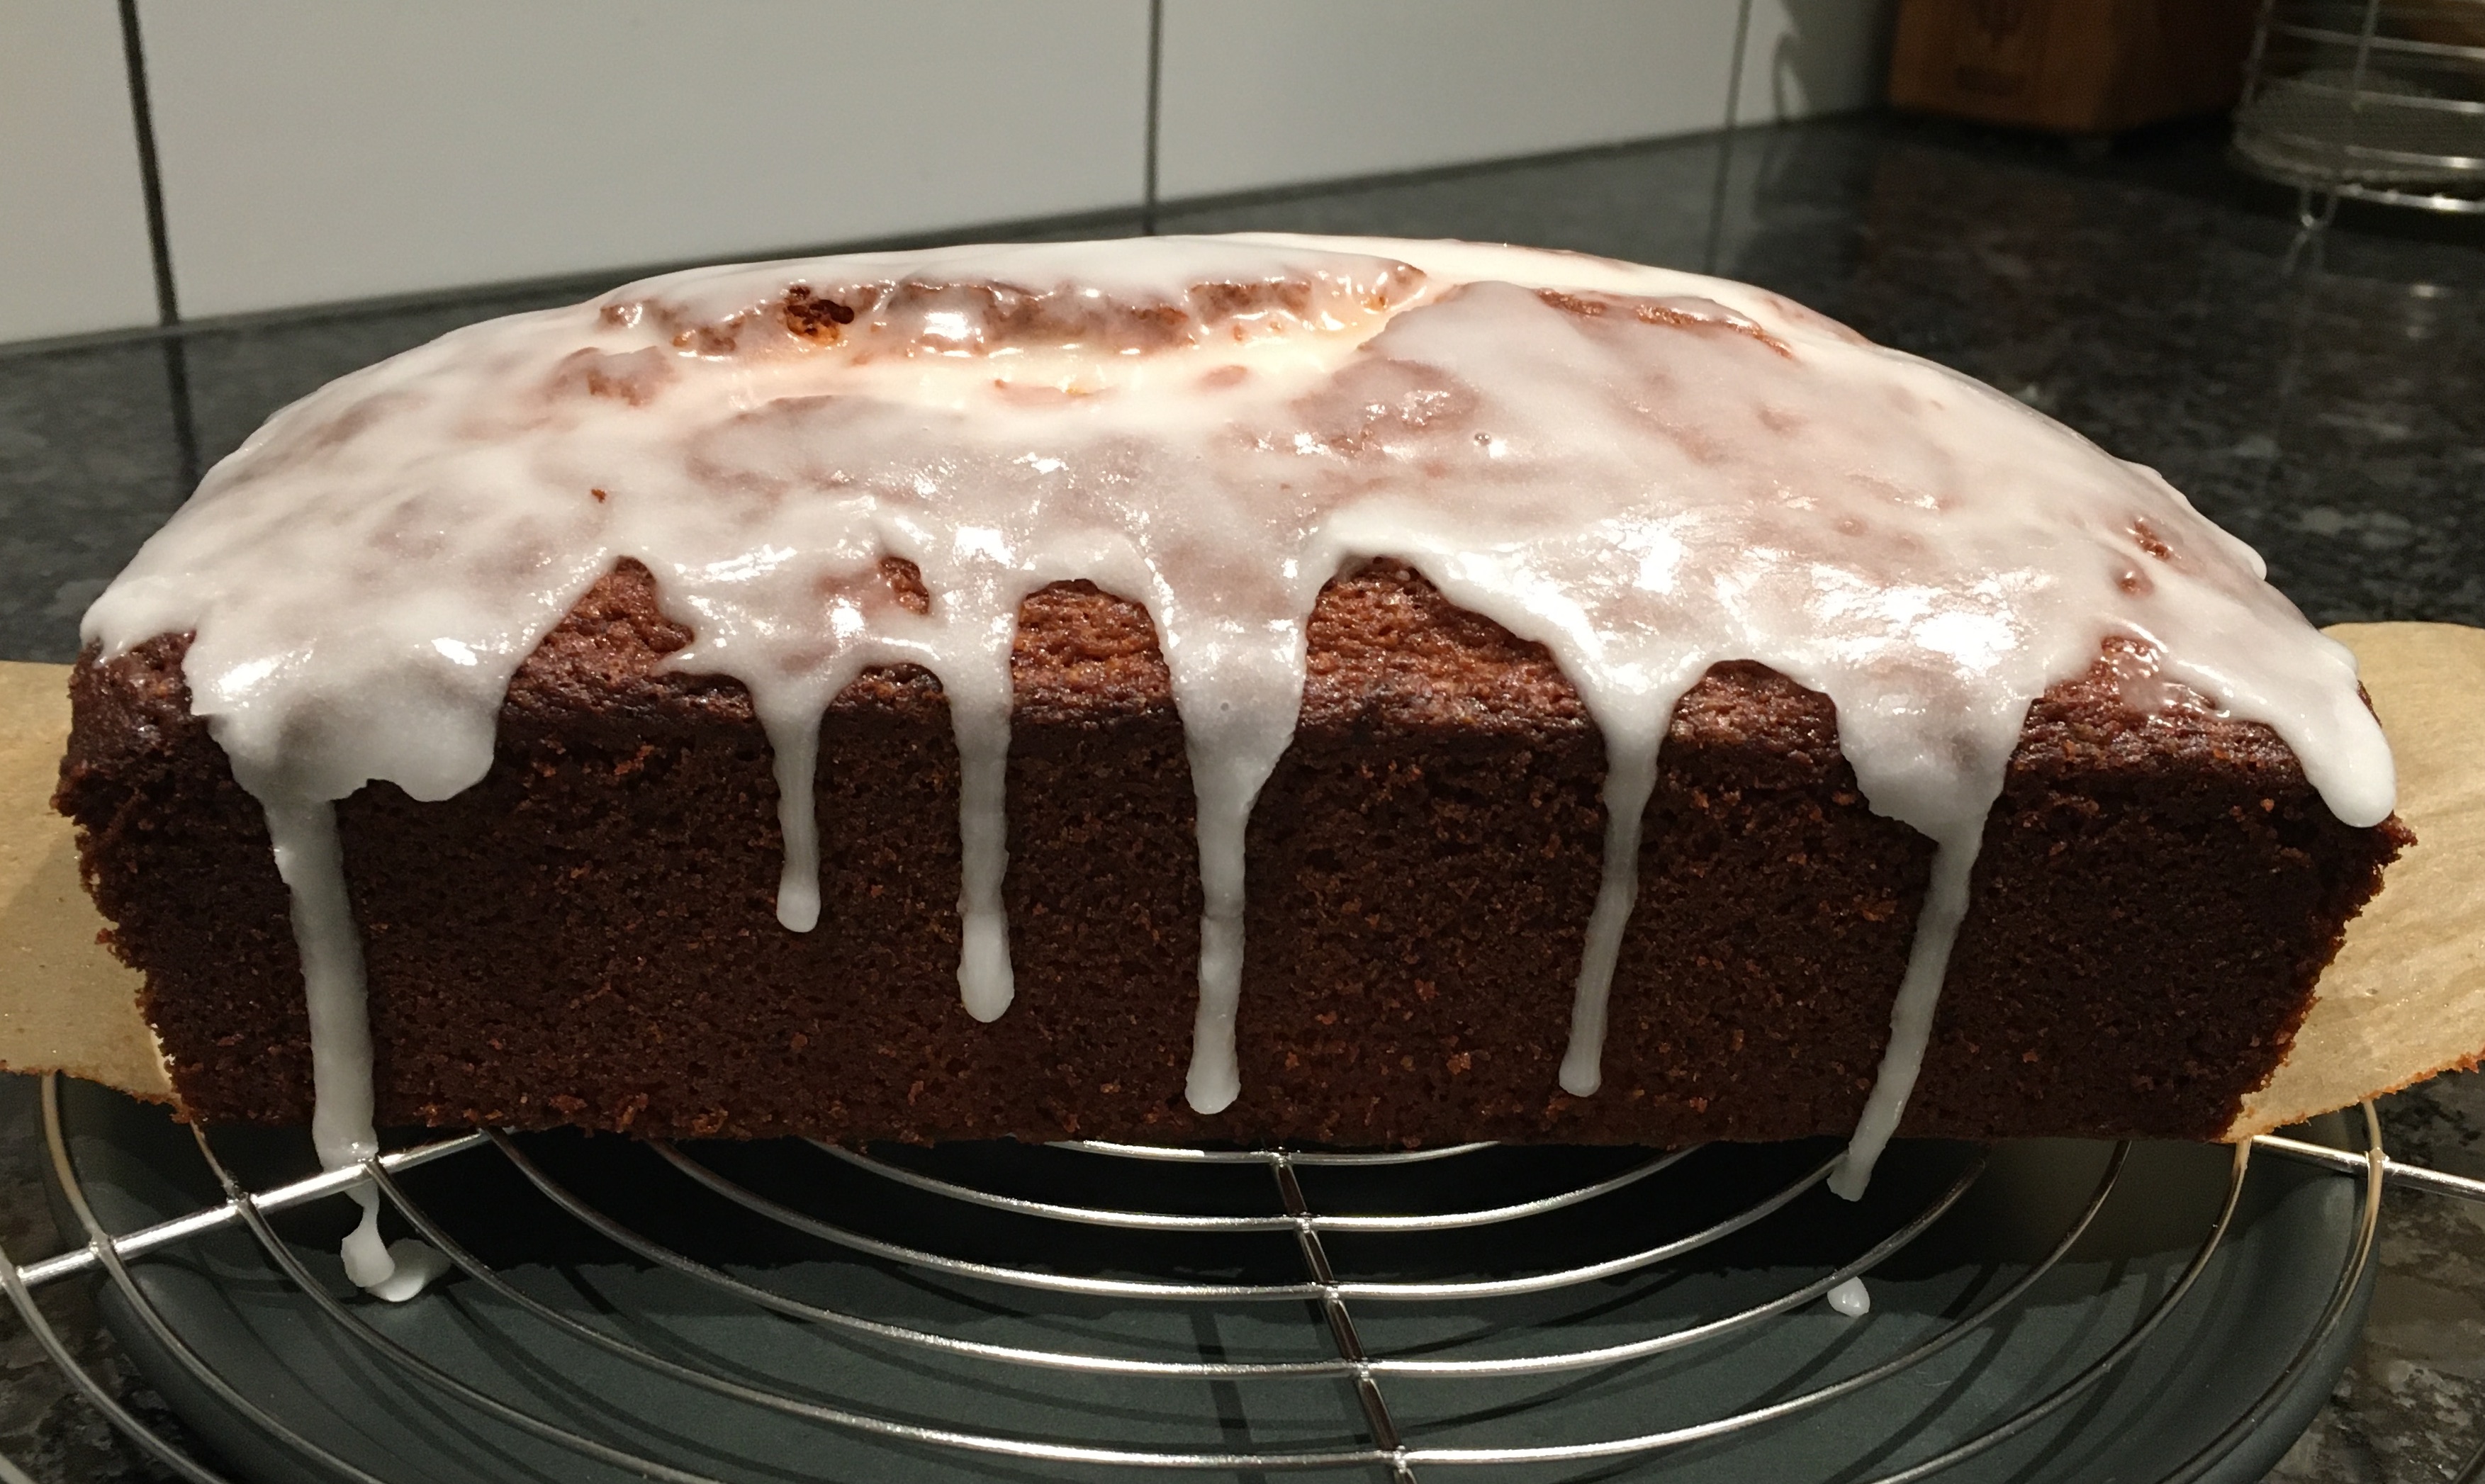
My husband had planned on baking bread on Sunday, but unfortunately he woke with a terrible cold that morning. He’d started his sourdough sponge the night before, so with instructions from him, I made up his bread dough after breakfast and set it to rise as I continued to chop vegetables.

The mixing bowls began to fill up in the kitchen as the morning progressed. After several hours and a few trips to the garden to pick more vegetables and dump scraps on the compost pile, I took a short break from chopping to divide the bread dough for loaves. Thankfully, my husband felt well enough at this point to form the loaves and get them started on their second rising, because I really wanted to finish chopping vegetables by lunchtime.

I finished the final chopping shortly after the focaccia came out of the oven. We sat down to enjoy fresh focaccia for lunch.

My break was short, because after lunch I began processing all those chopped vegetables. It was clear I wasn’t going to be able to fit everything into one pot, so I pulled out both my 20-litre stock pots and divided the vegetables between them. While the soup heated up, I prepared my jars and the pressure canner. I also filled my 12-litre stock pot with vegetable scraps and water and set it on the stove to simmer for a few hours for vegetable stock.

Much of the time commitment in making and canning vegetable soup is in the canning process. Each batch of seven jars has to be processed for an hour and 15 minutes, and then there’s the waiting time while the canner cools down enough to remove the jars before putting in the next batch.

While I was waiting for the canner to do its thing, I started in on the apples that needed to be processed. I peeled and sliced a mountain of apples. Once I’d emptied the soup out of one of the 20-litre pots, I refilled it with apple slices and cooked them up into apple pie filling—enough for three generously filled pies. The pie filling went into the freezer. 

The soup seemed to never end. Even after separating off two meals worth of soup for eating this week, I ran three full canner loads (21 quarts) of soup and one full load (7 quarts) of stock. The last jars came out of the canner at 9.15 pm.

I’m glad I only make summer soup once a year, but I’m thrilled to have all that summery goodness squirrelled away in the pantry. Bring on the rain and cold of winter—I can already taste the soup (followed by a slice of apple pie, of course!).

Crazy Cake Season 2024—well, that was a fail

The cake was ugly even before the jelly layer was added on top…

The girl turned 20 this week, but she hasn’t outgrown crazy birthday cakes. Her response when I asked her what she wanted this year was: How would you feel about making a hornwort (Anthocerophyta not Ceratophyllum)?

Well, that’s a gauntlet thrown, for sure. Hornworts’ thin, jelly-like ‘leaves’ and tall, narrow sporophytes do not lend themselves to buttercream icing. This called for a new technique.

I immediately thought of agar agar (a vegetarian gelatine substitute, for those who don’t know), which has the right sheen for a hornwort, and which I knew could be made into thin, textured sheets (I knew this because I’ve used it for creating texture on fake wounds … yeah, I do a lot of weird stuff.)

As I was looking up a good water:agar ratio for the consistency I wanted, I stumbled across the world of jelly cakes. I was immediately hooked. They look totally disgusting to eat (I hate jelly/jello, won’t use gelatine because it’s not vegetarian, and I think agar tastes like seaweed), but visually they’re amazing.

So when I found that my thin agar leaves were fiddly and a bit too floppy, I decided I would do a jelly cake and create my hornwort using jelly cake techniques. 

And the jelly added extra special ugliness.

I spent two hours practicing with the jelly last week, making sure I could do it without all the specialised equipment the professionals use. Then I made the other components of the cake over the weekend. I first made the actual cake (because no way was I going to have only jelly cake to eat) using a new recipe. This turned out so awful, I made a second cake with a tried-and-true recipe because there was no way I could use the first. I made the fake moss (using a new technique I hadn’t used before), chocolate tree bark (again, something I hadn’t made before), and the icing (using an unusual recipe I had never used before). 

Then, on the girl’s birthday, I made the jelly hornwort and assembled the whole thing.

The result? Pretty ugly, and not very hornwort-like. Or bark-like, or moss-like. And the icing set up like glue …

But hey, you’ve got to try new things, right? On the plus side, I learned about jelly cakes. I learned that the specialised equipment the professionals use is probably necessary to do it well. I learned how to create a decent jelly from agar agar (I mean, as decent as any jelly can be—yuck!), which I could now use to create moulded shapes or other embellishments for future cakes. I learned how not to make chocolate tree bark, and that a certain cake recipe and icing recipe can be discarded. The fake moss was definitely more moss-like than previous techniques I’ve tried. It’s one that’s probably worth playing with and refining.

Trying new things can pay off…

So I learned some things. And I got to eat cake. It may not be pretty, and the icing texture is simply wrong, but the flavour’s good.

And I have to remind myself that sometimes trying something new does work. Remember the octopus cake? Better luck next time.

Fruity Experiments

The freezer is packed with early summer fruits—raspberries, gooseberries, red currants, and black currants. Seriously, if we don’t make a good effort to eat it, we’ll still have fruit left when summer rolls around again.

Black currant scones before baking–colour unusual, but okay…

So I’ve been experimenting with new and interesting ways to incorporate fruit into baked goods.

Two weeks ago I made a cookie bar that is supposed to be filled with chocolate fudge. I filled it with black currant puree instead, making a wonderful tart-sweet flavour bomb.

There was thawed black currant puree left over from the bars, so for Sunday breakfast I took my favourite lemon barley scone recipe (which I’ll have to blog about someday …) and substituted black currant puree for the liquid ingredients. The results were … mixed.

The flavour was good, but of course I love black currant, so I expected that. The colour, on the other hand, was more of a conversation piece than a bonus—dingy purple. The scones didn’t rise as well as they usually do either, and the texture was heavier than I would have liked.

So I’d say the scone experiment was inconclusive and needs more testing.

Black currant scones after baking–colour a bit disturbing…

I also made raspberry crisp and lemon pound cake studded with red currants over the past two weeks, and these were resounding successes. They, too, require replication.

And there’s plenty more fruit for additional studies! I don’t think it will be too much of a hardship to work our way through the frozen fruit.

Lazy Lemon Cake

Sometimes you want cake, but don’t want to work for it.

A head cold this past week has left me craving cake, but without the energy to do much baking. Consoling myself with cookbooks from the library, I came across a recipe for Greek Lemon-Yoghurt Loaf Cake that was so easy, I couldn’t resist. Nothing else really caught my eye in the Great British Bake Off cookbook this came from, but I think this one is a keeper.

Here’s the recipe, in case you’re feeling lazy …

150 g plain flour
2 tsp baking powder
pinch of salt
50 g ground almonds
200 g caster sugar
finely grated zest of 1 lemon
3 medium eggs (I used 2 large)
125 ml Greek-style yoghurt
125 ml mild light olive oil (I used a mix of canola and extra-virgin olive oil, because I didn’t have light olive oil)

for the glaze:
125 g icing sugar, sifted
finely grated zest of 1 lemon
1 – 1 1/2 tbsp Greek-style yoghurt

Sift the flour, baking powder, salt and almonds into a mixing bowl (tip in any almonds remaining in the sieve). Stir in the sugar and lemon zest.

Combine the eggs, yoghurt and oil in a measuring jug and beat well with a fork. Pour into the flour mixture and stir until well combined.

Pour into a greased loaf pan lined with a strip of baking paper. Bake at 180℃ for 55-65 minutes until golden brown. When the cake is ready, cool in the pan for 5 minutes, then run a knife around the edges of the pan and lift the cake out by the lining paper and allow to cool on a rack.

Make the glaze by sifting the icing sugar into a bowl. Mix in the lemon zest and then add just enough yoghurt to make a smooth, shiny glaze with the consistency of double cream. While the cake is still hot, spoon the glaze over the top.

I have lots of ideas for variations on this cake—using a blackcurrant glaze, replacing half the flour with barley flour, stirring in frozen blackcurrants … it’s a recipe that invites you to make it again and again. 

Harvest Days

My hands smell like onions. My fingernails are stained purple. The walls and cabinetry in the kitchen are festooned with colourful splatters and drips. The floor is sticky underfoot.

It must be harvest time.

The garden gushes vegetables in late summer, and the shorter days warn that it’s time to start preserving the bounty before it’s gone.

One of my favourite ways to save summer’s vegetables is in summer soup (which I’ve blogged about nearly every year since 2015). Because soup uses a bit of everything, there’s no need to have vast quantities of any one vegetable. And it doesn’t matter if, say, the sweet peppers bombed or there’s an overabundance of sweet corn. Soup accepts what you’ve got and returns lovely meals all packaged and ready to go on those winter evenings when you come home late from work. It is both forgiving and giving.

So it’s worth a long day in the kitchen to make and bottle (can) a big vat of the stuff.

And while you’re at it, it’s super easy to toss carrot peels, corn cobs, celery tops, and other ‘waste’ from soup making into a large pot to simmer for stock. Run the stock through the canner after the soup, and you’ve got delicious summer flavouring for winter risottos and stews.

So I may have spent fourteen hours in the kitchen on Saturday, but at the end of the day, I had fourteen quarts of soup and six quarts of stock (and another four quarts of pickled onions, because you know, if you’re going to spend all day in the kitchen, you may as well make the most of it.

In the coming weeks, I’ll bring in the pumpkins and potatoes, freeze sweet corn, and string hot peppers for drying. The kitchen will be messy, and I’ll have too much to get done.

But when it’s all over, I’ll be able to relax, at least for a while, until the winter crops need to be weeded …

Crazy Cake Season 2023

Crazy Cake seasons have become far less crazy, now that the kids are out of the house. Last year, my daughter didn’t ask for anything specific, but this year she slyly said, “I’ll be happy with any cake … but a peripatus would be cool.”

Behold, the velvet worm cake!

Naturally, I made a red velvet cake for the body. The legs are walnut shortbread cookies, usually shaped into crescents, but in this case shaped into peripatus legs. The antennae are cinnamon sticks. I covered the whole thing with light blue cream cheese frosting, and then piped dots of coloured white chocolate on top. The moss is coloured coconut.

It’s not the most biologically accurate peripatus–I couldn’t fit all 30 legs on (I couldn’t even fit in all the legs into the inner loops of its body)–but the extra legs I made gave me something to snack on as I decorated the cake.