My plan was an easy dinner tonight. I’d been saving a few artichokes—letting them get big, so we could have steamed whole artichokes. I figured I’d make a salad with some leftover cous cous in the fridge, and maybe fry up some tofu crusted with herbs and parmesan cheese. Quick and easy.
Then I went to the garden and saw the spinach. Beautiful, glossy leaves, loving the bit of rain we’ve had recently. There was so much of it, I couldn’t resist.
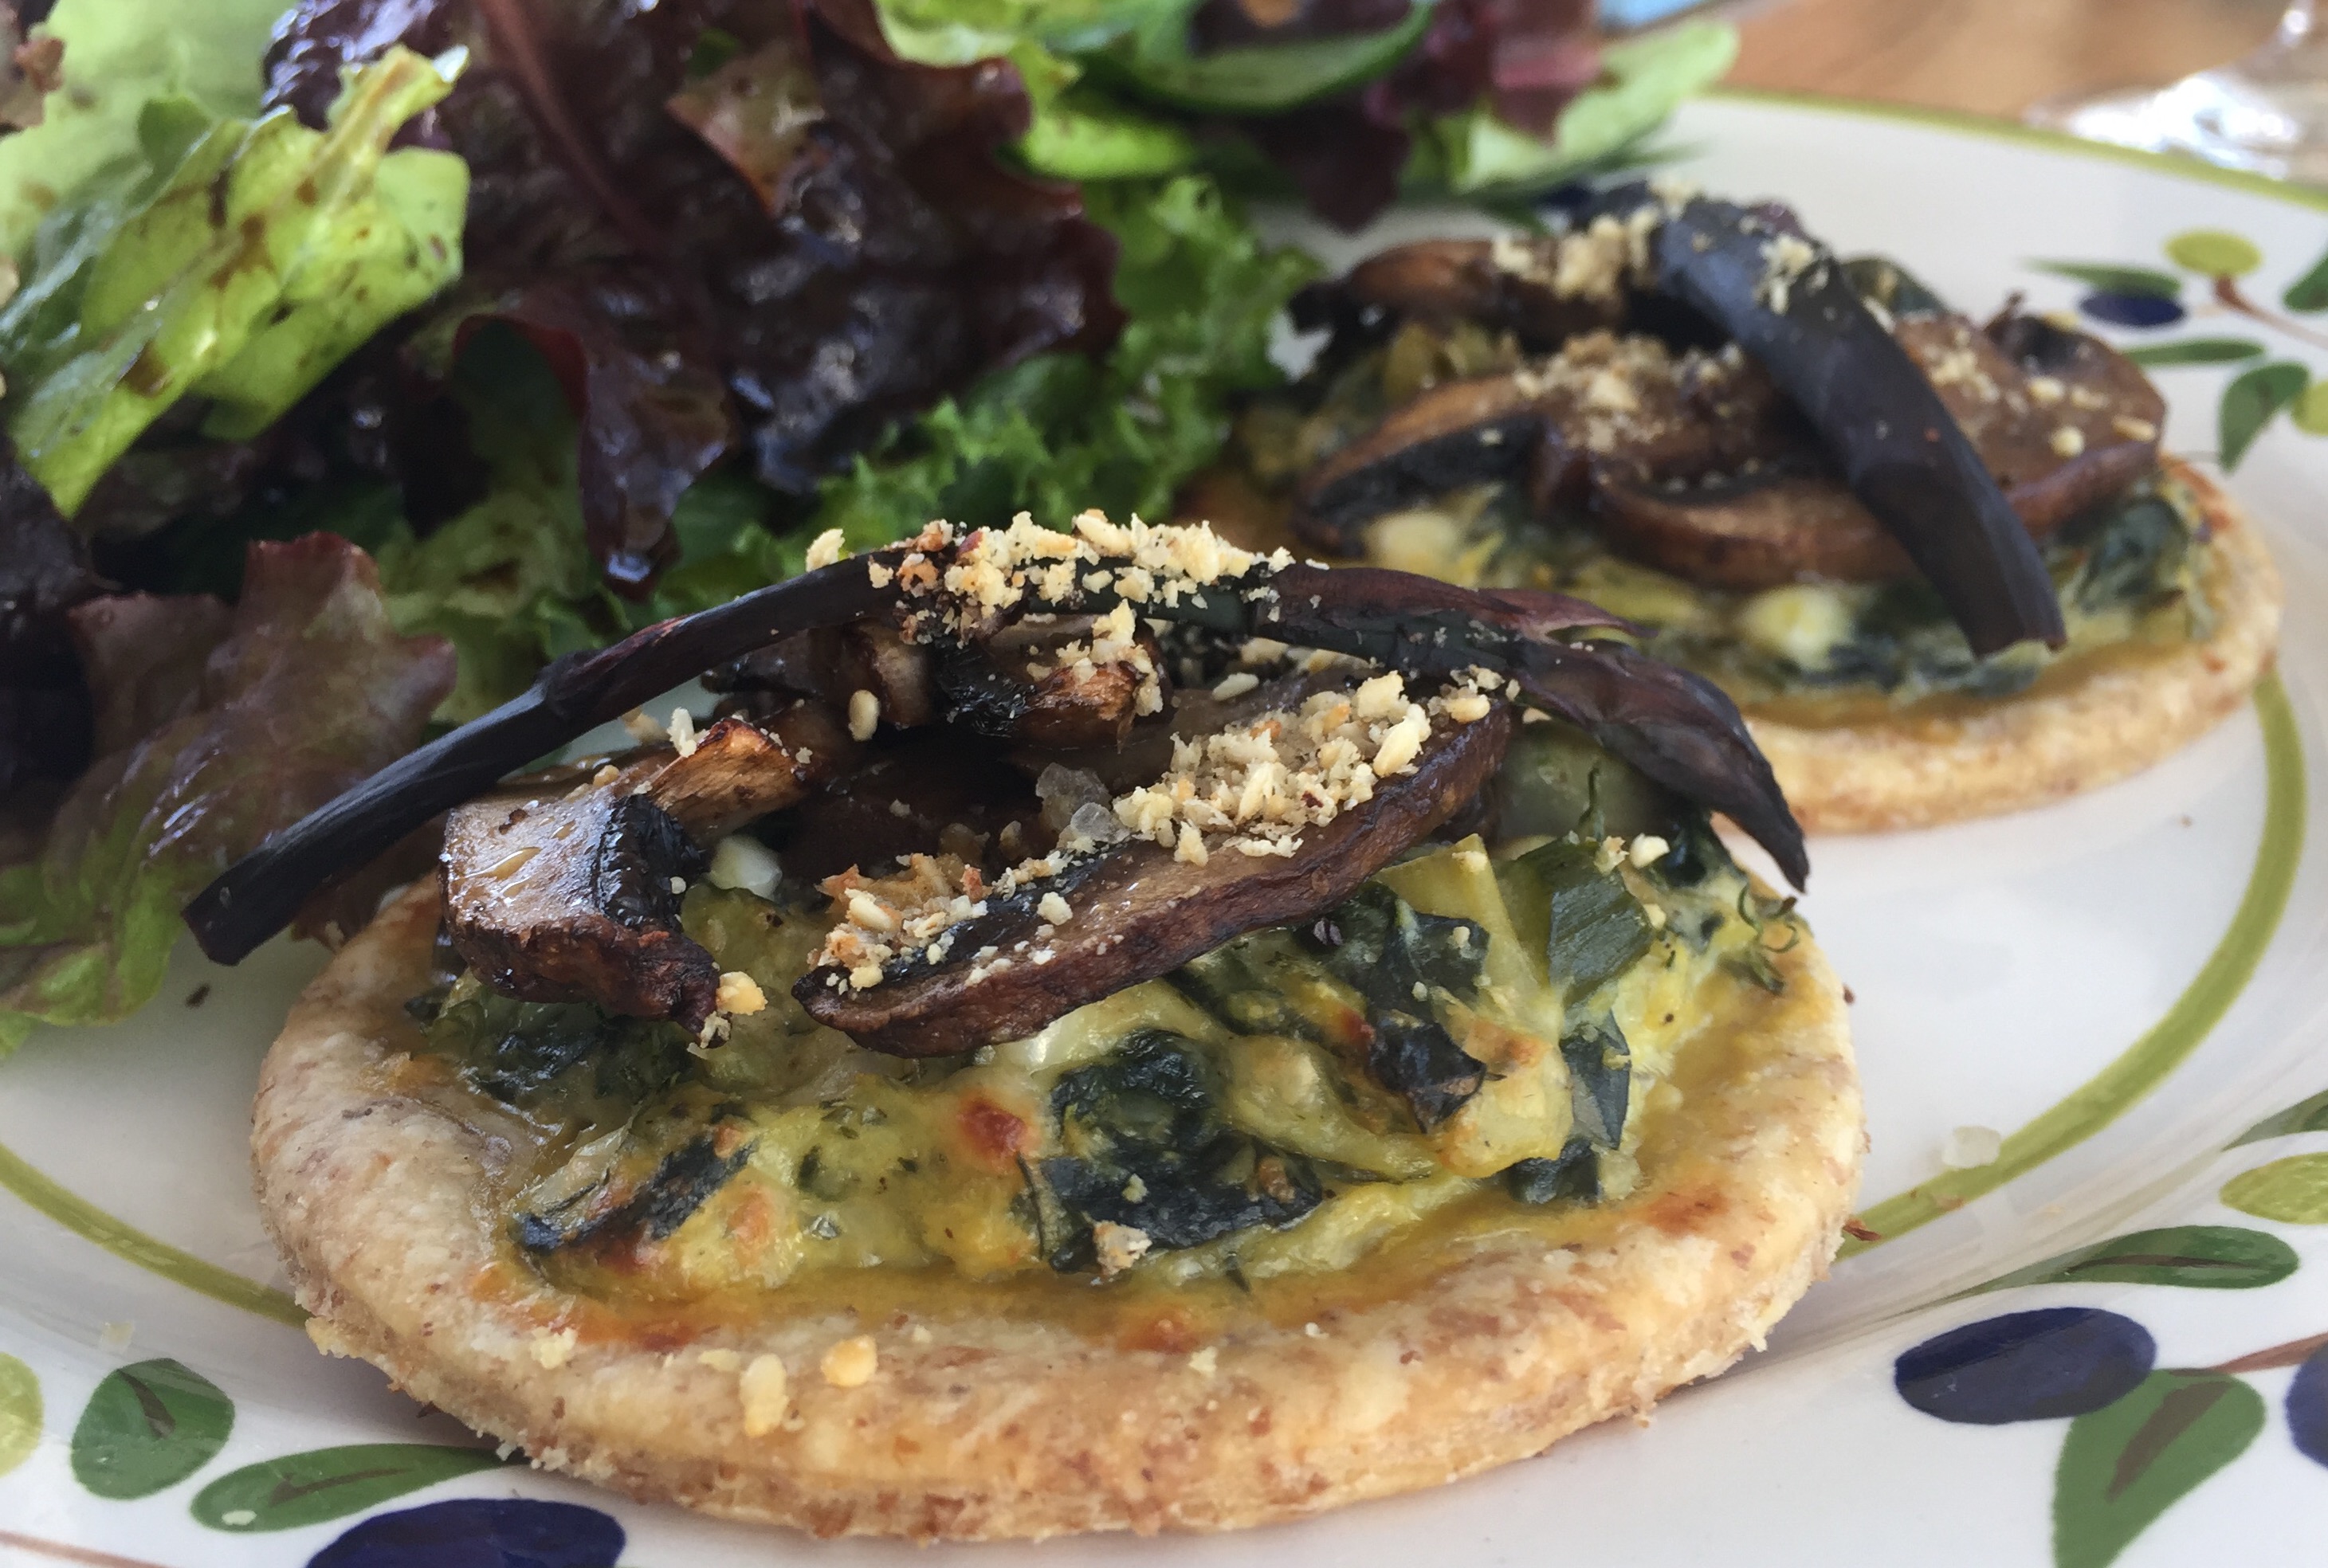
So instead of a quick, easy meal, I made a spinach tart to go with those artichokes.
Dinner was a little late, but it was well worth it. There wasn’t a crumb left when we were through.
Trying to work quickly, I didn’t bother looking for a recipe. Here’s what I did.
I made a standard pie crust—enough for a single-crust pie. I rolled it out and lined my tart pan, then put it in the fridge to chill while I prepared the filling.
For the filling, I used:
Fresh spinach (maybe 1kg (2 lbs), coarsely chopped)
Fresh chives (a good handful, chopped)
Fresh dill weed (4 Tbsp, chopped)
1 cup grated goat cheddar
4 large eggs
salt and pepper to taste
I cooked the spinach and chives with a few tablespoons of olive oil until the spinach was well cooked, and most of the water had boiled off. I removed it to a bowl to cool. When it was cool enough to handle, I squeezed more water out of the spinach, and drained it off. (You want the spinach pretty dry, to keep the crust from getting soggy.)
I mixed in the dill, cheese, eggs, and salt and pepper, then poured the mix into the prepared crust. I baked it at 190°C (375°F) for about 40 minutes. I let it cool ten minutes before serving.