It’s birthday cake season again! This year, my daughter’s brief for me was a Kura Tawhiti bouldering theme, with ‘maybe a climber and some alpine plants’ done in chocolate and hazelnut flavours.
I think both of us had a vision of a grey boulder or boulders with climber, plants, etc. But as I started in on the cake, the vision changed.
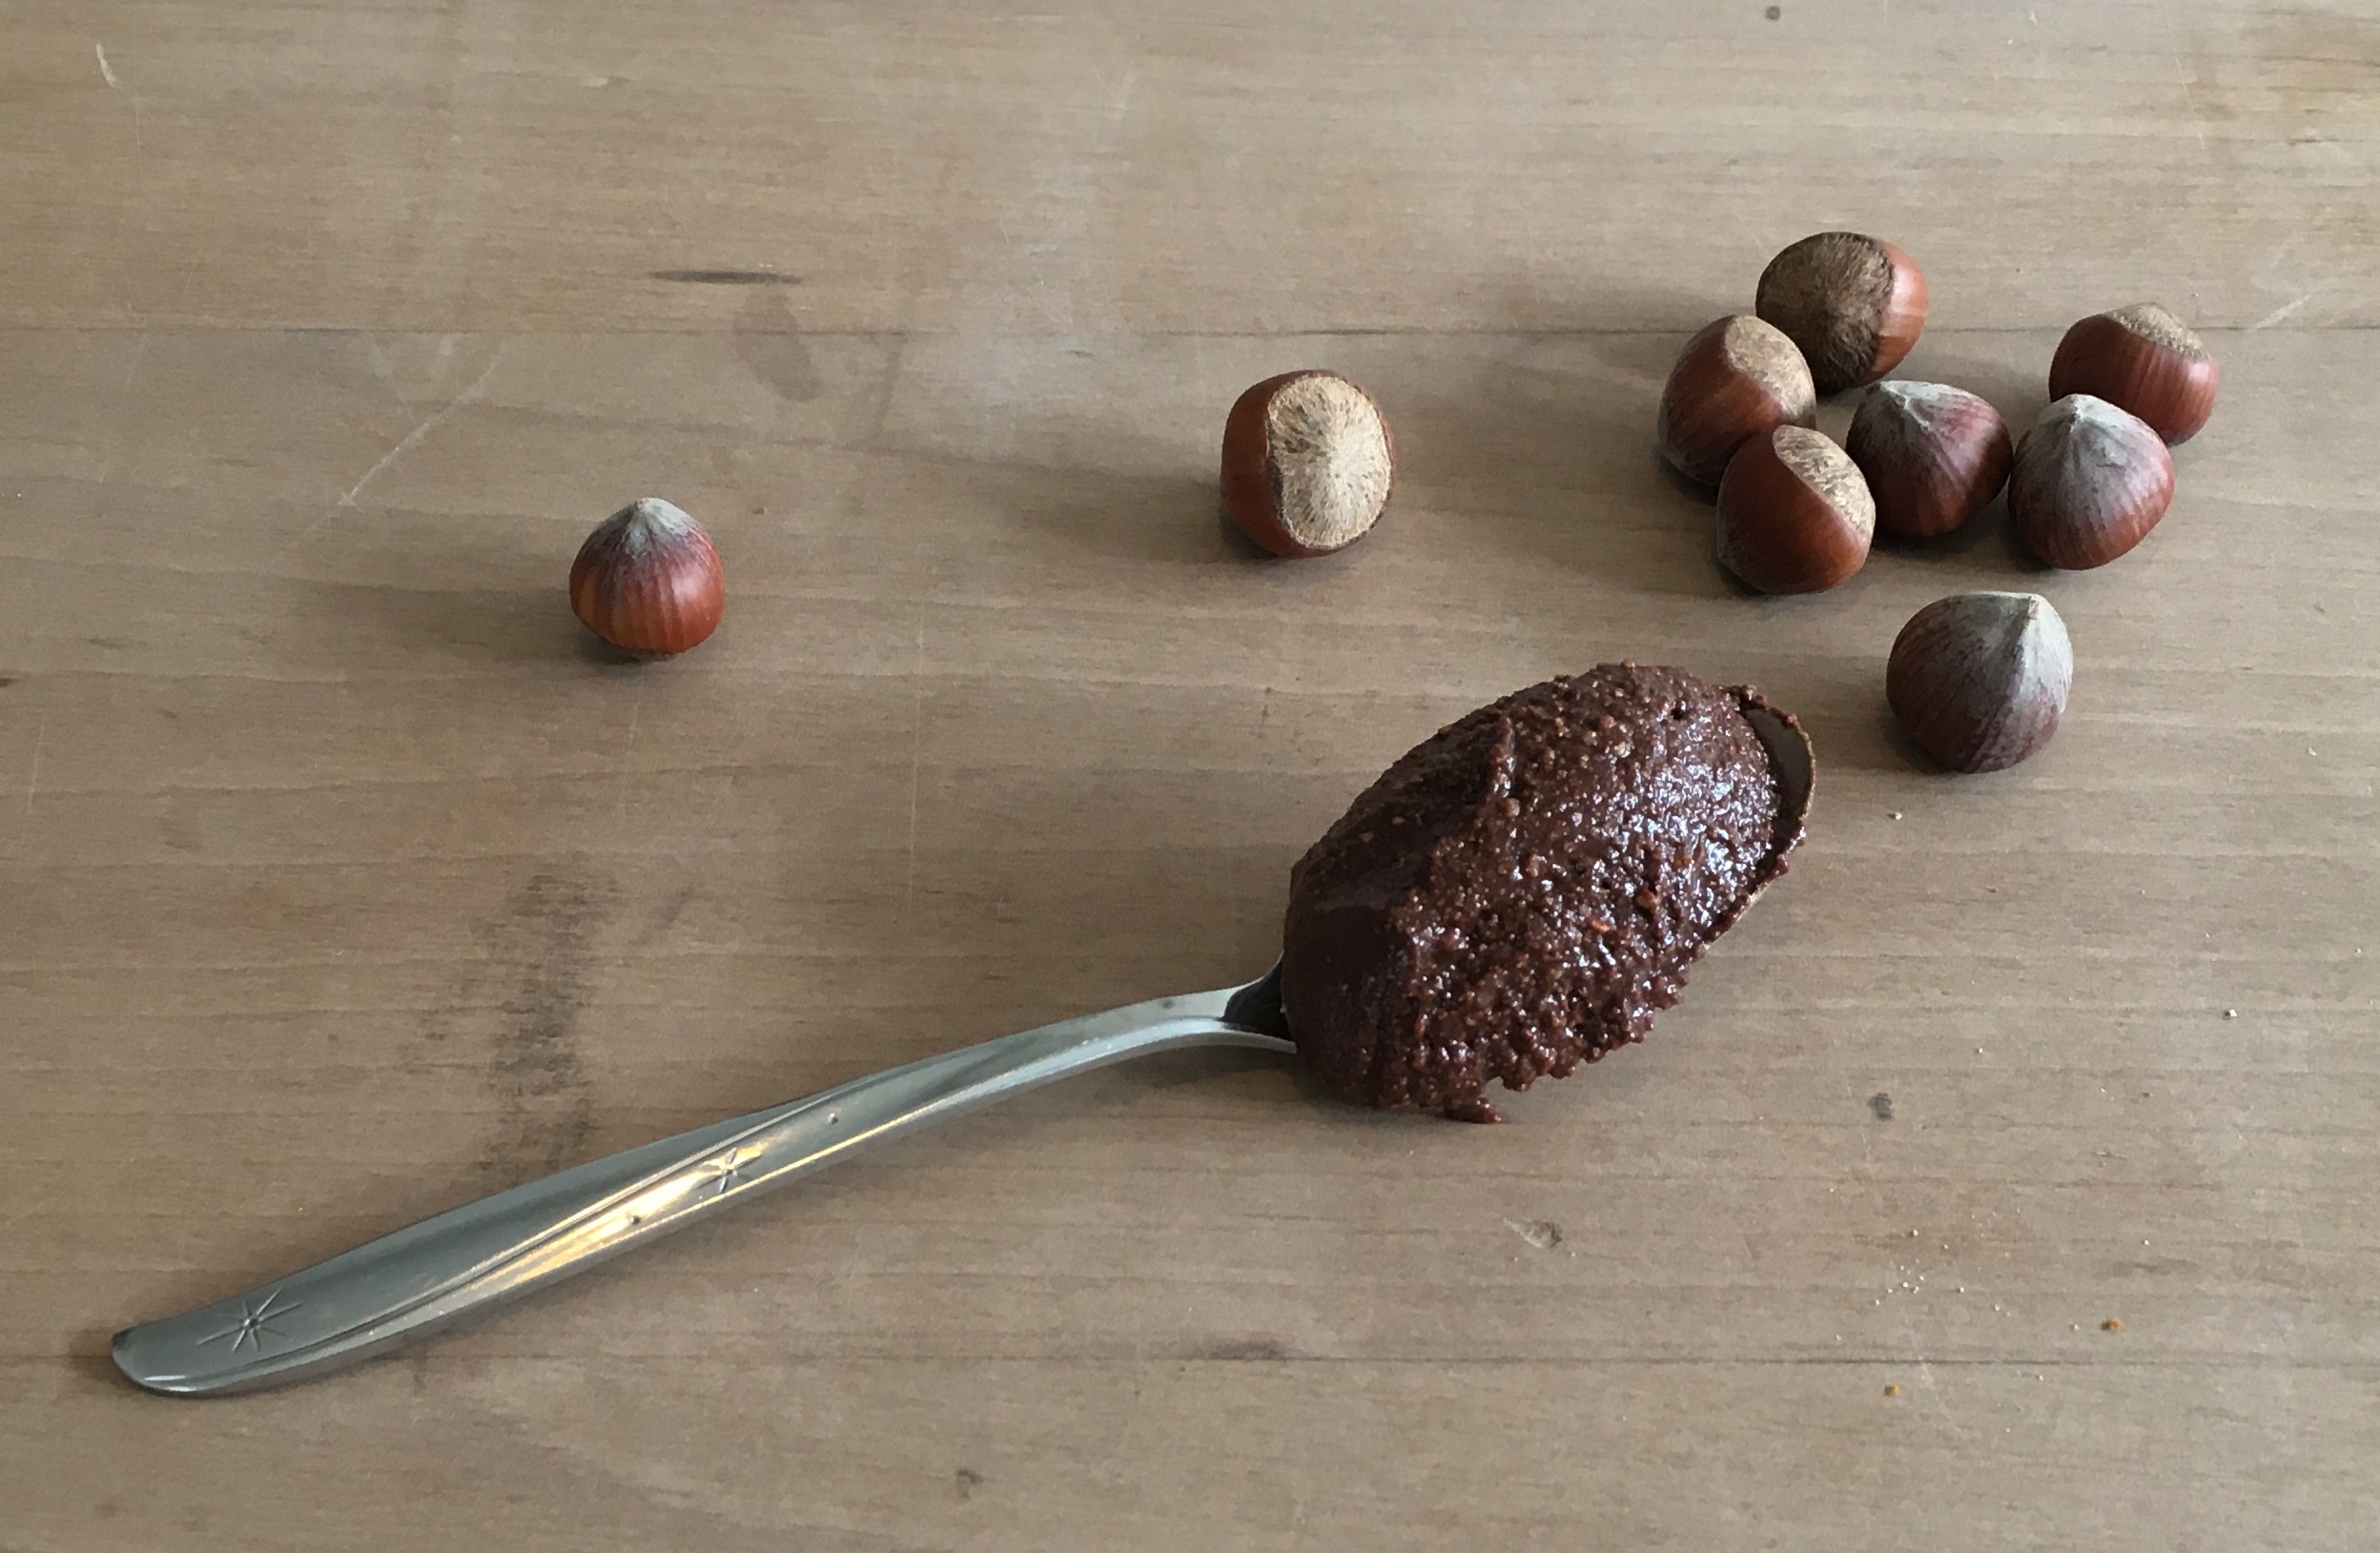
I made one of my favourite devil’s food cake recipes (from Tartine) in a range of round layer sizes. I sliced each layer in half and filled it with my homemade Nutella, stacking the layers in a wonky boulder-like shape.
Then I stood there and contemplated the decoration. My plan had been to make the standard quick icing I use for decorating, but the amazing rich chocolate cake with decadent Nutella filling really needed something better than quick icing. It needed ganache.
 So that’s what it got—chocolate ganache covered with ground hazelnuts to get a more appropriate boulder colour.
I added chunks of hazelnut praline for a more rocky appearance, and made some alpine plants and a climber from Mexican paste. A few small final touches with a simple sugar and milk icing, and the cake was finished.
It didn’t look anything like I thought it would when I started, but it tasted absolutely divine! No wonder—it contained over 400 grams of chocolate, two cups of hazelnuts, and a gloriously unhealthy quantity of butter and cream. In the end, no one was paying much attention to the look—we were too busy oohing and aahing over the taste.