DIY pot handles

100_4014 smA good stainless steel pot can last pretty much forever.

Problem is, the bits that aren’t stainless steel don’t.

We inherited two glass-lidded pots when we bought our house. They’re not the greatest pots, but they do get used a lot, as they’re very convenient sizes. Unfortunately, the lid handles have broken off both of them.

Enter my ever-resourceful, creative husband, who carved new handles for them.

These delightful knobs are far more interesting than the ones they replaced. In fact, they’re so nice, I’m thinking about breaking some of the other pot handles…

Strangest Kitchen Tool Ever

100_4012 sm
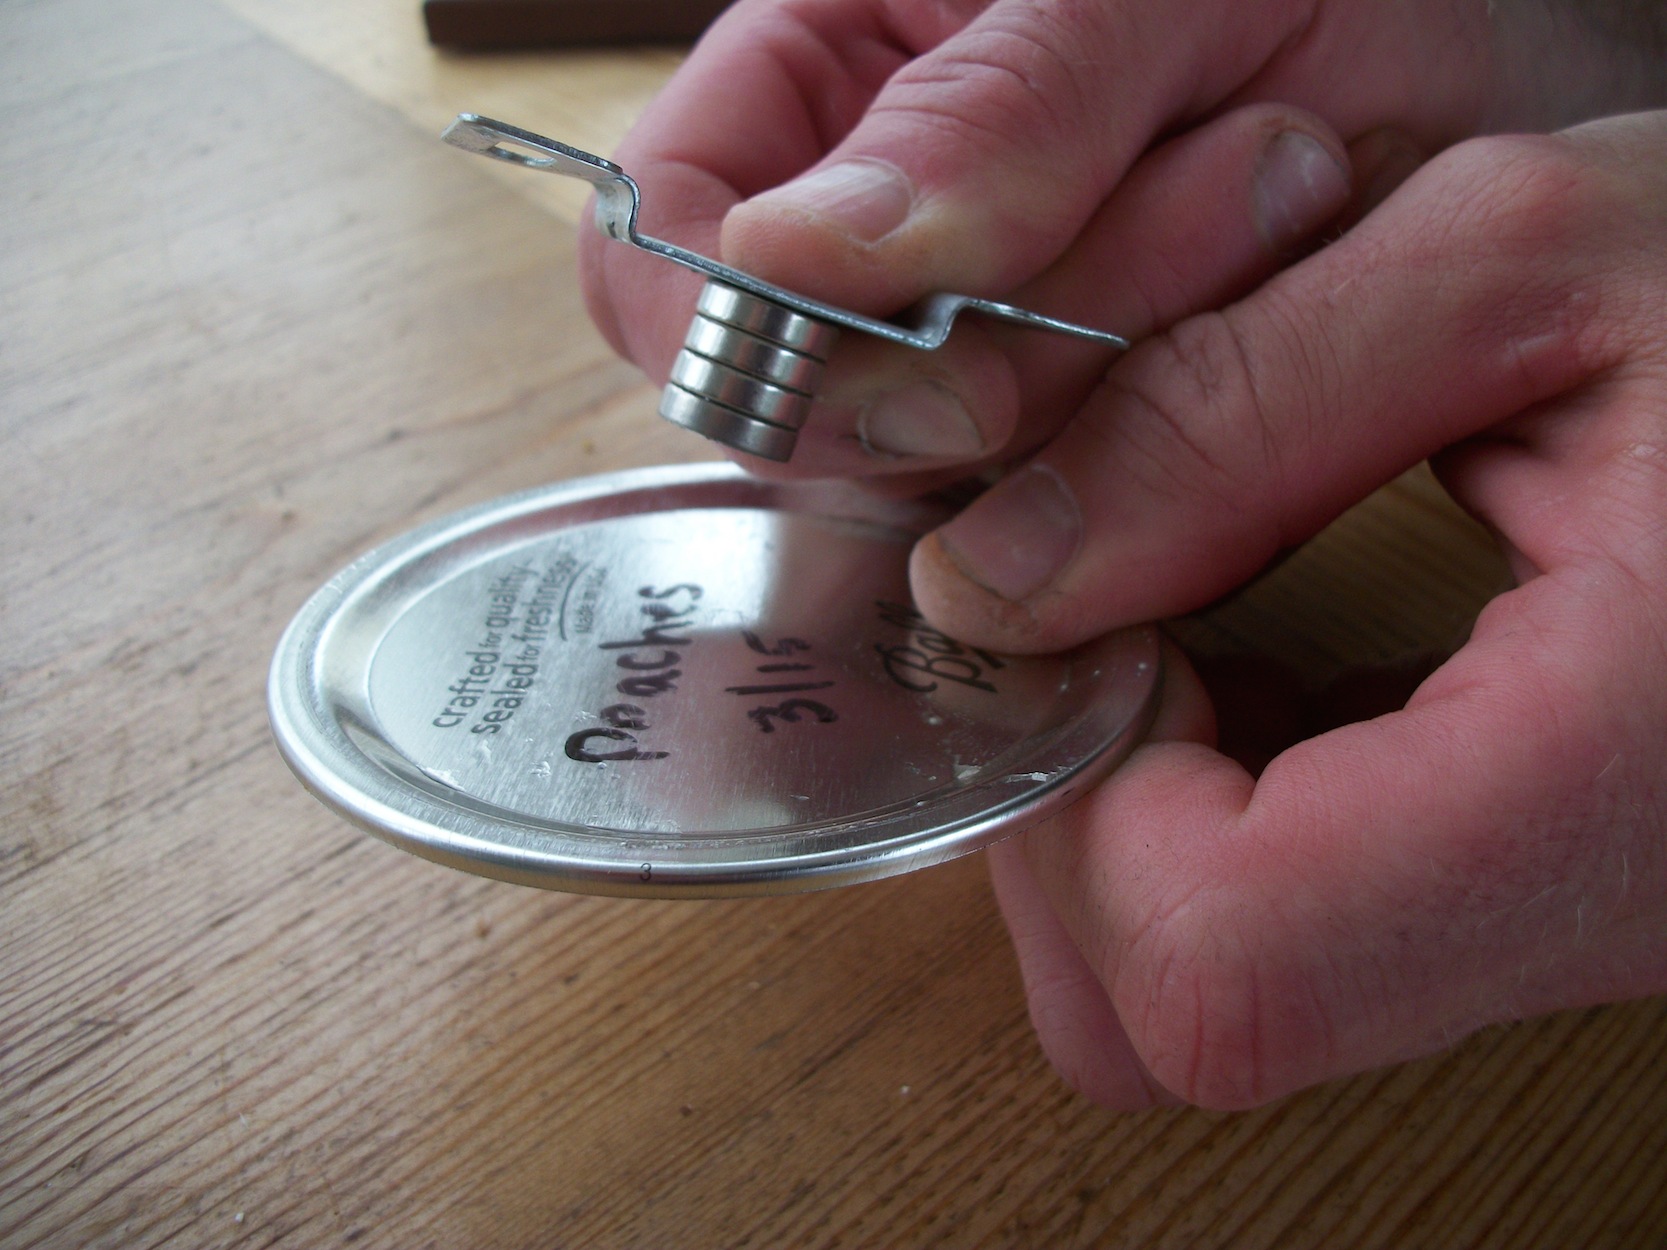
Stuck to a screw head in the bottom kitchen cupboard where mouse traps nestle alongside the water heater is the strangest kitchen tool. It’s a DIY affair made of a discarded cabinet latch plate and four small rare-earth magnets. It is seldom used, but absolutely critical when it’s needed.

It’s the Canning Lid Extraction Device.

For some reason known only to the gods (who are laughing uproariously about it, I’m sure), the drain of our kitchen sink is exactly the same diameter as a wide mouth canning lid. Exactly. And, you know, when you’re washing a jar, you just toss the lid into the wash water, not thinking. It floats innocently down, guided inexorably to the lowest point of the sink—the drain—where it gently settles in, just as you think, “No! I dropped a lid in!”

And once one settles into the drain, there is absolutely no way to get even the thinnest tip of a knife in there to pry it out. It’s stuck. Forever.

Or, it would be without the handy dandy Canning Lid Extraction Device.

Where would we be without magnetism! The powerful magnets latch onto the lid and pull it right out. The old latch plate acts as a convenient handle for wet, soapy hands. The perfect tool!
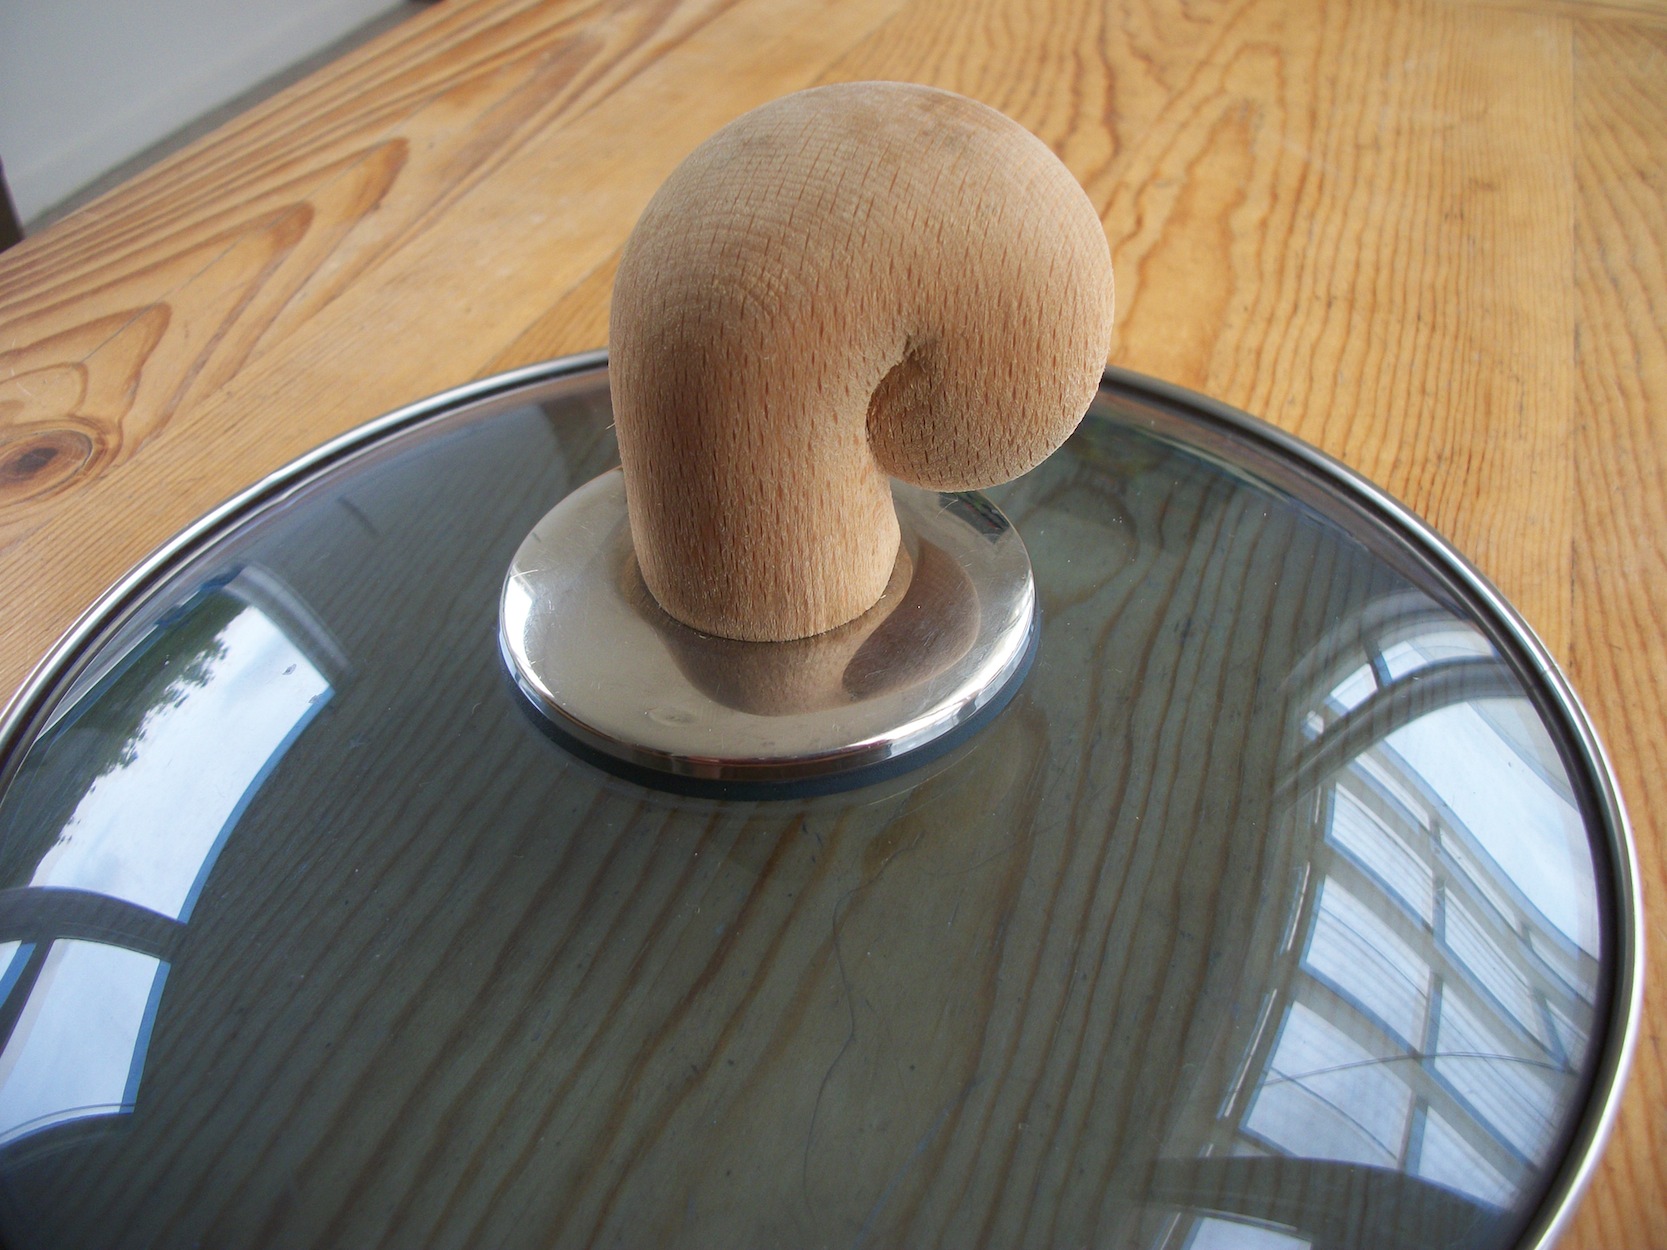
Trellis Trials

Trellis with jute

Trellis with jute

As a gardener, I’m always trying out new things, always trying to make my gardening easier and more productive.

Last year, I tried out a new trellis, and it worked pretty well. This year, I’m testing variations on last year’s trellis.

Trellis with fencing

Trellis with fencing

The trellis is a wood frame composed of two supports and a top and bottom bar. Holes in the top and bottom bar allow me to string the trellis with jute. Last year, the jute worked well for peas and beans, but wasn’t strong enough for tomatoes. It was also a bit of a pain to string and clean up at the end of the year.

Trellis with wire

Trellis with wire

So this year, I’ve strung some of them with jute again, but I’ve also stapled deer fencing to one of them, and strung the tomato trellis with high-tensile wire (both of which were left over from other projects). Neither fencing nor wire looks as nice as the jute, but I’m hoping they are stronger, and they have the bonus that they won’t need to be replaced every year, saving me time and money in future years.

Plant tags

100_3660 smI use a lot of plant tags every spring—many hundreds, at least. I reuse as many as possible from year to year, but they don’t last forever.

I hate the idea (and the expense) of buying plastic tags, so instead I use empty milk bottles cut into strips. Permanent marker shows up well on them, and they last several years. Best of all, they’re free, and I can make hundreds of them every year.

Duct Tape

100_3655smIt is the answer to every problem, the fix for every break. It is one of the most essential tools I use.

Old watering can is cracking? Wrap it in duct tape!

Binding on your favourite book splitting? Put some duct tape on it!

Rubbish bag tear? Duct tape will take care of it!

Hole in your sneaker? Duct tape will fix that!

Outdoor outlet needs a little more rain protection? Secure a plastic cover onto it with duct tape!

Break the hoe handle? Duct tape will hold it together for years!

Duct tape!

Winter Holiday Craft Project

100_3422 smIt’s the winter school holidays and it’s been raining for days, so my daughter and I decided we needed a project. After paging through some craft books and trolling the internet for a bit, we decided to make coasters.

With some old map books, a few scraps of linoleum tiles and felt, we turned out these cool coasters.

We cut the linoleum tiles into 3 ½ inch squares, then looked for the best bits of map to cover them with. We chose map locations that were either meaningful to us, or that were just neat looking. We cut out 4 ½ inch squares from our maps, and used glue and/or double sided tape to stick them onto the linoleum squares, wrapping the edges to the back. Then we glued a square of felt onto the back, and protected the maps with two coats of varnish.

Simple and fun! A great way to spend time with my daughter!

Repurposed tent

100_3308 copyOur 30 year old Eureka tent finally gave up the ghost this past summer, after many previous repairs and many years of use. I salvaged as much hardware as I could from the tent, and was about to toss the remainder in the rubbish when my hand slid over the silky no-see-um netting of the tent’s windows. That beautiful mesh was still in perfect condition, as was a lot of the rip-stop nylon of the tent itself. I found myself unable to throw it away.

It wasn’t long before I came up with the perfect project for repurposing the tent—mushroom growing bags! Last year, we covered the mushrooms with old pillowcases to keep the fungus gnats from infesting them. The pillowcases were not quite long enough, and did a marginal job. Ian had already asked me to make some custom bags with draw string bottoms to keep the flies out. What could be more perfect than bags made of tough, largely waterproof tent nylon? Add a strip of that no-see-um netting so you can peek in to check on the mushrooms, and the project was perfect.

So yesterday, I whipped out a raft of these slick bags from the old tent fabric. Felt great to repurpose the old tent, and I can’t wait to try them out!

An Orderly Work Space

My "new" 125 year-old garden shed.

My “new” 125 year-old garden shed.

With my husband’s new shop all but finished, he’s been shifting all his tools from the old shop. The shift prompted the shuffling and rearranging of not just his tools, but also my gardening tools and supplies, and my teaching resources and crafts in my office. A shelf unit from my office went to the new shop, and a cupboard went to the “new” garden shed (the old shop). I got new cupboards for the office that are a better fit for the space, and we all spent the entire weekend rearranging and organising stuff in all three work spaces. Cleaned out things we don’t use anymore, discovered things we thought we’d lost, and arranged work spaces so that the tools and materials we need are easy to find and convenient to use.

After nearly ten years saying we were going to do this reorganisation (and being sidetracked by more important issues like leaking roofs, rotted house piles, and disintegrating weatherboards), I’m thrilled to see our work spaces coming together the way we’d like them to. There is still a lot of work to do to finish the job, but I can already see I’m going to appreciate having my seed-starting trays and pots in an enclosed space so they don’t blow off the shelves every time we have a storm. I’m going to enjoy having my garden tools neatly hung on the wall, and my pots and potting mix arranged for efficiency, not just stashed wherever I could make them fit.

Makes me want to go out and plant something, just for the pleasure of using a well ordered shed.

Renovation reminiscing

DSC_0002 sm

Stripping the old…

I love my kitchen, but it wasn’t always so. When we moved into our house, the kitchen was appalling. What little cabinetry was there was obviously taken from some other kitchen—it didn’t particularly fit the space, and had clearly been cobbled together. In the spaces between cabinets, crude wooden shelves had been tacked up. A tiny sink and an ancient electric range (with a bare wire inside that regularly electrocuted mice) completed the kitchen’s amenities. The kitchen had obviously been built as a lean-to many years ago. Later, the roof had been lifted somewhat to improve the space. Still, that part of the house is well over 100 years old, and little real repair work had ever been done to it. The floor had dangerously soft patches, where you felt that the only thing between you and the ground was a 50 year-old sheet of linoleum. The walls behind the cabinets were largely unlined, and in the winter, cold wind poured through the cracks, chilling everything in the cabinets. The previous owners had weather stripped the cabinet doors in an unsuccessful attempt to reduce the freezing gales whipping across the kitchen floor. Mice scampered in and out through myriad holes in the floor and walls.

Something drastic had to be done.

Enjoying the new.

Enjoying the new.

We set up the toaster and an electric hot plate in the living room and completely gutted the kitchen. Two weeks of hard work, and the room had a new floor, new walls, new cabinetry, a big double sink, and (the big splurge) a beautiful 5-burner gas range. The hideous, unusable space had been transformed. We use the kitchen so heavily that, five years on, we can begin to see wear and tear on things, but I still love the space. It was worth every blister to create it!