Bread Day, revisited

It’s been a long time since I last blogged about a bread day. I reckoned it was time for a revisit.

For most of our married life, my husband has baked all our bread. When we moved to New Zealand, we applied for a permit to bring his sourdough starter, which was a bit of a family heirloom, having been passed to him by his father (who baked their bread when my husband was growing up).

Once we settled in New Zealand, in a rural location with some land, we built a wood fired bread oven. Our first oven was made of clay we dug from the property, empty wine bottles for insulation, and set atop two overturned concrete livestock water troughs. An oven on the cheap, because we didn’t have much money and weren’t sure we’d use it long term.

We loved it, so when the first oven began to fall apart, we were happy to buy materials for the second. And when we moved, we built a third one, on the new property as one of our first big projects.

A bread oven is different from a pizza oven. Unlike the pizza oven, which relies on a live fire, the bread oven bakes on stored heat.

A bread day starts the day prior, when my husband pulls the sourdough starter out of the fridge and makes his sponge—a wet slurry, more like batter than dough. The sponge bubbles away overnight.

On the actual bread day, the fires is lit early, usually before breakfast. My husband fills the bread oven with wood and lets it burn to coals, then repeats the process in order to ensure the mass of bricks soaks up plenty of heat.

While the fire burns, my husband makes up the dough, using around 7 kg of flour.

By about lunchtime, the dough is ready to be made into loaves, and by early afternoon, the second fire is burnt to coals, which get raked out of the oven. At this point, the oven is running at about gazillion degrees—way too hot for most breads. But each type of bread bakes at a different temperature, and each batch lowers the temperature of the oven.

The first bread in is focaccia—thin and flat, it is in and out of the oven in 5 minutes. Then we throw in a big tray of vegetables to roast. They take 10 to 15 minutes and bring the oven temperature down enough to bake narrow baguettes, which are also out within 10 minutes.

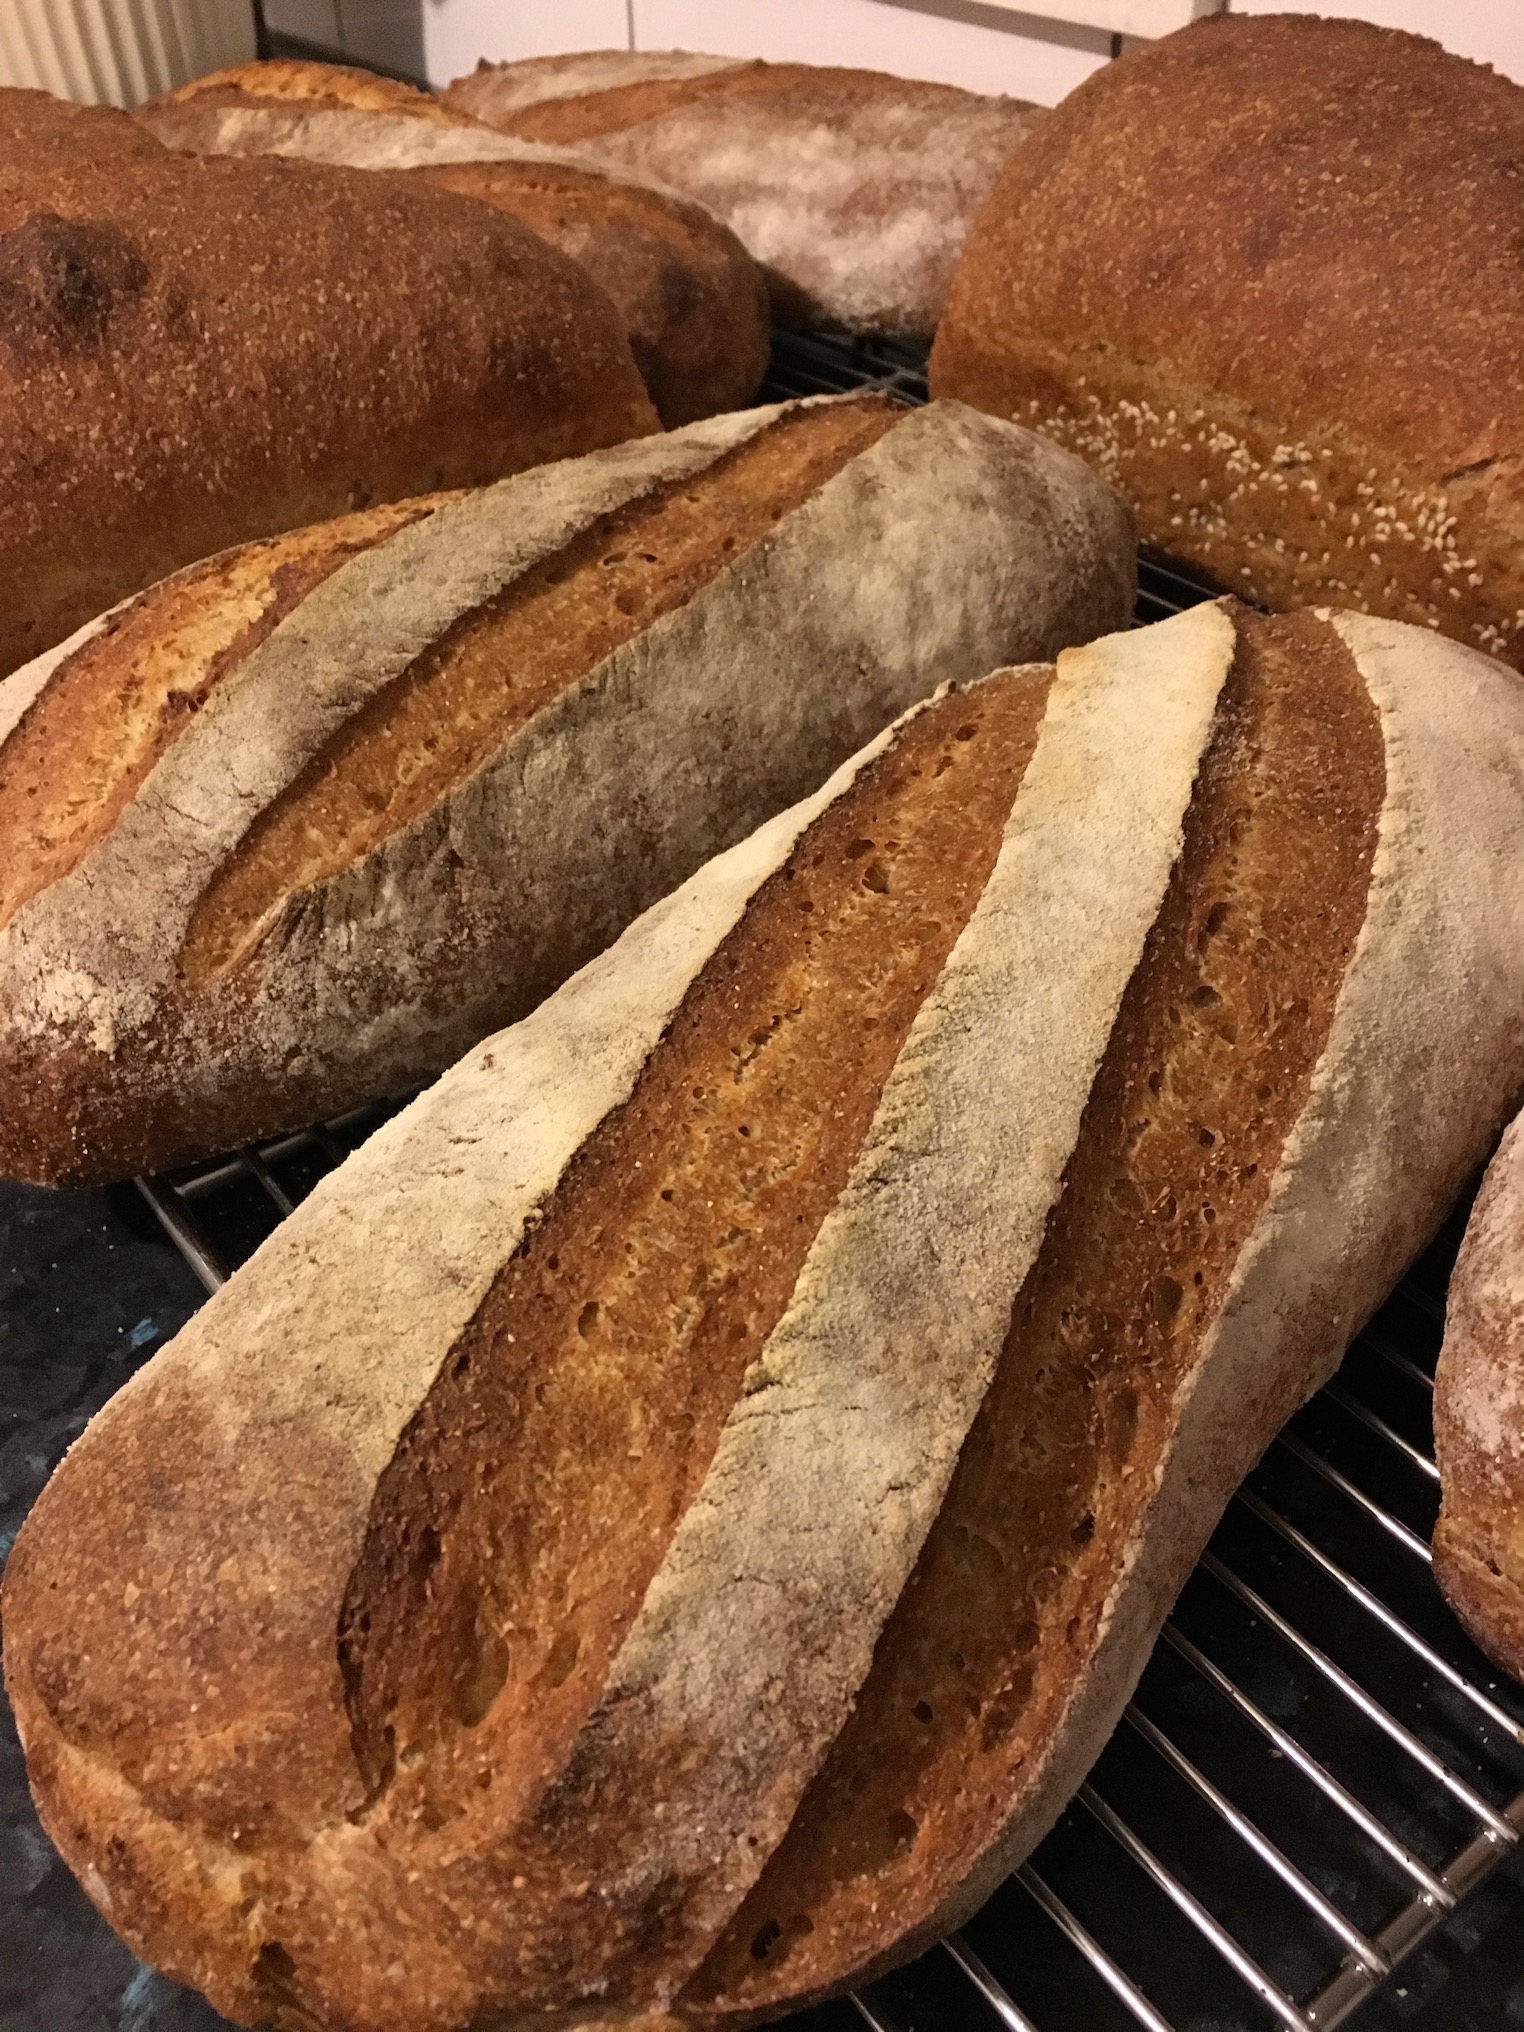
Then come the batards, and then finally the square loves.

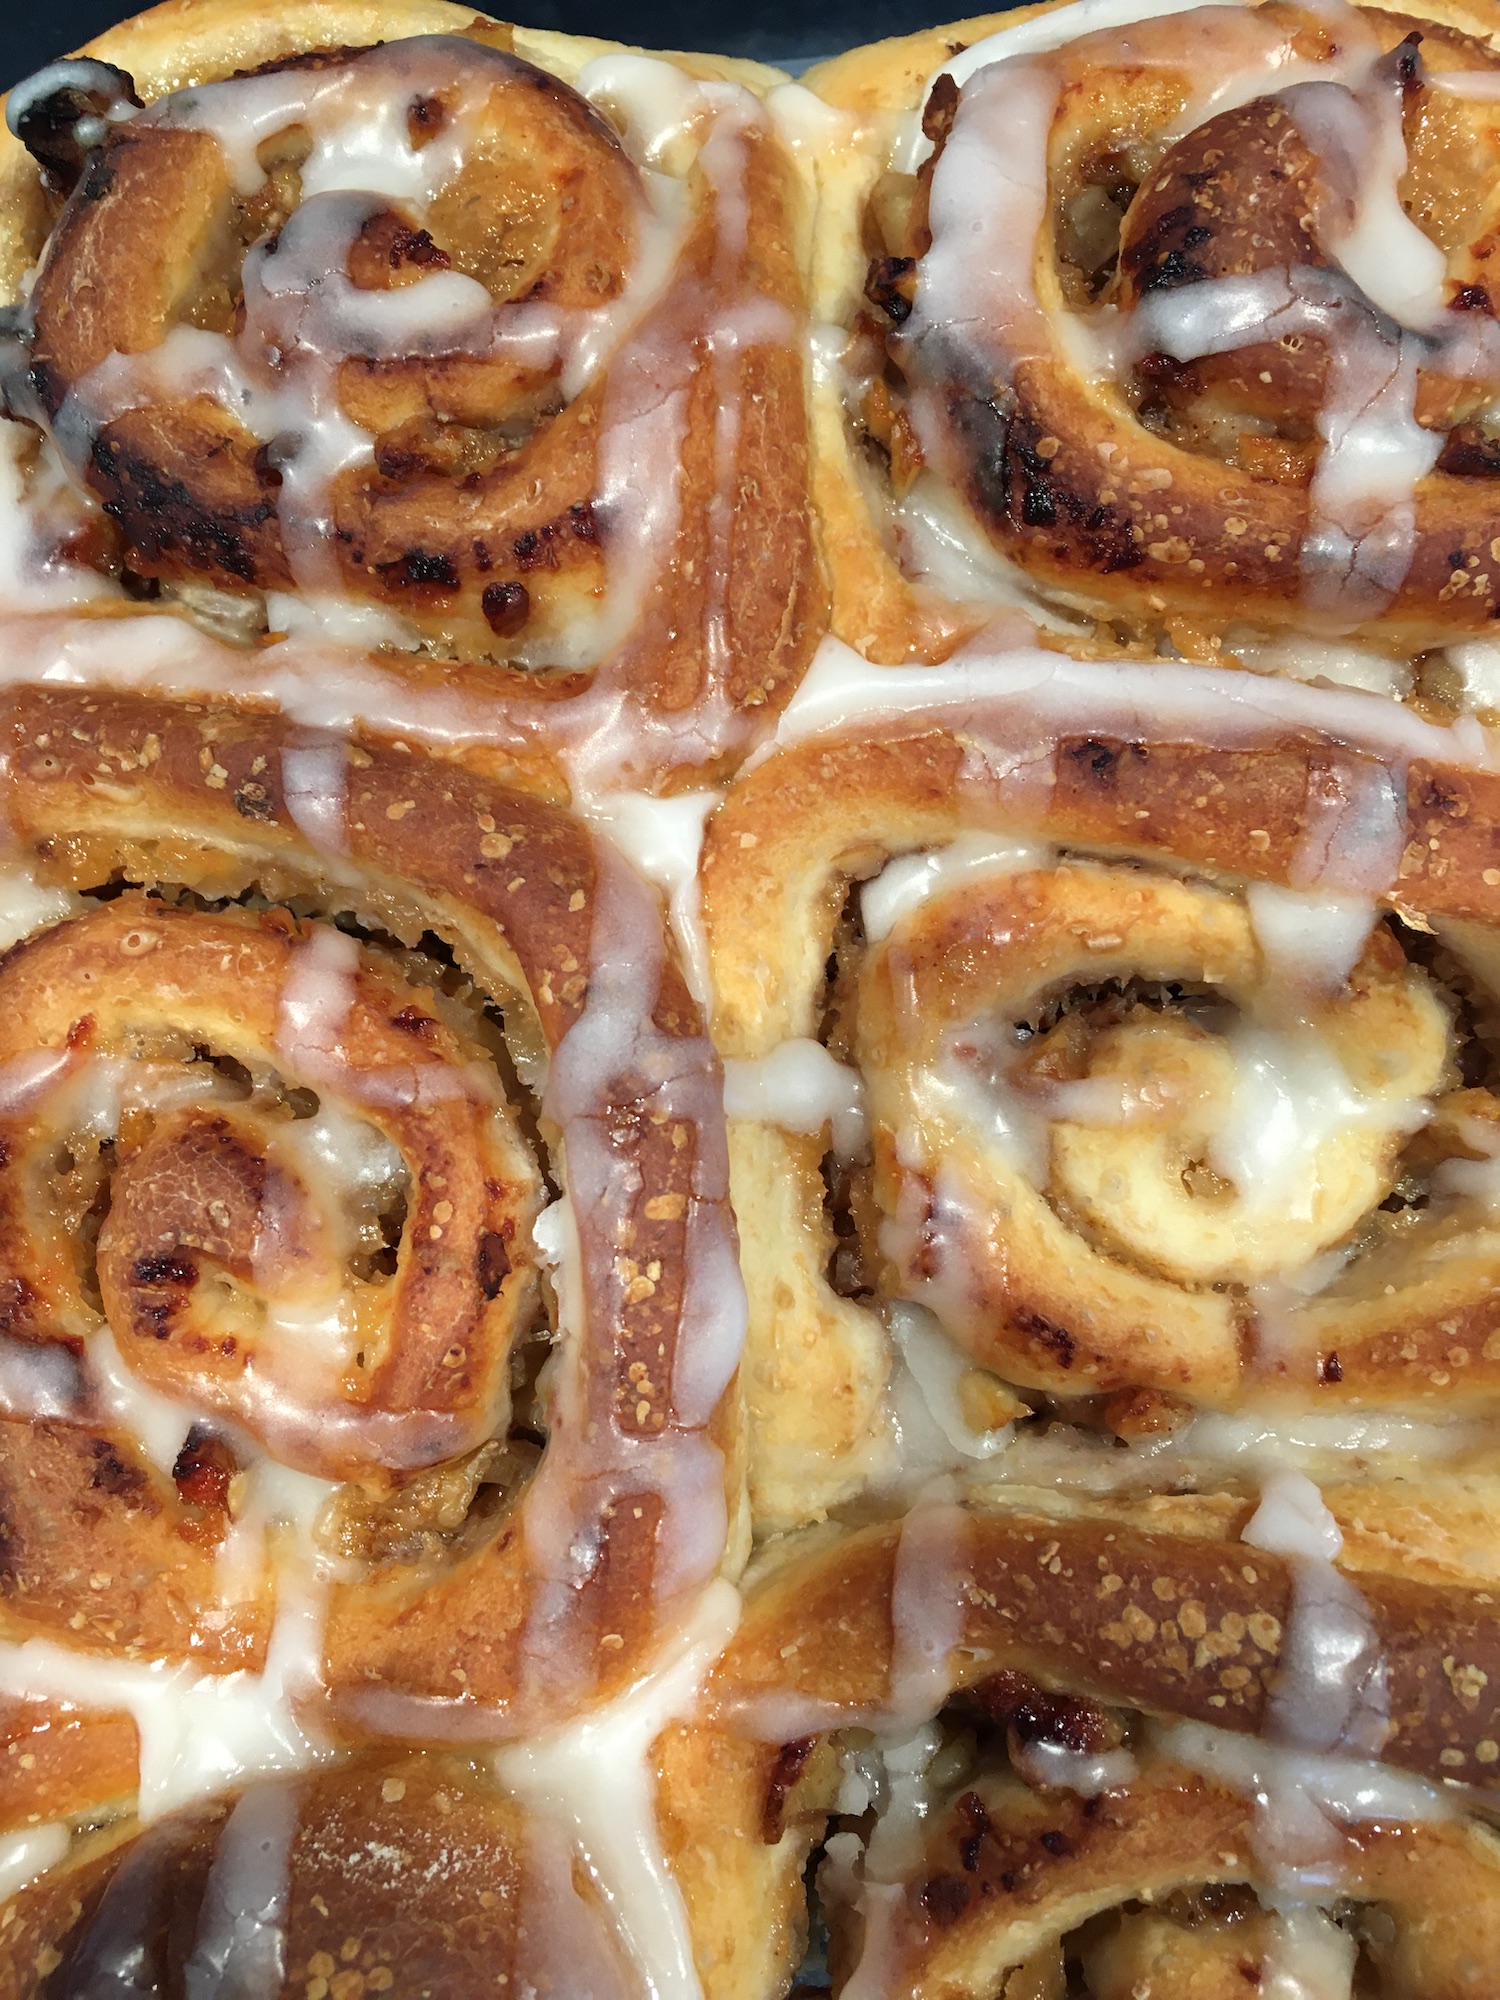
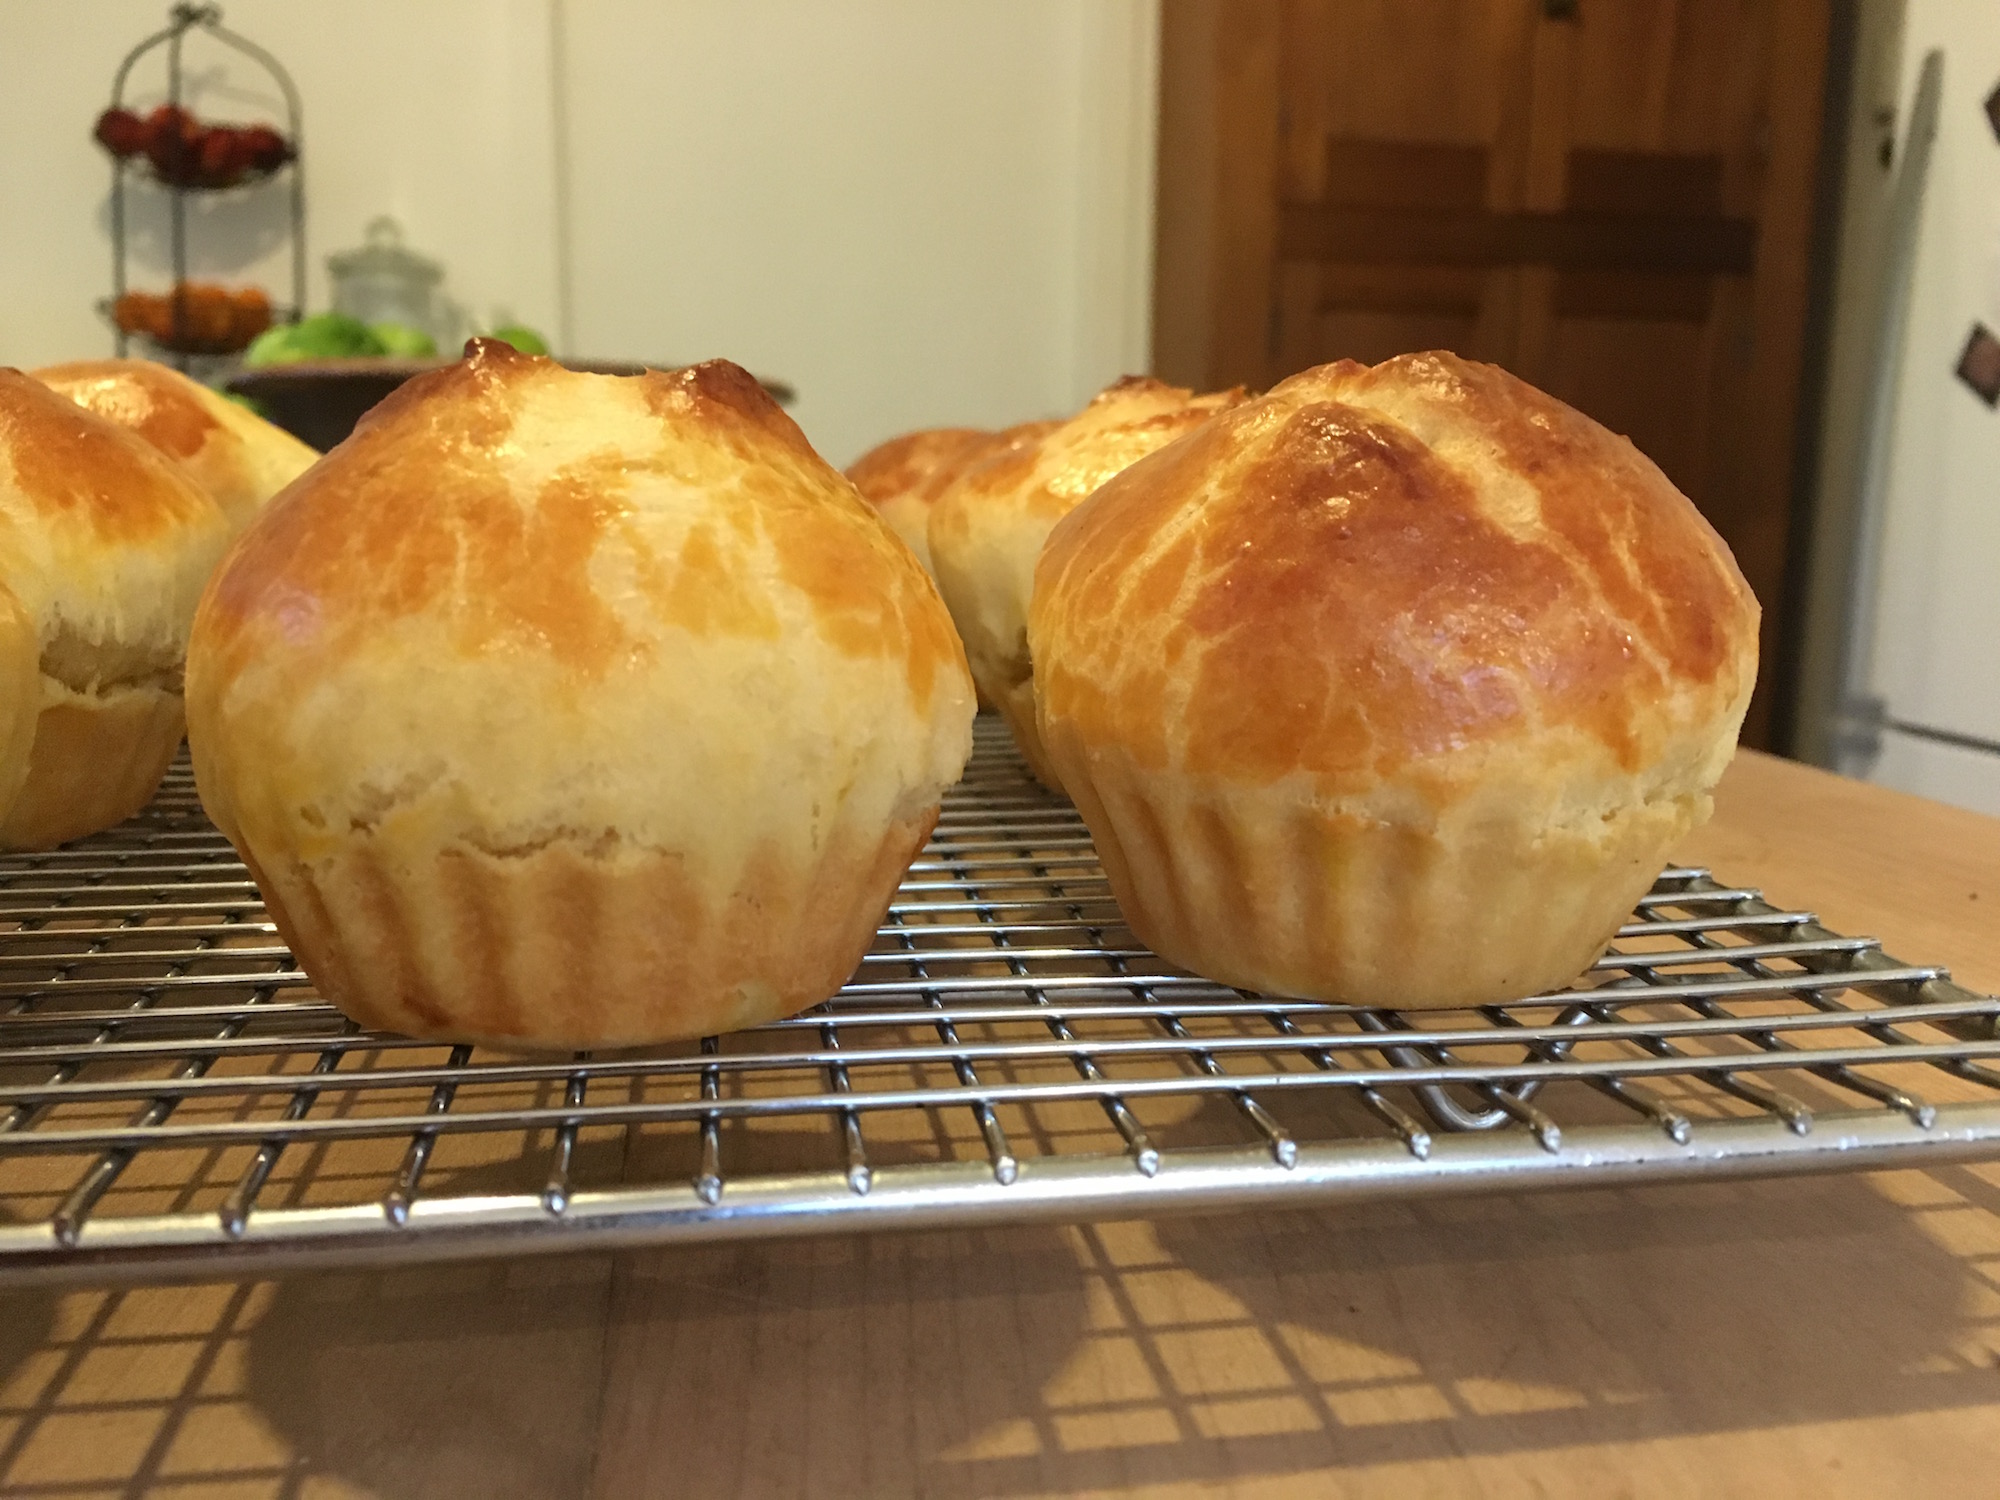
At this point, I take over the baking. The oven is now at a good temperature for cakes and pies. I like to bake things like pound cakes on bread days, because they take so long to bake. It’s nice to be able to make them with the ‘free’ heat of the bread oven.

The oven is still quite hot (around 180℃) by the time the cakes are done (usually about dinnertime).

There are a whole bunch of things we’ve done with that heat: toast granola, roast pumpkins, make baked beans, dehydrate fruits and vegetables. As the oven cools further, we’ve made yogurt and dried herbs. There’s useful heat in the oven for a good 48 hours, if we have the time and inclination to use it.

Last weekend we found a new use for the residual bread oven heat—sterilising compost for seed raising mix (which I’m sure I’ll blog about later). I put about 40 litres of compost through in two lots, and I might have gotten a third batch through if I’d had it ready to go.

The final tally from last weekend’s bread day: 1 focaccia, 17 loaves of bread, 2 meals worth of roast vegetables, 2 weeks worth of breakfast granola, 2 cakes, a baker’s dozen of fruit tarts, and 40 litres of sterilised compost. Not bad for a bread day!

Check out this time lapse of a long-ago bread day.

Pumpkin Cinnamon Buns

Winter has definitely arrived this weekend, with squally rain, and chilly winds. The mountain passes have been closed by snow, and no doubt we’ll see some stunning snowy peaks when the clouds finally lift.

In response, I’ve been craving dense, high calorie food (never mind the fact I’ve been indoors most of the weekend and don’t need high calorie food in any way). 

Yesterday, I was contemplating today’s breakfast, and imagined pumpkin spice sticky buns. Was there such a thing? And if not, could I invent it?

The answer was, yes! I found several variations online. In my usual fashion, I mixed and matched, picking aspects I liked from a number of recipes to come up with my own take on the dish. 

The outcome was quite tasty. Here’s my recipe.

Dough:
3/4 cup milk, warmed to about 43℃ (110℉)
1/4 cup granulated sugar
2 1/4 tsp yeast
1 cup pureed pumpkin
1/4 cup butter, melted
1 egg
2 cups high grade (bread) flour
2 cups wholemeal (whole wheat) flour
1 Tbsp cinnamon
1 tsp cloves
1 tsp ginger
1 tsp allspice
3/4 tsp salt

Filling:
2/3 cup brown sugar
1 1/2 Tbs cinnamon
1/4 cup butter, softened
2/3 cup chopped walnuts

Glaze:
1/2 cup icing (confectioner’s) sugar
2-3 tsp fresh lemon juice

To make the dough, combine milk, granulated sugar and yeast in a small bowl and let sit until foamy. Combine pumpkin, melted butter and egg in a medium bowl. Combine flours, spices and salt in a large bowl.

Combine the yeast mixture with the pumpkin mixture and beat until smooth. Pour this mix into the flour, and stir until a dough forms. Turn the dough out onto a lightly floured surface and knead for about 10 minutes, until smooth and elastic. Allow to rise in a greased, covered bowl for 1-2 hours, until doubled in bulk.

Roll the dough into a large rectangle, about 35 x 40 cm (14 x 16 in). Spread the dough with the softened butter, leaving a narrow strip of dough on one of the shorter sides free of butter. Combine the brown sugar and cinnamon, and sprinkle over the butter. Sprinkle walnuts on top.

Starting at the buttery short edge, roll the dough into a log, pressing the unbuttered edge firmly to seal. With a sharp knife, slice the log into 12 rounds.
Place the rounds in a well-greased baking tin 23 x 33 cm (9 x 13 in)*, cover with a damp towel, and let rise about 30 minutes.**

Bake at 180℃ (350℉) for 25 minutes, until nicely browned.

Make the glaze by mixing lemon juice, a little at a time, into the icing sugar until the mixture is thick and pourable. Drizzle over the still-warm buns.

*Knowing this recipe makes enough for 2 breakfasts for my husband and me, I divided my rolls, arranging them into two 25 cm (11 in) round pans. I slipped one pan into the freezer, to bake another week.

**If you want to have these for breakfast, cover the pan with plastic wrap and refrigerate overnight. Allow to stand on the kitchen bench for about 30 minutes to warm up before baking.

A week later … PS: the buns I put in the freezer for a week were every bit as delicious as the ones baked right away. I moved them to the fridge the night before, then let them sit out for 45 minutes before baking. They took about 5 minutes longer in the oven than the first batch, but otherwise, you’d never know they had been frozen. Yum!

Winging it–Quince and walnut rolls

Sometimes, you try something new in the kitchen (like using an entire quart jar of black currants in a recipe for cupcakes), and it’s edible, but not something you particularly want to repeat. Then there are times you make something up and it just works.

On Saturday I made a cake that used all the eggs in the house and most of the butter. It didn’t leave me much to work with for Sunday breakfast. (This blog is not about Saturday’s cake, but it was amazing—the Brown Sugar-Spice Cake from King Arthur Flour’s Whole Grain Baking book—it’s what you’d get if gingerbread and pound cake had a baby together, and it was raised by carrot cake.)

So I figured I’d make a yeasted bread for Sunday breakfast. My initial thought was cinnamon rolls, which we do for Christmas breakfast every year. But I wanted something different—cinnamon rolls are for Christmas, not everyday. 

I started off by looking at recipes for various traditional fortified breads, but all of them either had eggs or lots of butter in them. 

So I decided to wing it.

Saturday evening, I combined two cups of warm milk, some yeast, about two tablespoons of butter, some salt, a spoonful of honey and enough flour (half wholemeal (whole wheat) and half high grade (bread flour)) to make up a nice bread dough. It rose beautifully, and after two hours, I rolled it out into a large rectangle. I spread it with about three quarters of a cup of quince paste, then sprinkled on some cinnamon and a generous handful of chopped walnuts. Then I rolled it into a log and cut the log into twelve thick slices, which I arranged, cut side down, in a greased 9 x 13-inch baking tin. 

I popped the pan in the fridge overnight, and the rolls were beautifully risen by 5 this morning. I gave them 30 minutes in a 210℃ oven, pulling them out when they were nicely browned.

While they were still warm, I drizzled a simple glaze over them—1/2 cup icing sugar (confectioners sugar), about 1/2 tsp vanilla, and enough milk to make a thick, pourable consistency.

It’s really too bad I didn’t actually measure most of the ingredients, because the result was excellent. In fact, I think it’s worth running out of eggs and low on butter purely to have an excuse to make these rolls. Maybe next time I’ll measure my ingredients so I can give you all a recipe—it’s definitely one worth sharing.

In the meantime, if you’re adventuresome and would like to give my loose winging-it recipe a go, I highly recommend it. If you can’t get quince paste, I reckon apple butter or a thick apple sauce would work nicely, too, though it’s hard to beat quince for flavour. 

Good luck, and happy experimenting!

Too Good Not to Share

A few of the two dozen or so loaves from Saturday.

Saturday was a bread day, so while I headed to the garden in the morning, my husband began making up the dough and getting the fire lit in the oven. As I worked, the familiar scent of wood smoke wafted across the yard. The bread oven smell is different from the smell of the wood burner or a brush fire—from the first wisp of smoke, it declares itself a cooking fire. The smell always gives me a sense of well-being. It tells me that soon there will be a bounty of baked goods, and we will eat well for days on the delicious things we’ll bake.

Bread days are always busy—baking is done on top of the gardening, mowing, and cleaning on the weekend’s to-do list. By mid-day Saturday, I had planted out my peas and hauled a dozen loads of compost to the garden, and the kitchen was full of rising loaves in a variety of shapes and sizes. It was time for me to join the baking. While my husband managed the bread, I chopped vegetables for what would become dinner. 

It was an especially hot oven Saturday. Pitas baked in seconds, kaiser rolls in a handful of minutes, the vegetables came out beautifully caramelised in no time, and focaccia bubbled up quickly and came out sizzling. While the larger loaves baked, I mixed up pound cake and hazelnut biscotti to slip into the oven after the bread was through. 

Dinner was a feast of roast vegetables and salad greens stuffed into fresh pita breads followed by pound cake and biscotti—a celebration of good food after a day of intense work. The only problem with it was there was no one besides us to share it with.

(For those of you who missed it a few years ago, you can check out our kitchen during a bread day in this time lapse video.)

Whole Wheat Bread

I ran across this photo today–one I took several years ago–and thought it was worth sharing.

Most of the bread my husband bakes is utilitarian. It’s beautiful but, since he bakes two dozen loaves at a time, he necessarily can’t take a lot of time on each loaf. So he sticks with the tried-and-true bread shapes that are quick to form, and take advantage of the different stages of heat in our wood-fired bread oven.

But now and again, he makes different shapes. This one is simple and clever to form. The dough is rolled out into a long, flat shape, then slashed through at regular intervals down one side, leaving just a small edge uncut on the opposite side. Flip every other ‘flap’ created by the slashes to the opposite side, and when the bread is baked, the loaf resembles a stalk of wheat.

Simple and beautiful. The bread is perfect for parties, because it’s easy to tear off individual ‘grains’ from the stalk–it’s practically pre-sliced.


Brioche

2017-01-22-07-09-00-smI’ve been threatening to make brioche for some time. Last time I made it was about seventeen years ago.

Not that I don’t like brioche–I love it–but I reckon that’s about how frequently one should eat it if one wants to live to a ripe old age. Three eggs provide most of the liquid, and 175 grams of butter give it that unbelievable silky texture. The butter and egg also make the dough incredibly sticky and difficult to work with, so it’s not something to make every weekend.

A cool, drizzly evening and the promise of a rainy day today made Sunday morning decadence sound like a good idea. I made up the dough after dinner Saturday and left it in the fridge overnight. This morning, it was a simple thing to roll balls of dough around chunks of intense dark chocolate and spoonfuls of sparkling red currant jam and pop them into little tart tins.

Half an hour later, these gorgeous little buns emerged from the oven. They were every bit as good as I remember them being seventeen years ago.

It may be another decade or two before I make brioche again, but something that decadent doesn’t need to come around too often. The memory is just as tasty as the real thing.