The Apricots of Wrath

I should have listened to Fate. 

“Don’t can apricots today!” it told me the other day. “You have no sugar in the house.”

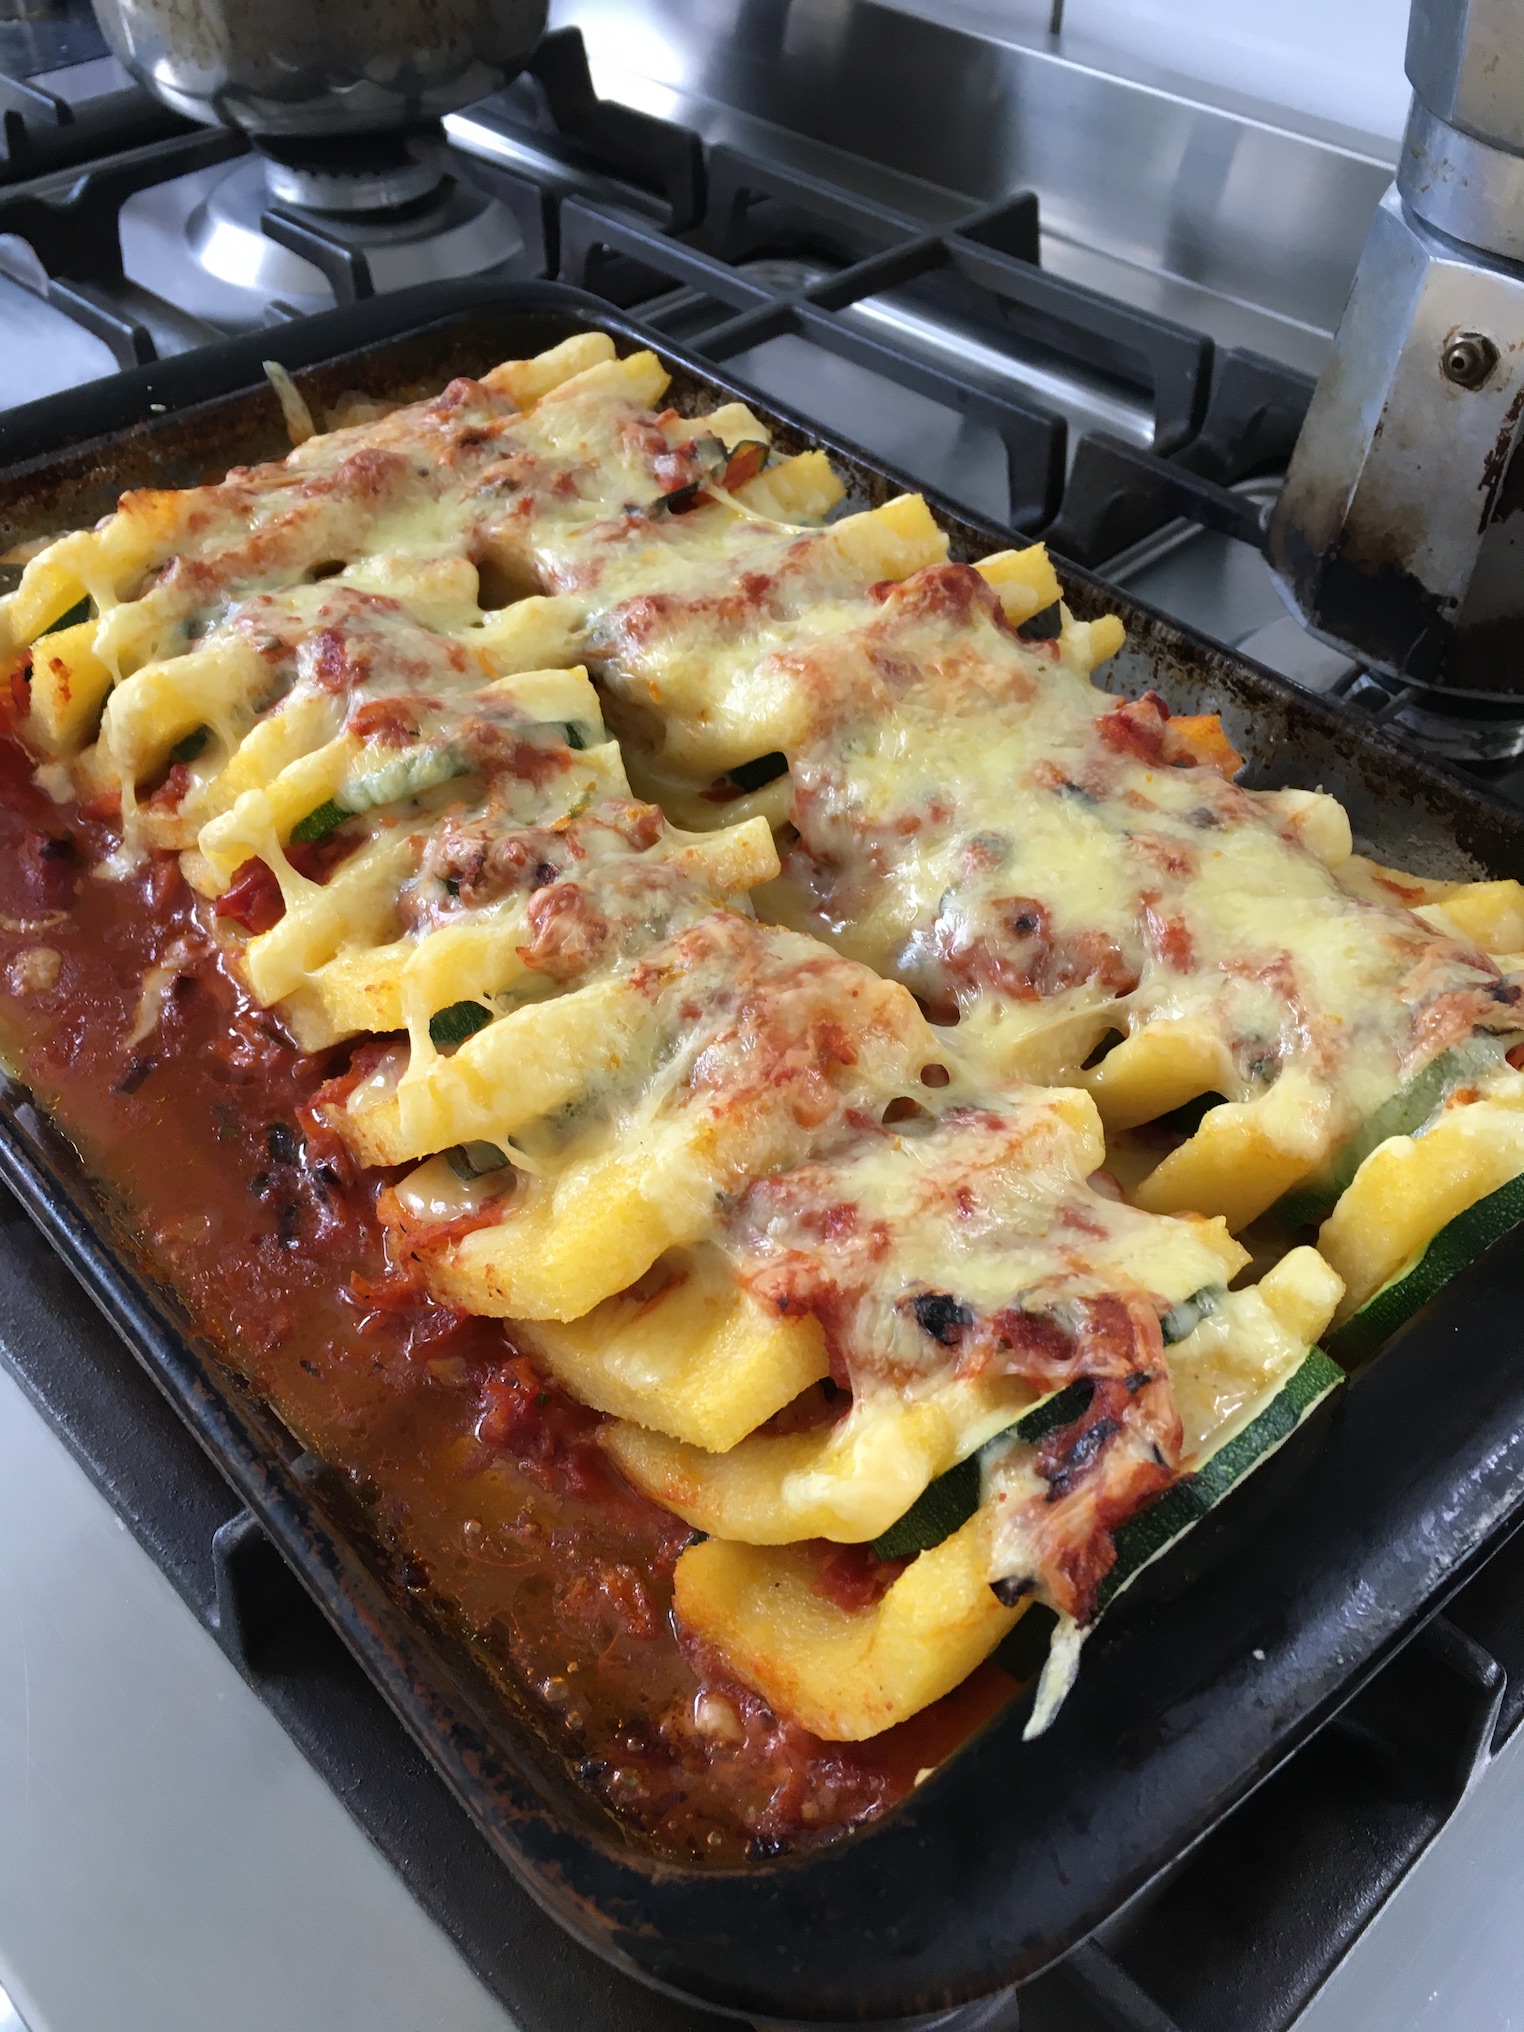
But I looked at the vast quantities of quickly ripening apricots in the kitchen and knew they wouldn’t wait.

I drove to the store to pick up sugar.

Back home, I made my sugar syrup, washed and heated my jars, got my canning water to a boil, and prepared seven kilos of apricots.

All was going well until I was packing the fruit into jars. I kept an ear on my canner, making sure it stayed at a boil while I worked. When the bubbling hiss faded and died, I knew the gas bottle was empty. Not now!

I left off my jar filling and raced outside to switch gas bottles.

Back inside, water, jars, and sugar syrup were cooling, but I finished packing the apricots in and poured sugar syrup over them …

Only to find I was about a cup short of syrup. Gah! I quickly made up a small batch to finish off the jars.

Into the canner went the jars, and I heaved a sigh of relief. It took longer than usual to bring it all back to a boil, but I shrugged it off. It’s always that way for a cold-packed fruit. 

Then a few minutes into the boil, the canner started boiling over—orange, chunky, foamy water spilled onto the stove. Darn! A jar had broken. It’s rare, but after 30 years of use, sometimes the bottom of a jar will pop off during canning.

So for 25 minutes, I fought the sticky water boiling over on the stove. When I finally pulled the jars out, they were all coated in slimy chunks of overcooked apricot from the broken jar, and the stove was an gooey mess.

The six remaining jars all sealed, though, which was good. Pity about the stove. Took forever to clean.

Later, once the water had cooled, I tackled the job of emptying broken glass and gunk from the canner. And the first thing I did was drop the remainder of the slippery broken jar onto the floor, where it smashed to pieces.

Then, just to add insult to injury, when I dumped the chunky sticky canning water onto the compost pile, it somehow funnelled through the pile directly onto my foot. 

Cleaning up the mess took almost as long as the rest of the process, and I questioned whether it was worth it, or if I should have simply thrown away a couple of kilos of fruit and called it a day before I started.

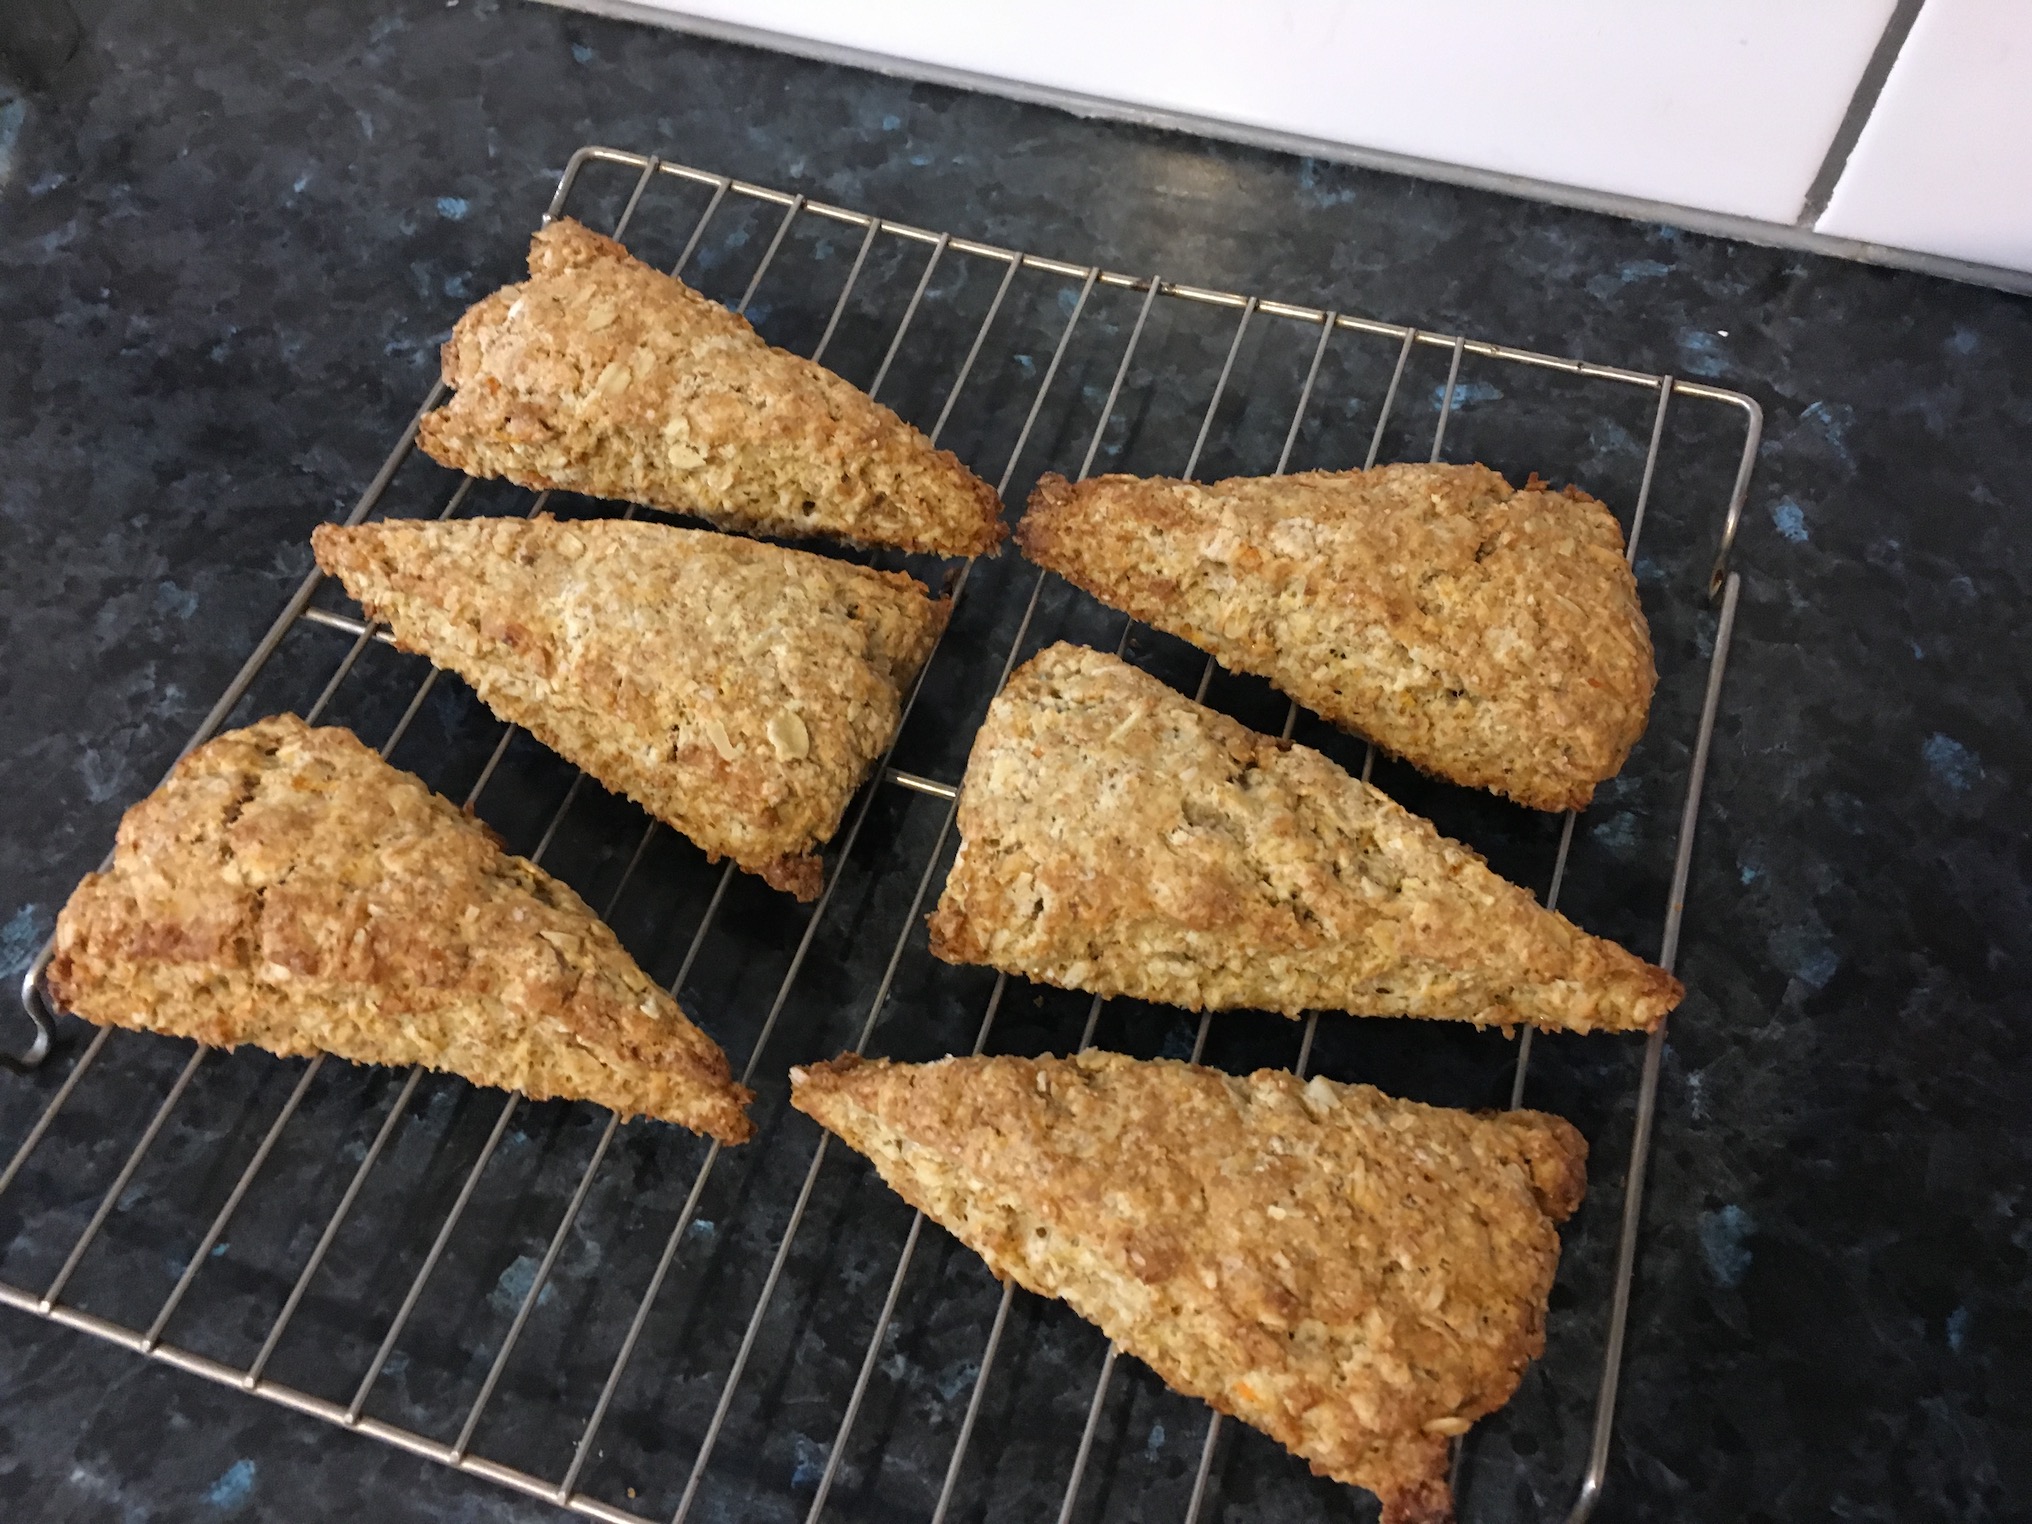
Then my daughter pointed out that we had the makings of six fruit desserts there, ready to pull out on a winter evening. She had a point—we’ll enjoy that fruit, and by winter, I’ll have forgotten the frustration of preserving it.

But, still, I keep thinking I could have sat on the porch with a good book instead …

Uplifted Polenta Lasagne, Take 2

A while back I blogged about the Uplifted Polenta Lasagne my husband made. Well, recently I decided to create another version of it based on the ingredients I had available. The result was spectacular and deeply satisfying.

First, make the firm polenta:

1 1/2 cups corn meal (sold as ‘polenta’ here, sold as ‘instant polenta’ in many other places)
5 cups water
1 1/2 tsp salt

Bring salted water to a boil and whisk in the cornmeal. Turn the heat down slightly and whisk for about five minutes, until the polenta thickens. Pour out onto a large, lightly oiled jelly roll pan and spread evenly. Allow to cool for at least 30 minutes.

While the polenta is cooling, make the tomato sauce:

2 cloves garlic
2 Tbs olive oil
2 smallish carrots, grated
1 Tbs paprika
1 can chopped tomato (I would have used fresh if I’d had any)
handful fresh basil
salt and pepper to taste

Saute the garlic in oil until fragrant. Drop in carrots and paprika and cook for a minute or two longer. Add tomato, basil, salt and pepper and simmer for 15 minutes.

While the tomato sauce is simmering:

Preheat the oven to 190ºC (375ºF).

Slice a medium-large zucchini into 3 mm thick rounds.

Grate 1 1/2 cups edam cheese.

When all the components are ready, oil a 23×33 cm (9×13-inch) baking pan. Cut polenta into about 24 squares. Layer polenta squares, tomato sauce, and zucchini rounds in sideways ‘stacks’ to fill the pan. Pour over the remaining tomato sauce and top with cheese. Bake for 30 minutes.

Lazy Sunday Baked Oatmeal

I make a cooked breakfast every Sunday. It’s a luxury—a gift I give myself as much as to the family. So it doesn’t feel like a chore to get up early and cook once a week.

At least, most of the time it doesn’t. Once in a while I’m uninspired on a Sunday morning, particularly if I spent Saturday in the kitchen.

Last week was one of those Sundays. I couldn’t be bothered making scones or pancakes or muffins. So I pulled out a recipe my mother gave me years ago. One I don’t recall ever having made, but it was a simple, stir-together baked oatmeal that struck me as just the thing for a Sunday I didn’t feel like cooking. Best of all, the bread oven was still hot from the previous day, so I didn’t even have to use the electric oven. 

I modified the recipe a bit (because I can’t seem to ever make a recipe exactly as it calls for).

here’s my version of baked oatmeal—delicious with a generous dollop of unsweetened yogurt or a splash of milk.

125 g (1/2 cup) melted butter
1/2 cup brown sugar
2 eggs, beaten
3 cups quick cooking oats
2 tsp baking powder
1 tsp cinnamon
1 tsp salt
1 cup milk
1/2 cup raisins

Mix all ingredients in a bowl. Pour into a 23 cm (9-inch) square baking pan. Bake at 180ºC (350ºF) for 30-35 minutes. 

Delicious Disaster

Ugly but delicious.

Gooseberries are ripening by the bucketful right now, so when I was planning dessert for a party last Saturday night, I naturally turned to gooseberries for inspiration. 

I made a large batch of gooseberry pie filling and baked up dozens of gooseberry tarts. Unfortunately, the fruit bubbled over, creating a sticky mess that glued the tarts into their pans.

Almost every one broke when I tried to take them out of the pans. One was so crumbled I had to spoon it out …

… right into my mouth. It was a sublime experience. Deliciously sweet and sour with a flaky crust, I thought I’d serve them anyway. I requested a second opinion from my husband and kids, giving them each the most broken tarts. They moaned in pleasure and nodded.

No one at the party mentioned how the tarts looked. I’m not sure they sat on the tray long enough for anyone to examine them—one taste and they vanished.

A delicious baking disaster. I’ll definitely have to do it again.

Gooseberry Pie Filling (enough for two full-size pies)

8 cups fresh gooseberries
4 cups sugar
2 Tbsp corn flour (cornstarch)
enough water to prevent sticking (less than 1/4 cup)

Combine all ingredients in a saucepan. Bring to a boil and cook 1-2 minutes, until berries soften. Crush berries in the pot with a potato masher. Boil about 5 minutes longer until the mixture begins to thicken. 

The pie filling can be baked in a double or a single crust. If you choose a single crust, top with streusel topping:

2/3 cup flour
2/3 cup finely chopped walnuts
2/3 cup brown sugar
1 tsp cinnamon
5 Tbs (80 g) melted butter
Blend all ingredients with a fork until crumbly.

I baked my tiny tarts for 35 minutes at 190ºC (375ºF). A full pie should take 45 – 60 minutes.

Inspired Cooking

A few days ago, after a busy day, I couldn’t be bothered to cook. I decided to throw together a quick pasta, so I headed to the garden to pick a few vegetables.

But when I arrived in the garden, the sight of the winter spinach, growing like a weed and thinking about bolting, inspired me.

All that spinach would make an excellent spinach quiche. I even had some feta in the fridge, and there’s nothing better than spinach with feta.

Of course, a quiche is a whole lot more work than pasta …

And it really would need dill, too …

I scoured the weedy parts of the garden for volunteer dill, because my seedlings weren’t ready to pick yet. The weedy dill plants clinched it.

No longer tired, but inspired, I set about cooking. The result was worth the effort (as I knew it would be).

And that’s what I most enjoy about gardening—when the daily grind gets me down and I just want to order takeaways, it provides the inspiration to instead make a glorious meal.

Chilli and Chips

Sometimes, I work long and hard to create a fancy meal. I worry about taste and presentation, and fuss with every detail. Other times, a meal just comes together, and ends up as beautiful in the dish as in the mouth, with very little work.

I made a simple chilli the other day to go with a pair of ripe avocados. There was nothing to the chilli—kidney beans, grated carrot, chopped tomatoes, onion, and a whole lot of herbs and spices. My husband made guacamole and grated some cheddar cheese. While the chilli simmered, I made up my fabulous corn chips (so tasty and so easy to make). 

Suddenly, we had a glorious meal—beautiful colours, textures and flavours—and I felt like I’d hardly worked for it. Nice when it all works out that way.

Too Good Not to Share

A few of the two dozen or so loaves from Saturday.

Saturday was a bread day, so while I headed to the garden in the morning, my husband began making up the dough and getting the fire lit in the oven. As I worked, the familiar scent of wood smoke wafted across the yard. The bread oven smell is different from the smell of the wood burner or a brush fire—from the first wisp of smoke, it declares itself a cooking fire. The smell always gives me a sense of well-being. It tells me that soon there will be a bounty of baked goods, and we will eat well for days on the delicious things we’ll bake.

Bread days are always busy—baking is done on top of the gardening, mowing, and cleaning on the weekend’s to-do list. By mid-day Saturday, I had planted out my peas and hauled a dozen loads of compost to the garden, and the kitchen was full of rising loaves in a variety of shapes and sizes. It was time for me to join the baking. While my husband managed the bread, I chopped vegetables for what would become dinner. 

It was an especially hot oven Saturday. Pitas baked in seconds, kaiser rolls in a handful of minutes, the vegetables came out beautifully caramelised in no time, and focaccia bubbled up quickly and came out sizzling. While the larger loaves baked, I mixed up pound cake and hazelnut biscotti to slip into the oven after the bread was through. 

Dinner was a feast of roast vegetables and salad greens stuffed into fresh pita breads followed by pound cake and biscotti—a celebration of good food after a day of intense work. The only problem with it was there was no one besides us to share it with.

(For those of you who missed it a few years ago, you can check out our kitchen during a bread day in this time lapse video.)

Winter Baking—Anise-scented Fig and Date Swirls

After a week of frosty mornings and gloriously warm sunny days, the weekend has brought us cold, drenching rain. 

So, the only thing for it was to bake!

I stocked up on my homemade granola and made a batch of Mommy’s Magical Crackers, but the fun baking for the day was a batch of fig and date pinwheels. I’ve only made them once before, but loved them. Flavoured with anise and rich in figs, they have a unique taste and texture that improves with age.

These are straight from my favourite cookie cookbook (the book itself is a work of art), The Gourmet Cookie Book. They take more time to make than many cookies, but the results are as attractive as they are delicious—well worth the effort.

1 cup dried figs
1 cup pitted dates
1/3 cup water
1/2 cup plus 2 Tbs sugar
1 3/4 cups all-purpose flour
1 Tbs ground anise seeds
1/4 tsp baking powder
1/4 tsp baking soda
1/4 tsp salt
125 g (1/2 cup) softened butter
125 g (4 oz) cream cheese
1 tsp vanilla
1 large egg yolk
1/4 cup raw sugar (optional)

In a food processor or blender, puree figs, dates, water and 2 Tbs sugar. Set aside.

In a bowl, whisk together flour, anise, baking powder, baking soda and salt. In another bowl beat together butter, cream cheese, and remaining 1/2 cup sugar until light and fluffy. Add vanilla, egg yolk and flour mixture and beat until a dough forms. Form dough into a disk and wrap in wax paper. Chill about a hour, until firm enough to handle (I found in my winter-cool house I didn’t need to chill the dough at all).

On a floured surface, roll out dough into a 33 x 25 cm (13 x 10-inch) rectangle about 8 mm (1/3-inch) thick. Gently spread fig and date mixture evenly over the top, leaving a narrow border around the edges. Starting at one long edge, roll the dough into a jelly-roll-like log. Optional: roll log in raw sugar to coat. Wrap in waxed paper and chill 4 hours until firm.

Slice into 8 mm (1/3-inch) rounds and place on a greased baking sheet. Bake about 13 minutes at 180ºC (350ºF) until golden.

Gifts from the freezer

With love, from the freezer.

Our apple trees struggle against the macrocarpa hedge shading them and sucking away nutrients and moisture from the soil. I’m sure many years ago, when a previous owner planted them, they seemed far enough from the hedge, but today, without aggressive pruning, the hedge would engulf the fruit trees. So we rarely get large harvests of apples, and most years we eat them all fresh, long before they go wrinkly with age. 

This past summer was different. We had extra apples after accepting a big box of them from a friend, and then realising our trees held more than we thought. There was no way we were going to use all of the apples before they dried out, nor did I want the kitchen and dining room littered with baskets and bowls of apples for months. I filled the last of our empty canning jars with applesauce and still had more fruit. So I made a large quantity of apple pie filling, cooking the apples just enough to soften them slightly and release some of their juices. Then I froze it in pie-sized quantities. We enjoyed apple pie all through autumn.

We thought we’d finished the apple pie filling off, but the other day, my husband found a container of it on the bottom of the freezer. To find that pie filling on a cold and rainy weekend was a beautiful gift. A gift from our summer selves and from the freezer itself, which hid it until the need was greatest.

So while rain streamed down the window panes, I made a pie, filling the house with the warming smell of baking cinnamon, apple and pastry. We enjoyed the pie warm with whipped cream by the fire on a dreary night—a wintertime decadence to make us forget the damp and cold.

Thank you, freezer, for the wonderful winter gift.

Orange Coconut Scones

Sunday morning breakfasts aren’t always the best planned meals. Sometimes I start baking before I really know what I want to make. Sometimes I decide to make something, only to discover half way through that we’re missing an ingredient.

Both of those happened this morning. I grabbed a recipe for oat scones, not really wanting them, but not having any better ideas. On my way to the flour bin, I passed the fruit bowl, spilling over with oranges. I could make orange oat scones! I grabbed an orange and started considering how the recipe would change with the addition of grated orange peel. By the time my consideration was over, the new recipe bore little resemblance to the one I was technically following.

I was cutting the butter into the flour mixture when I remembered there were no eggs in the house. Well, I’d have to make my scones without an egg. No problem—scones are just biscuits fancied up with egg and sugar anyway. They’d be fine.

They were more than fine.

They were downright delicious.

So next time you think you want to make oat scones, but decide not to at the last minute, and then find you have no eggs in the house, try these lovely, light and tasty orange coconut scones!

1 1/2 cups wholemeal flour
1 cup old-fashioned rolled oats
3 Tbs sugar
2 tsp baking powder
1/2 tsp baking soda
1/2 tsp salt
110 g (7 Tbs) cold butter
grated rind of 1 orange
1/2 cup shredded coconut
1/2 cup + 2 Tbs orange juice
1/2 tsp vanilla

Combine the flour, oats, sugar, baking powder, baking soda and salt in a mixing bowl. Cut in the butter until the mixture resembles coarse crumbs. Add the orange rind and coconut. Combine orange juice and vanilla in a measuring cup or small bowl, and then add to the flour mixture. Stir just until moistened (you may need to add a touch more orange juice). Knead briefly to bring the mixture into a ball. Pat the dough out on a floured countertop into a round about 1.5 cm thick (a generous half-inch). Cut into 12 wedges. Place wedges on a greased baking sheet and bake at 210ºC (425ºF) for 13-15 minutes until golden brown.