Pumpkin Scones

Necessity is the mother of invention.

That may be so, but laziness is invention’s maternal grandmother.

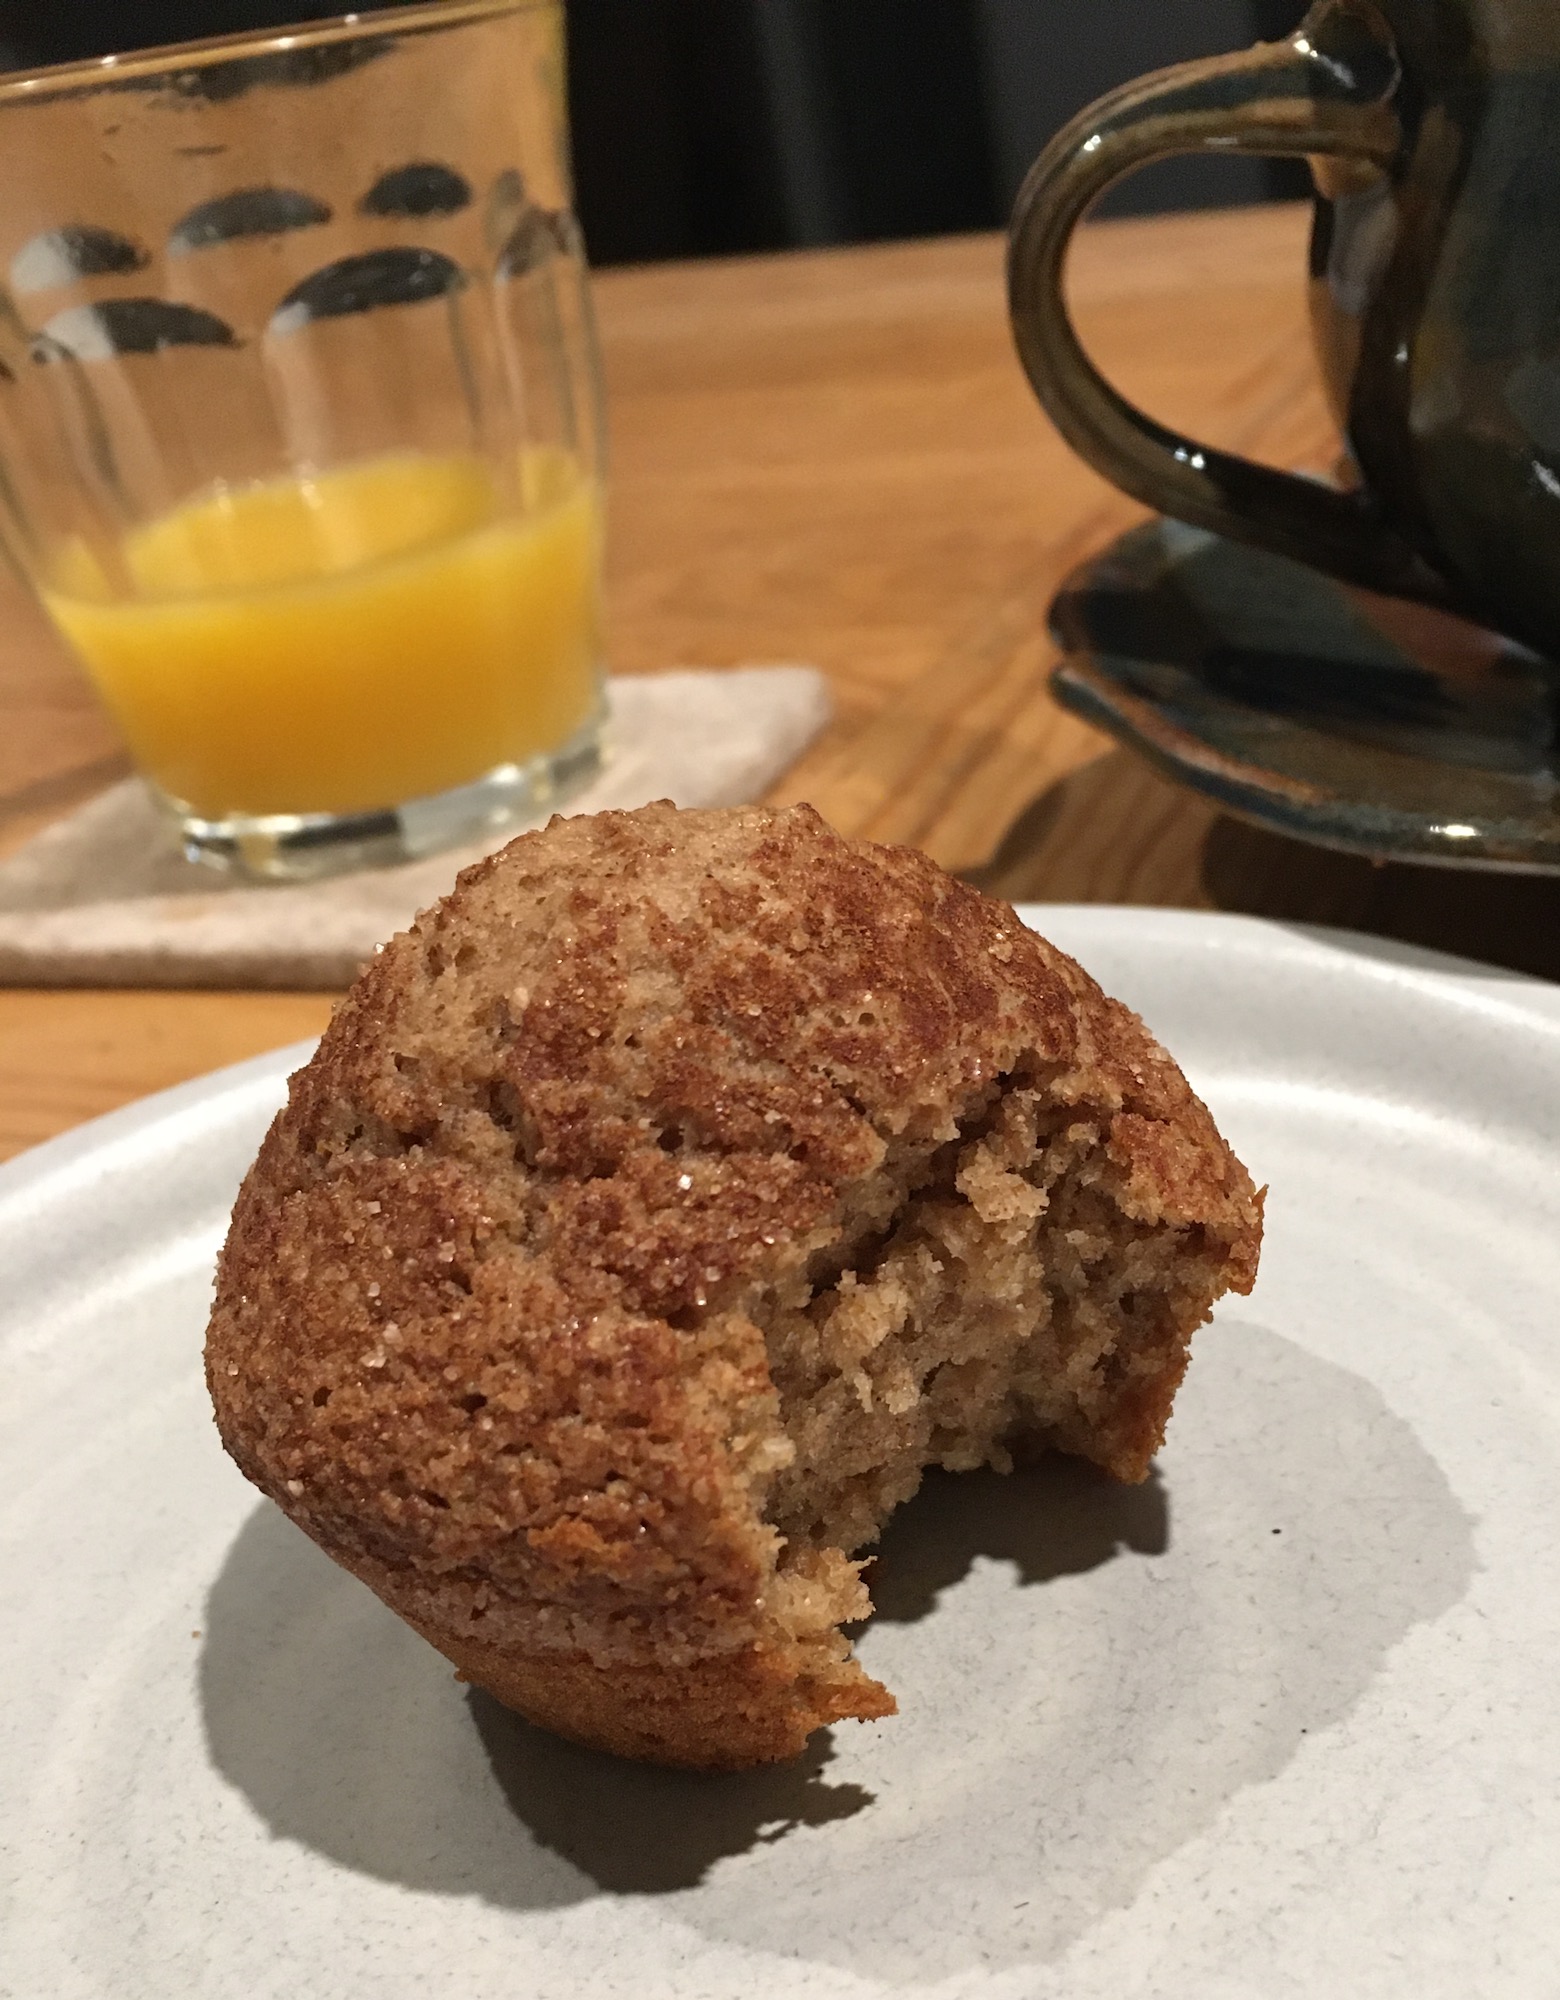
I was lazy on Sunday morning. I wanted pumpkin muffins, but I didn’t want to have to grease and then wash the muffin tins.

So I made up a new scone recipe to satisfy my pumpkin cravings. The results were delicious and satisfying. Best of all, there was no greasing and washing of muffin tins. Here’s the recipe in case you’re feeling lazy too.

2 cups barley flour
1 cup all-purpose flour
1 tsp baking powder
1/2 tsp baking soda
1 tsp cinnamon
1/2 tsp each of cloves, nutmeg, ginger and salt
125 g (1/2 cup) butter
1 egg
1 cup cooked, mashed pumpkin
1/4 cup cream
1/2 cup brown sugar

Sift together the flours, baking soda, baking powder and spices in a large bowl. Cut the butter into the flour mixture until it resembles coarse crumbs. In a medium bowl, whisk together the egg, pumpkin, cream and brown sugar. Pour the wet ingredients into the dry and mix until just moistened. Knead lightly and briefly until the dough comes together into a ball. Divide the dough in half. Pat each half into a round about 2 cm (3/4-inch) thick and cut into 8 wedges. Place the wedges on an ungreased baking sheet and bake 11-12 minutes at 200ºC (400ºF) on fan bake.

*I added nothing to these scones, but they’d be excellent with dried cranberries incorporated into the dough. I expect that replacing half a cup of the barley flour with cornmeal would be a nice variation too.

Cinnamon Muffins

I’m still revelling in our glorious new kitchen—it’s such a pleasure to cook and bake in! It inspires creativity.

This morning I tried out a new recipe for cinnamon muffins, and I think I hit on a winner. They’re quick to make and taste delicious!

1 1/4 cup all-purpose flour
1 cup wholemeal flour
1/2 cup brown sugar
1 Tbs cinnamon
1/2 tsp salt
1 cup milk
1/2 cup vegetable oil
2 eggs

Topping: 2 tsp sugar and 1/2 tsp cinnamon

Combine the flours, sugar, cinnamon and salt in a large bowl. Whisk together the milk, oil and eggs in a separate bowl. Make a well in the dry ingredients and pour in the wet, mixing only until combined. In a small bowl, combine the sugar and cinnamon for the topping.

Fill greased cupcake tins with the batter. Sprinkle sugar/cinnamon mix over each muffin.

Bake 15-17 minutes at 190ºC (375ºF). Allow to cool 5 minutes in the pans before turning them out.

Makes 16 muffins.

Loving Leftovers

We christened the new house last weekend with a celebration party for one of my husband’s students who just finished his PhD. As I suspected (hoped?), visitors gravitated to the kitchen, congregating beside platters of finger food under the warm glow of cafe lights. 

Food-wise, we went Mexican for this party—quesadillas, empanadas, corn chips, guacamole, salsa, bean dip, and biscochitos (anise-flavoured cookies from New Mexico, not Mexico, but …) for dessert. Great finger food and perfect or standing around the kitchen grazing all evening.

As usual, we made enough food for twice as many people as we invited. Now we’re blessed with party leftovers for lunch.

Yesterday I had a generous plate of homemade corn chips smothered in cheesy bean dip, salsa, guacamole and sour cream. Today I’m considering toast with beans and salsa (because we devoured all the chips and guacamole). Tomorrow, who knows what I’ll come up with? Plus, there are extra beans in the freezer for dinner later in the week. All that extra party prep pays off in easy, delicious meals afterwards.

A great excuse for a party!

Enjoying the New Kitchen

Rain pounded on the roof and hissed against the windows. Wind whipped around the porch, tossing deck chairs everywhere. I lay warm in bed, only vaguely registering the weather, grateful once again to be in the new house and not in the shed.

We’re still settling into the house, but we’ve already given the kitchen a workout. Some days, when I step into that room, I wonder what we were thinking—it’s so huge! Then I cook something and appreciate every inch of space.

It’s been hard to get a photo of the foods we’ve baked–they’re eaten so quickly.

We’ve been craving all the baked goods we haven’t been able to make in the past three months. In the first twenty-four hours after moving in, we baked eight loaves of bread, three dozen cookies, and a batch of lemon scones. Over the next four days, we added pizza, Not yo’ mama’s mac and cheese, quiche, apricot tart, chocolate cupcakes, and homemade granola to that list. Moving into our second week in the house, we’ve made Mum’s fluffy buns, bean burgers, oven baked French fries, Irish soda bread, spaghetti with tofu meatballs, and roast vegetables.

Visiting some of our favourite foods after too many months without them has been a delight. It may be time to head to the library for some inspiration now—think what new things we could make in the fabulous new kitchen!

Coronavirus-free New Zealand

Level One Lemon Cake. A delicious celebration of our Covid-free status.

I was coming out of the grocery store when two women meeting on the street hugged. One said, “Midnight tonight!” and I knew.

New Zealand had eliminated coronavirus.

At midnight we moved to alert level 1. The country’s border remains closed, but on our Covid-free islands, life returns to normal. I baked a Level 1 Lemon Cake to celebrate.

In many ways, New Zealand was lucky. We didn’t have our first case until 28 February, so we were able to observe and learn from other nations. We have a culture that is fundamentally law-abiding, so we were predisposed to obey restrictions. We have a prime minister with exceptional crisis management, communication and leadership skills.

But the people of New Zealand elected that prime minister. The people of New Zealand nurtured that culture. And when push came to shove, the people of New Zealand overwhelmingly agreed to restrict movement, change behaviours, and stay home in order to protect one another. We did this. Working together by staying apart.

And as restrictions have been eased over the past weeks, Kiwis have continued to care for one another. The number of websites promoting local businesses has blossomed as people seek to support a struggling economy. In the week after lockdown was lifted, Kiwis consumed five weeks worth of takeaways—a heroic effort to save our local fish and chips shops. Under alert level 2, the cafes I’ve visited have been hopping. Everyone is doing what they can to help.

That isn’t luck. That’s teamwork. It’s aroha. It’s whānaungatanga. It’s kaitiakitanga. It’s rangatiratanga.

I am once again proud and humbled by this nation. To be sure, all the -isms, violence, and other troubles are alive and well here—we have our fair share of society’s ills. But when the chips are down, New Zealand never seems to forget: He aha te mea nui o te ao? He tāngata, he tāngata, he tāngata. What is the most important thing in the world? The people, the people, the people.

Chocolate Currant Upside Down Cake

Usually I bake a fancy cake for Queen’s Birthday, because any birthday is an excuse for cake. Heck, any day is an excuse for cake. But Her Majesty’s birthday is an excuse for FANCY cake.

This year, however, my cake baking abilities were limited. I made a chocolate blackcurrant upside down cake in the microwave, of course, since we’re still living in the shed. 

It was, perhaps, the ugliest cake I’ve ever made—rivalled only by the red currant upside down cake I made a couple of weeks ago. Something about the currants makes the cake slump in a truly unattractive fashion when flipped.

Good thing Her Majesty was busy this evening and couldn’t make it. We slathered the cake in generous helpings of whipped cream to hide its ugliness.

But there was no hiding the amazing flavour. I’m quite fond of blackcurrant and chocolate together, and the cake featured both flavours perfectly.

Below is the recipe. I’ve made this with frozen red currants as well, and it’s equally good.

Topping:
60 g (1/4 cup) butter
1/2 cup sugar
approx. 1 cup frozen (thawed) black currants

Cake:
1/2 cup all-purpose flour
1/2 cup wholemeal flour
1/4 cup cocoa powder
1/4 tsp salt
1 1/2 tsp baking powder
1/2 cup sugar
2 eggs
1/4 cup vegetable oil
1/2 cup milk
1/2 tsp vanilla

Make the topping: Melt butter in a 23 cm (9-in) square microwave-safe baking pan. Sprinkle sugar over the butter and then spread the currants evenly over the butter-sugar mix. Set aside.

Cake: Combine flours, cocoa, salt, and baking powder in a large bowl. Whisk the sugar, eggs, oil, milk and vanilla in another bowl until well mixed. Pour wet ingredients into the dry and stir until just moistened. Pour batter over the topping in the baking pan and bake in the microwave on high for about 7 minutes (the top should still look quite sticky and wet). Turn the cake out onto a plate immediately and leave the pan over top for a few minutes to let all the sticky goodness drip onto the cake. Serve warm with whipped cream.

Microwave Sticky Citrus Cake

I’ve been playing around with microwave cakes since my last cake post, and in particular upside down cakes. The topping soaks into the cake, taking care of any dry bits if the cake is accidentally overcooked. And who can resist upside down cake anyway?

My most recent concoction was a citrus cake. I was aiming for something akin to sticky orange cake, but within the abilities of my pared-down shed life. It didn’t quite get there, but it was pretty darned good nonetheless. I see more of these cakes in our future. Here’s the recipe, if you want to give it a go.

Topping:
60 g (1/4 cup) butter
1/2 cup brown sugar
1 lemon
1 orange

Cake:
1/2 cup all-purpose flour
1/2 cup barley flour
1/4 cup fine cornmeal (polenta)
1 tsp baking powder
1/2 tsp baking soda
1/4 tsp salt
1/2 cup brown sugar
2 eggs
1/4 cup vegetable oil
1/2 cup orange juice
1/2 tsp vanilla
zest of 1 lemon
zest of 1 orange

Grate lemon and orange rind into a medium bowl and set aside. 

Topping: Peel the remainder of the white pith from the lemon and orange and slice them thinly. Melt butter in a 23 cm (9-in) microwave safe pan. Sprinkle brown sugar over the butter, then arrange citrus slices on top.

Cake: Mix flours, cornmeal, baking powder, baking soda and salt in a bowl. Whisk brown sugar, eggs, vegetable oil, orange juice and vanilla together with the citrus zest. Combine the wet and dry ingredients and pour over the topping in the pan.

Bake 6 minutes on high in the microwave. Invert the pan immediately onto a plate and allow the pan to sit on top for a few minutes for all the gooey bits to drip onto the cake. 

Cake and Kindness

Not the best or most attractive cake, but satisfying in trying times.

As we settle into shed life, we’re learning how to have our luxuries in spite of our circumstances.

One of the hitherto unexplored sources of comfort we’ve been learning about is microwave cakes.

The first, made by my husband, was good, but terribly dry. Some brandied cherries on top (with extra brandy drizzled over) fixed the dryness problem, and I was encouraged to try again.

An opportunity arose through the kindness of strangers. A few days ago, we passed a box of free quinces along the sidewalk. I picked up a few to bring home.

Sliced and pre-cooked, they contributed to a very nice microwave upside down cake. The gooey quince topping kept the cake moist, and all of us went back for seconds (Decadent? Yeah, but we’re living in a shed. Give us a break).

The recipe I used was largely my own, based loosely on a couple of online recipes and the fact my electric mixer is packed away in a box somewhere, so all the mixing had to be done by hand.

Topping:
60 g (1/4 c) butter
1/2 c brown sugar
1-2 large quince, peeled, cored, sliced and cooked in a small amount of water until soft, but not falling apart

Cake:
1/2 c sugar
125 g (1/2 c) butter
1 egg
1/2 c milk
1 c all-purpose flour
1/2 c wholemeal flour
1 1/2 tsp baking powder
1/2 tsp salt

To make the topping: Place 60 g butter in a microwave-safe 23 cm (9-in) square pan and melt the butter in the microwave. Sprinkle the brown sugar over the butter and lay quince slices on top.

To make the cake batter: Mix flours, baking powder and salt in a medium bowl. In a separate bowl, melt the 125 g of butter and whisk well with the sugar, egg and milk. Add the dry ingredients and mix well. Pour the batter over the topping and spread evenly.

Bake in the microwave on high for 6 to 8 minutes, until the cake is firm but still sticky and wet-looking on top. Immediately run a knife around the edges of the cake to loosen it and invert it onto a plate. Let the pan sit on top for a few minutes so all the yummy topping can drip onto the cake. Serve warm.

Problem or Inspiration?

The other day I planned on making roast potatoes for dinner. I brought in a colander full of spuds from the garden—more than enough for dinner.

Unfortunately, when I started cutting them I found many of them infected with zebra chip (caused by the bacterium Candidatus Liberibacter solanacearum), which turns the flesh brown. My planned dish of potatoes was looking pretty empty.

I could have gone out for more potatoes, but instead I took advantage of the resources on hand in the kitchen. I added a shallot and a few chopped tomatoes, sprinkled it with salt, pepper and rosemary, and popped it into the oven (at 210ºC for about 40 minutes for anyone interested).

The result was utterly satisfying and arguably better than the plain roast potatoes I’d originally planned. Instead of a problem, the rampant zebra chip became delicious inspiration.

Now, if I can only remember that for all the other problems in life …

Crazy Cake #1–2020

It’s birthday cake season again! This year, my daughter’s brief for me was a Kura Tawhiti bouldering theme, with ‘maybe a climber and some alpine plants’ done in chocolate and hazelnut flavours.

I think both of us had a vision of a grey boulder or boulders with climber, plants, etc. But as I started in on the cake, the vision changed.

I made one of my favourite devil’s food cake recipes (from Tartine) in a range of round layer sizes. I sliced each layer in half and filled it with my homemade Nutella, stacking the layers in a wonky boulder-like shape. 

Then I stood there and contemplated the decoration. My plan had been to make the standard quick icing I use for decorating, but the amazing rich chocolate cake with decadent Nutella filling really needed something better than quick icing. It needed ganache.

So that’s what it got—chocolate ganache covered with ground hazelnuts to get a more appropriate boulder colour. 

I added chunks of hazelnut praline for a more rocky appearance, and made some alpine plants and a climber from Mexican paste. A few small final touches with a simple sugar and milk icing, and the cake was finished.

It didn’t look anything like I thought it would when I started, but it tasted absolutely divine! No wonder—it contained over 400 grams of chocolate, two cups of hazelnuts, and a gloriously unhealthy quantity of butter and cream. In the end, no one was paying much attention to the look—we were too busy oohing and aahing over the taste.