PV=nRT

100_3593 smAnything can become an occasion for a science lesson in our house (much to our children’s dismay, I’m sure). Today it was pumpkin pie.

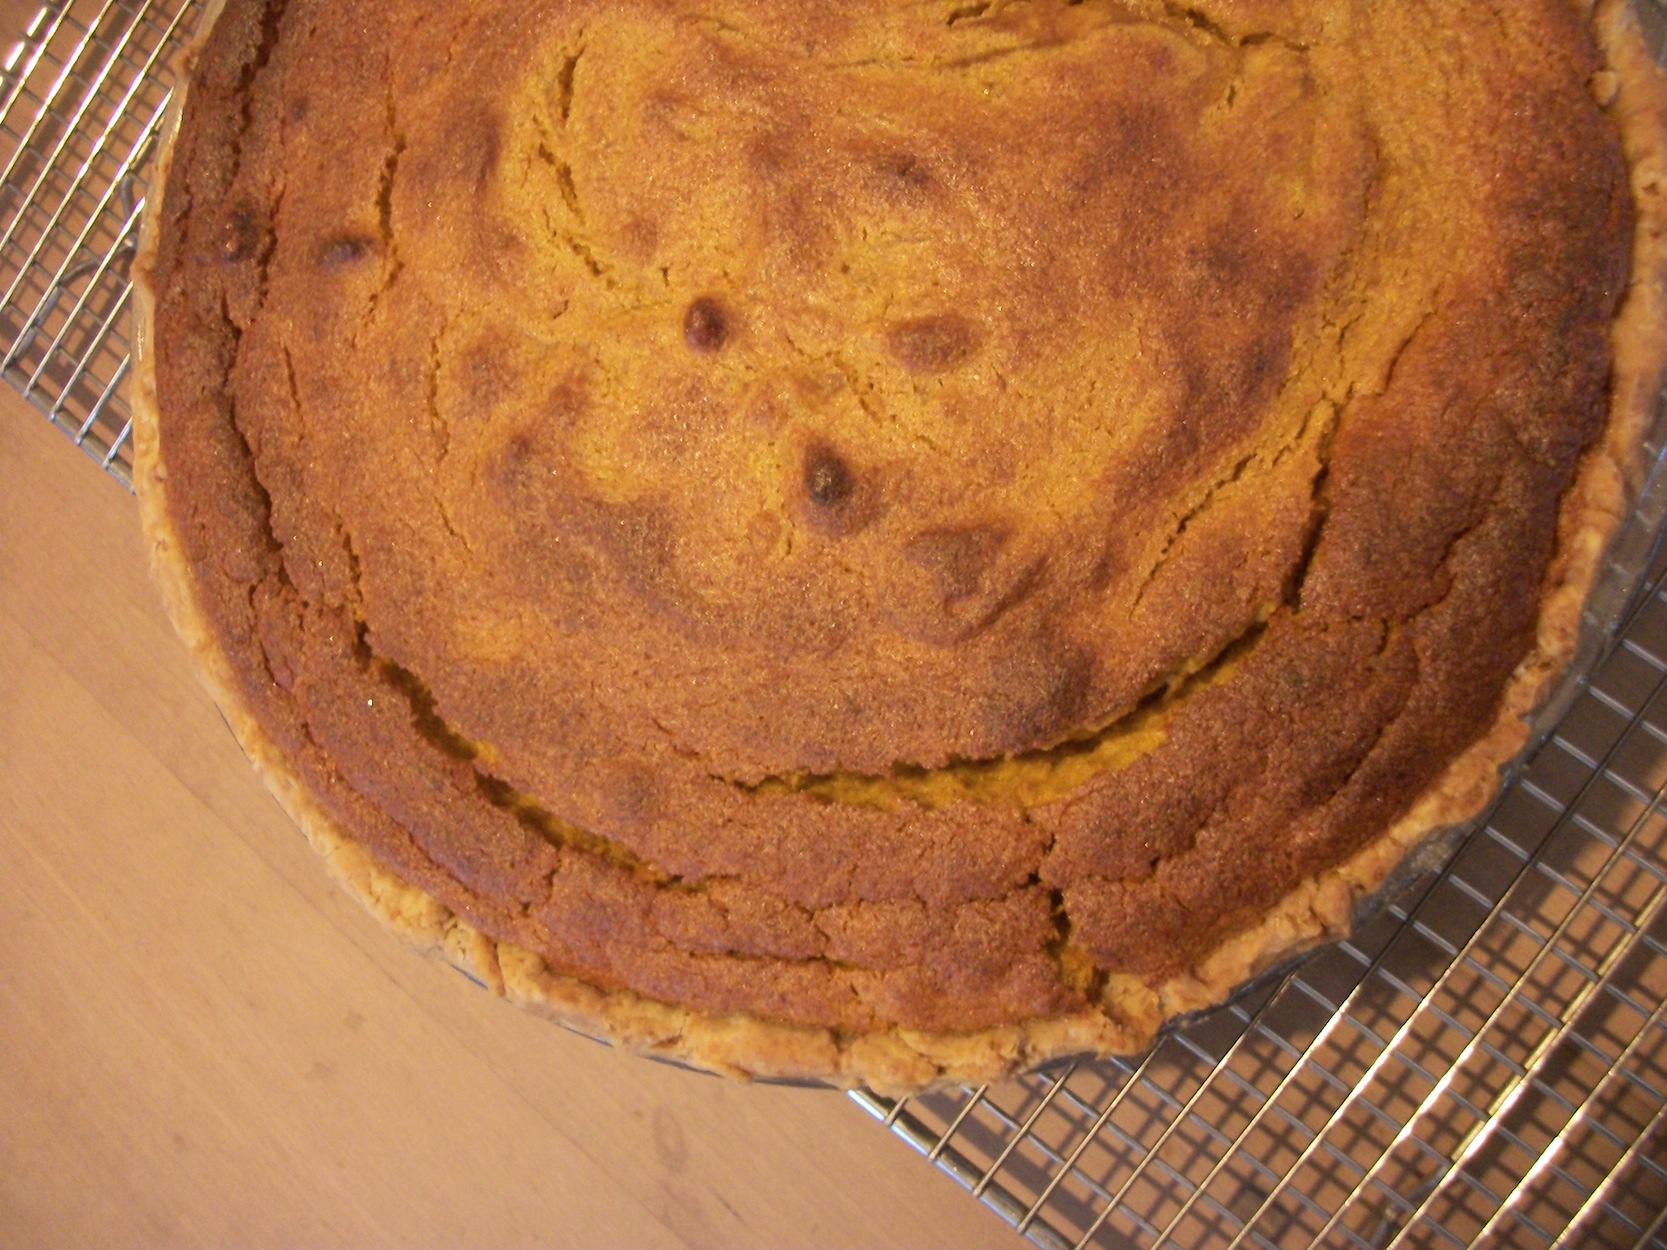
The pumpkin pie recipe I use has stiffly beaten egg whites in it. So, of course, it puffs up dramatically in the oven, coming out looking like a great big orange pillow. As it cools, it falls.

It’s the perfect physics lesson to explain the Ideal Gas Law! And my daughter fell right into it when she asked, “Why does it puff like that?”

If you’re not familiar with the Ideal Gas Law, here it is:

PV=nRT

Where P=pressure, V=volume, n=amount, R=ideal gas constant, and T=temperature of the gas.

From this equation, we can clearly see that, as the air in the bubbles of egg white heats up, the volume of the air will increase (assuming, of course that the bubbles themselves can expand and maintain a relatively constant pressure, which egg white does beautifully), causing the pie to puff. As it cools, the air decreases in volume, and the pie falls.

Proving that understanding thermodynamics is easy as pie!

Cinnamon-filled Scones

Lucky I managed a photo before they were all eaten!

Lucky I managed a photo before they were all eaten!

These are arguably the family’s favourite breakfast scone. They take longer to make and to bake than my usual scones, so I make them up the night before and put them in the fridge. In the morning, all I have to do is toss them in the oven. Though I haven’t tried it, the oat/whole wheat dough would go great with a jam filling, too!

Filling:

1/3 cup brown sugar

1 ½ tsp cinnamon

1 Tbsp all-purpose flour

3 Tbsp (40 g) very soft butter (almost, but not quite melted)

Stir together the above ingredients until they form a spreadable paste. Set aside.

Dough:

1 cup oat flour *

1 cup whole wheat flour

1 cup all-purpose flour

¼ cup brown sugar

1 Tbsp baking powder

½ tsp salt

1 ½ tsp cinnamon

½ cup (125 g) cold butter

1 egg

1 cup milk **

1 tsp vanilla

Mix the flours, sugar, baking powder, salt and cinnamon in a large bowl. Cut in the butter with a pastry knife until it resembles coarse crumbs.

Whisk together the egg, milk, and vanilla. Add this mixture to the dry ingredients, and mix just until the dough comes together.

Divide the dough in half. Knead each half gently, then pat each into a 9-inch round. Place one round into a lightly greased 9-inch round baking pan. Spread the filling on top. Place the second round of dough on top of the filling and press gently to remove air pockets.

Cut the scones into 12 wedges, and bake at 375°F (190°C) for 40 minutes, until brown and firm in the centre. Allow to cool 5-10 minutes before removing from the pan.

Eat immediately…or someone else will beat you to them!

* You can make your own oat flour by grinding rolled oats in a food processor for about 30 seconds.

** For Cinnamon/Pumpkin scones, use ¾ cup of cooked, mashed pumpkin and ¼ cup milk. If the pumpkin is dry, you may need to add a little more milk.

Klim Diplomacy

Kitchensm

All the kitchen you need for making ricotta!

I ran across this lovely article about unofficial Peace Corps cookbooks, and it brought a smile to my face.

There was no Panama Peace Corps cookbook when my husband and I were there, but there were plenty of recipes shared in the Peace Corps newsletter. I still have a few of them—ragged pieces of paper torn from the newsletter, smelling ever so faintly of mould.

The best Peace Corps recipe ever was for ricotta cheese made with powdered milk.

Fresh milk was impossible to come by in our village, as there was no electricity, and hence no refrigeration. Dairy of any sort just wasn’t part of the diet. But you could buy cans of powdered milk (marketed by Borden as Klim…the most uncreative name ever).

Today, with my goat milk, I am quite precise with temperature when I make ricotta, but the Peace Corps recipe was written for the Volunteer cooking over a three-rock fire with nothing more than a pot and a spoon.

The recipe went something like this:

Mix up two litres of milk from powder.

Heat to just below a boil.

Add ¼ cup of vinegar.

Skim off the cheese curds as they form.

This little recipe made surprisingly good ricotta, even from powdered milk. With it, we managed lasagne, pizza, and all manner of other cheesy treats over our little fire. It was a delightful break from unending days of rice and yuca.

Excited by our ability to make foods from home, we shared our pizza with the neighbours.

They thought it was disgusting.

But we all laughed and enjoyed the chance to talk about and compare our different cultures and cuisines.

One of the goals of Peace Corps is to foster understanding and exchange between cultures. Food is an important part of that exchange for all Peace Corps Volunteers. Even when the various parties can’t agree on what tastes good, food opens dialogue, it makes people smile, it is a common language.

Perhaps the world would be a more peaceful place if we all tried a little Klim diplomacy.

Vandalizing the Cookbooks

100_3564I was taught never to write in books.

In high school when I was reading the classics for English class, the comments scribbled in the margins by previous students irritated me.

I even hesitated writing my name inside the front cover of books.

I still don’t generally write in books, but when it comes to cookbooks, I’ve realized that writing in them is necessary.

100_3566How else will I remember if a recipe is worth making again?

How else will I remember that this scone recipe is too wet, and requires an extra ¼ cup of flour, or that that cake recipe is better with half the sugar than called for? Or that the pumpkin pie recipe in the Mennonite Community Cookbook is much better than the one in Fanny Farmer?

100_3562My cookbooks are full of my scribbles in the margins, my temperature and weight conversions for American recipes that don’t provide the metric counterparts. The notes help me improve a recipe every time I make it, and remember what I’ve done when I’ve finally perfected a recipe.

Soft Pretzels

100_3556 smHaving grown up in central Pennsylvania, I consider pretzels their own food group.

So it was a great disappointment to discover that there are NO pretzels in New Zealand. Oh, you can get small bags of expensive, imported pretzels, but the variety and quality are very poor.

And soft pretzels—the pinnacle of pretzel evolution—are nonexistent.

Thankfully, soft pretzels are easy and fun to make!

I make soft pretzels from a light whole wheat bread dough—any relatively light dough will work fine.

Once your dough has finished its first rise, divide it into 100g (3.5 oz) pieces. Roll each piece into a long snake, then twist into a pretzel shape and place on a well-greased baking sheet (You can make other shapes, but keep them compact or they will break apart when handled). Cover and let them rise until about doubled in bulk.

Now comes the part that turns them into pretzels.

Bring to a boil a mixture of 4 cups of water and 5 tsp baking soda (I use a large pot and need to double this amount to get a reasonable depth of water). Drop the pretzels carefully into the water (you may only be able to put 1 or 2 into the water at a time—my big pot fits 3) and allow them to boil for about 1 minute, until they float to the surface (I gently turn them over once they’ve reached the surface so that both sides boil relatively evenly). With a large slotted spoon, take them out and place them back on the greased baking sheets.

Sprinkle with coarse salt and bake at 230°C (450°F) for 12 minutes or until nicely browned.

Eat them hot, slathered in mild mustard!

Sweet potato oven fries

100_3540 smI made lentil burgers for dinner last night and served them on Mum’s Fluffy Buns. I wanted a side dish, but I wasn’t in the mood for ordinary fries, so I made sweet potato (called kumara here) fries instead. I cut the sweet potatoes into wedges about 1 cm (1/2 inch) thick, tossed them in a shallow baking dish with olive oil, salt and black pepper, and baked them at 190°C (375°F) for about 30 minutes, until they were browning and the thin edges were crispy.

Easy as! And delicious, too!

Strawberry Muffins

100_3478 smI froze strawberries for the first time last summer, and I’ve been trying to find ways to use them. The problem is that I think the frozen strawberries taste disgusting unless they are further processed after thawing. That’s not a problem with the sliced and sugared ones—throw them into a saucepan and simmer them down for a while, and they make an excellent strawberry syrup for pancakes. I can use up a lot of frozen strawberries on pancakes!

It’s the ones I froze whole that are causing me trouble. But yesterday I found a very nice way to use them—Strawberry yogurt muffins! This is a variation on Sour Cream Muffins in King Arthur Flour’s Whole Grain Baking.


2 cups whole wheat flour

½ cup all –purpose flour

1 ½ tsp baking powder

½ tsp baking soda

½ tsp salt

4 Tbsp (60 g) butter, softened

½ cup sugar

2 large eggs

1 tsp vanilla

1 cup plain yogurt

2 cups frozen strawberries

Mix flours, baking powder, baking soda and salt in a medium bowl. In a large bowl, cream the butter and sugar together until light and fluffy. Beat in the eggs, one at a time. Add the vanilla and yogurt. Add the dry ingredients and mix just until smooth. Slightly thaw, then roughly chop the strawberries. Fold them into the batter, and refrigerate at least an hour (for breakfast muffins, make the batter the night before, and refrigerate overnight). The strawberries will release juice, so you’ll need to give the batter another stir just before scooping it into a greased muffin tin.

Bake at 400°F (210°C) for about 25 minutes. Makes 12 – 15 muffins depending on how big you like them.

Fakin’ Bacon

Bac-UnFor many years we resisted the vegetarian meat substitutes. TVP always tasted like tough cardboard to me, and I’d never had a vegetarian sausage that I wanted to finish eating. Besides, who really needed meat anyway with all the variety in the vegetable world? To try to get a meat fix by eating some highly processed vegetable just didn’t seem right.

But after a trip to China, where the art of meat substitutes is, apparently truly an art (they go to great lengths to make the substitute taste, feel, and even look like the real deal (down to gristle, and skin), Ian decided he wanted to try making some of those substitutes, just for the fun of it. The gluten-phobic should probably read no further, because these meat substitutes use wheat protein (gluten) to replace the meat protein.

I was highly suspicious, as Ian worked with the stretchy, slimy mass of gluten, and still wasn’t sure, even once the fake meat was made and ready to be prepared for a meal. But to my surprise, I ended up quite enjoying the stuff.

What we found was that preparing these meat substitutes makes all the difference in whether they are good or revolting. The mock duck he made was great when fried and served in flavourful oriental dishes, but took on the texture of a gumboot when boiled in a stew. The bacon was delicious, but needed to be very thinly sliced and fried hot to get that crispy bacon texture.

I prefer the bacon over the mock duck–I find that greasy, salty, crunch irresistible. And as a bonus, the bacon fits nicely into the bread oven’s heat cycle, making use of the cool tail end, and eking yet another few meals out of a bread day’s labour.

You can find the vegetarian bacon recipe Ian uses here. Whether you’re vegetarian or not, it’s a fascinating food, and well worth trying at least once, just for the adventure.

Paneer

100_3424 smThis is such an easy, wonderful cheese to make, that even without a ready supply of fresh goat milk, I’d keep making this cheese.

Paneer is used largely in Indian cooking, though I’ve been known to throw it into oriental stir fries where it takes the place of tofu. No matter where you use it, it gets lovely crispy edges when it fries, and it soaks up spicy flavours.

Paneer takes almost no time to make (in cheese terms, anyway), and requires no special equipment or cultures. As a friend of a friend once said, “Paneer is very dangerous.” Too easy to make and too good to resist! Give it a go!


1 gal whole milk

2 tsp citric acid, dissolved in ¾ c. hot water OR ½ c. fresh lemon juice

Heat the milk on high to a foaming boil, stirring constantly to avoid scorching. Turn the heat down to low and quickly add the citric acid solution, stirring very gently. The milk should curdle almost instantly. (If it doesn’t, add a little more acid). As soon as the milk has curdled, remove it from the heat, and let it sit, covered, for 10 minutes. Spoon the curd gently into a colander lined with cheesecloth (3 layers if you’re using “cheese cloth”, 1 layer if you’re using butter muslin (known here as baby muslin; you can also just use a clean handkerchief). Once the large chunks have been transferred to the colander, gently pour the rest of the liquid and curds into the colander. Pull up the corners of the cloth and twist gently. Hold the bundle under lukewarm running water for 10 seconds, then hang to drain for 3-4 hours. To speed up the draining, you can press the cheese under a light weight (put a small plate or saucer on top of the cheese to spread the weight evenly; I use a 2 litre bottle of water) for 1 ½ hours. Refrigerate until you’re ready to use it; use within 3 days.

*When it comes time to cook paneer, most recipes say to fry it. If you don’t use a non-stick pan, the paneer will stick and fall apart. If you do use a non-stick pan, the paneer will sputter and spit hot oil everywhere. I avoid both by baking it on a lightly oiled non-stick baking tray in a hot (230°C/450°F) oven until it is nicely browned.

Banish the winter blues!

100_3345 copyIt’s a drizzly, dark day. The whole family slept in this morning (well, apart from me), and they still all rose before sunrise. It was a day to either stay in bed or do something to banish the winter blues. So I made lemon cupcakes iced with bright yellow flowers—my kitchen is sunny, even if the sky is grey!

The original plan was to teach my daughter some cake decorating techniques, but we discovered we were out of confectioner’s sugar, so I made a buttercream frosting instead of a quick frosting. That took a lot longer than a quick frosting, and by the time the frosting was ready, a friend had arrived to play. Since all the cake decorating equipment was already out, I figured I’d have some fun, even without my daughter. (She did manage to stop playing long enough to eat a cupcake).