Years ago, struggling with the feeling that I wasn’t pulling my weight in my family because I wasn’t earning much money with my business, I did a few back of the envelope calculations of what my gardening and milking/cheesemaking activities ‘earned’. At the time, I worked out that I was producing about $50,000 worth of food every year. The domestic accounting blew me away and put my mind at ease.

I’m no longer concerned about the monetary value of the gardening I do, but I’m still curious, and I love data and numbers. So I’ve decided to do some garden accounting this year.
Beginning at the winter solstice, I started keeping a log of all the food that comes out of the garden. Although the garden year never really ends here, I figured the solstice was as good a place as any to start. I’ve dedicated a notebook to the task and I’m recording as much information as I can about what I harvest—weight, number, variety, etc. I’ll periodically enter the data into a spreadsheet, so I can play around with the numbers.
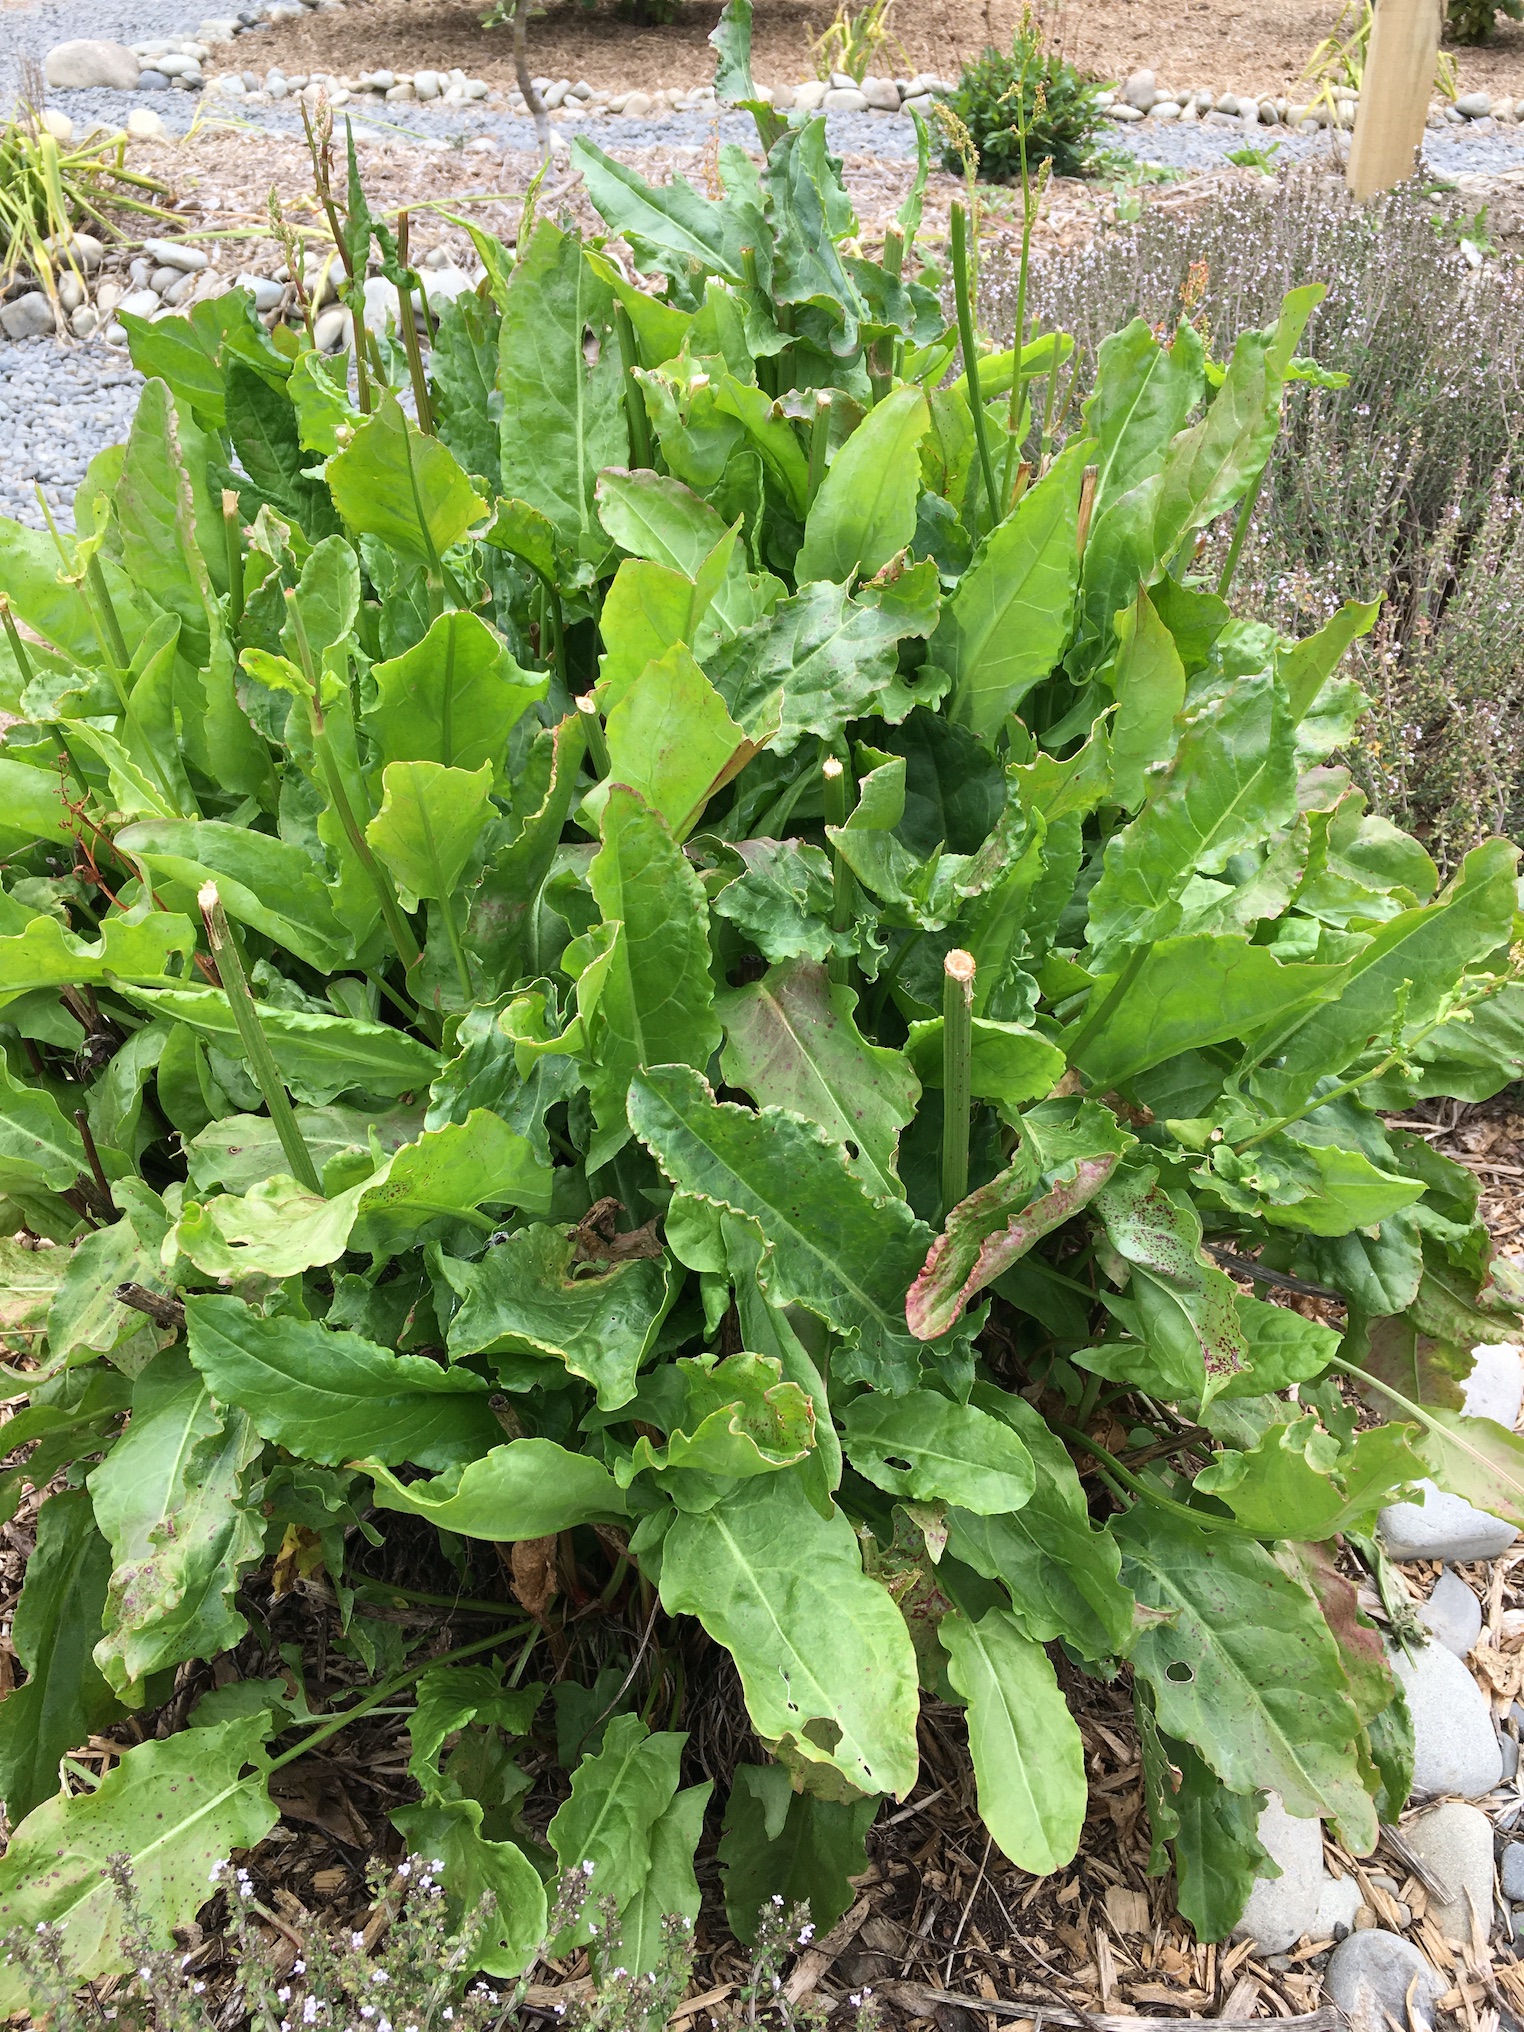
Okay, yes, I’m a total nerd. But I love playing with data. And we always come to late summer (as we heave yet another laden basket onto the kitchen bench) wondering just how many kilos of courgettes we’ve harvested. But by then it’s too late to go back and weigh them.

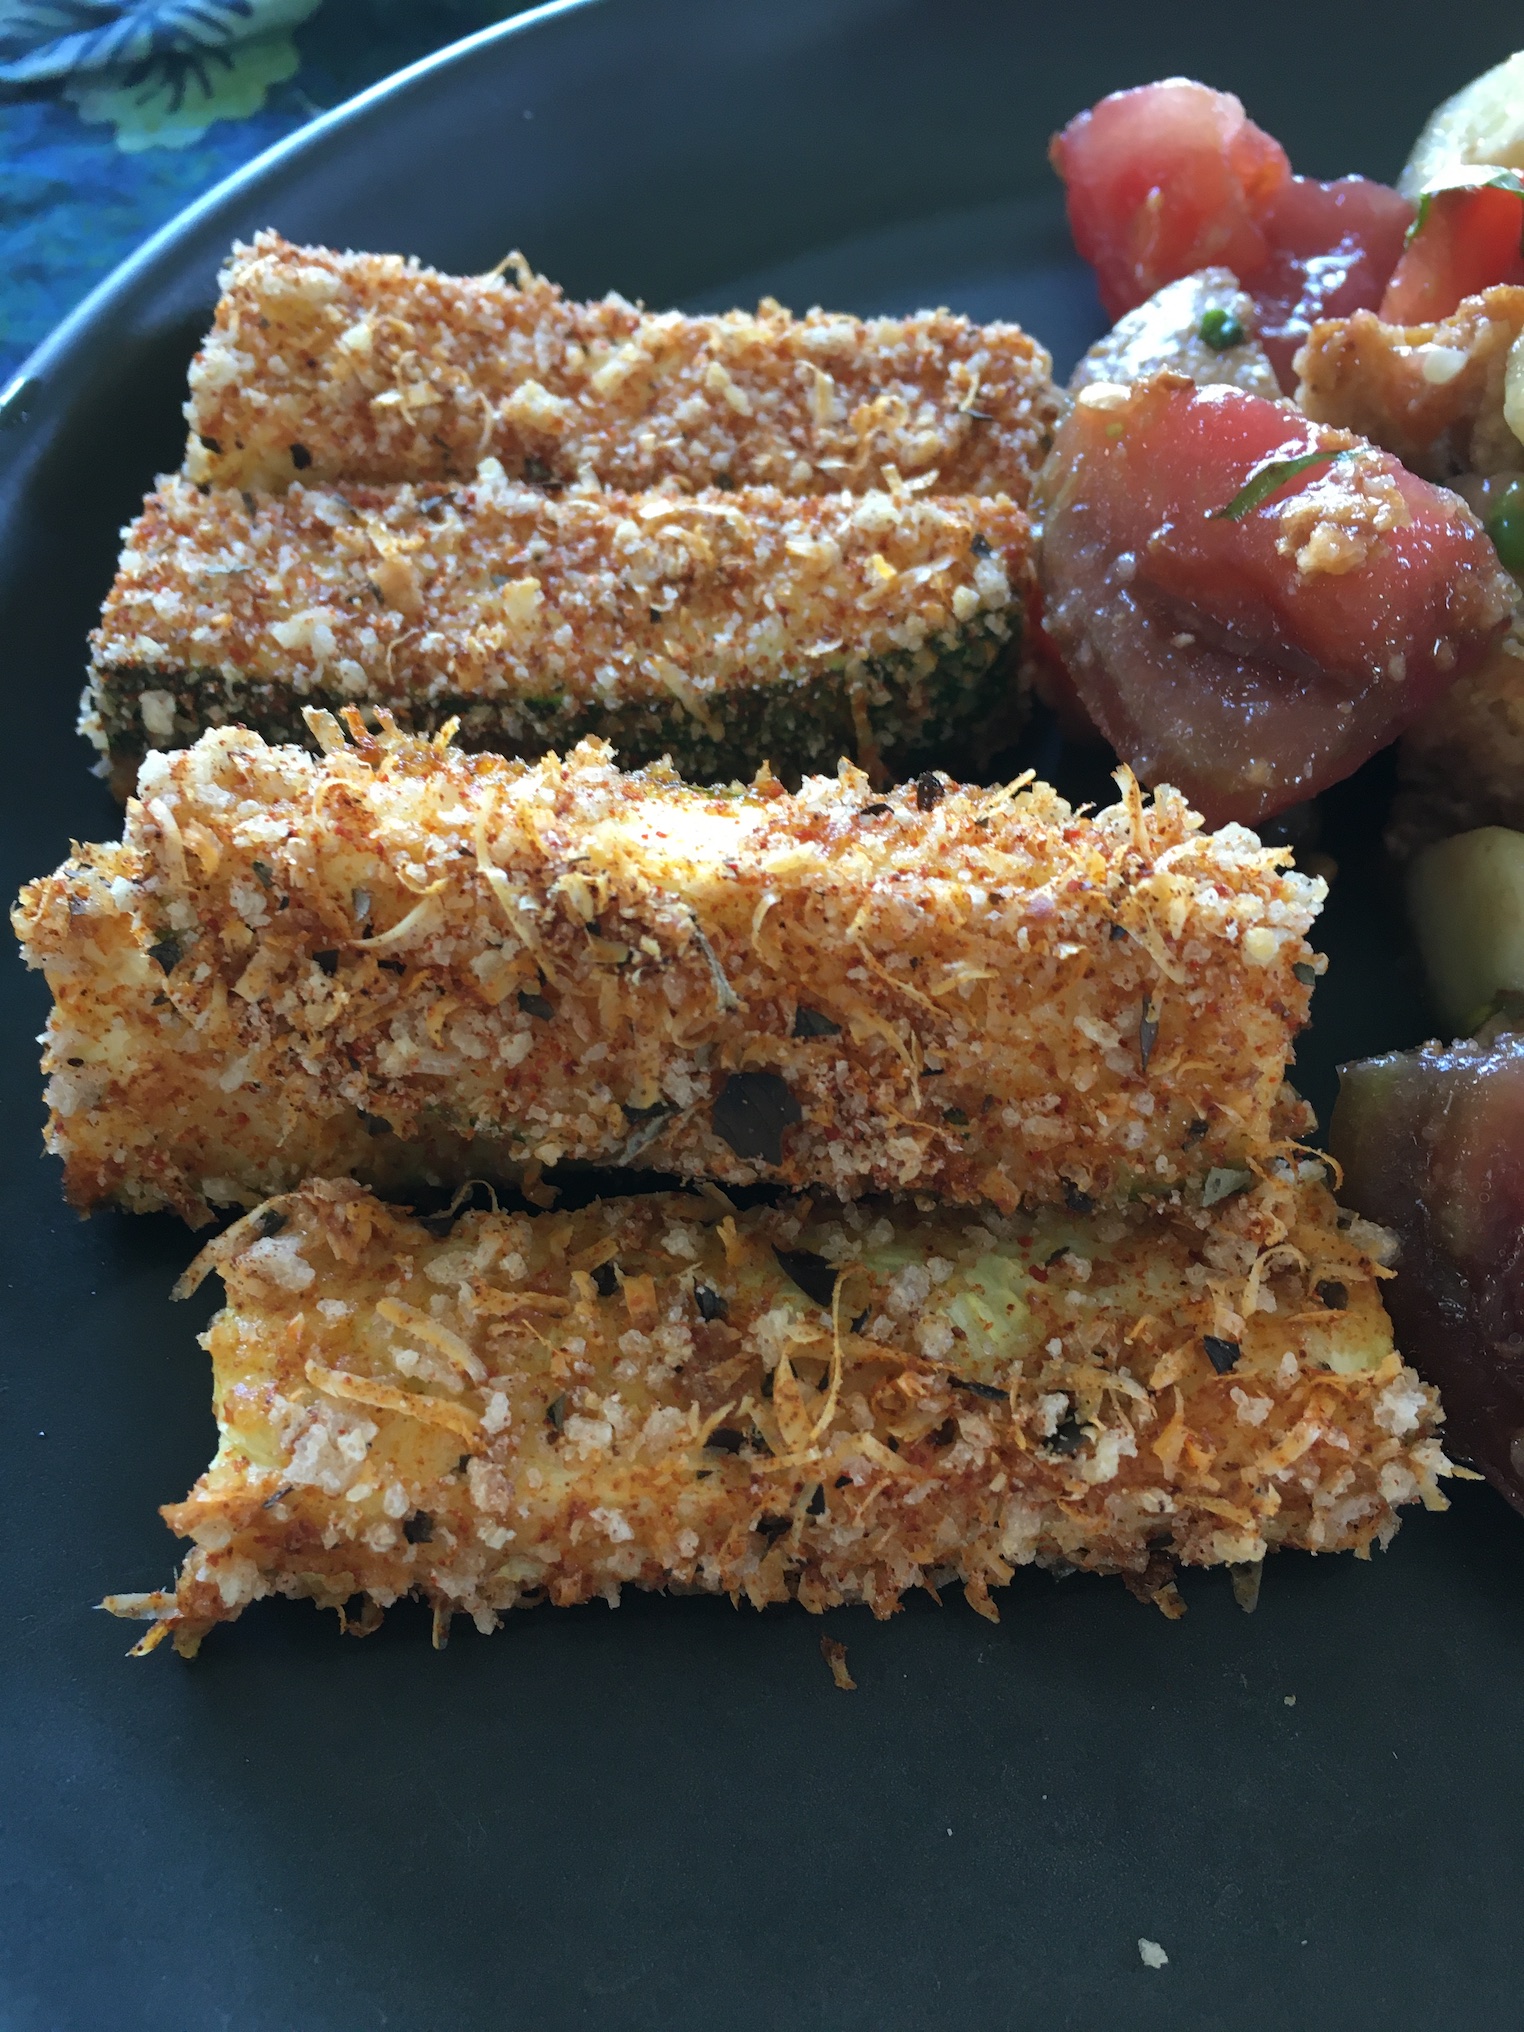
Besides, there’s always the fascinating harvests, like the 500 grams of hot peppers I harvested yesterday. (in July?! For those in the northern hemisphere, July is the seasonal equivalent of January.) In addition, the exercise might tell me a bit about which varieties are more or less worth growing. Not that it would stop me from growing a crop I love, even if it doesn’t produce a lot, but it never hurts to have the data.
My intent is not to place a dollar value on what we harvest (Who can put a value on a warm, heirloom tomato fresh from the garden?), but to use the exercise to capture the quantity and diversity of food we enjoy.