Pumpkin Cinnamon Buns

Winter has definitely arrived this weekend, with squally rain, and chilly winds. The mountain passes have been closed by snow, and no doubt we’ll see some stunning snowy peaks when the clouds finally lift.

In response, I’ve been craving dense, high calorie food (never mind the fact I’ve been indoors most of the weekend and don’t need high calorie food in any way). 

Yesterday, I was contemplating today’s breakfast, and imagined pumpkin spice sticky buns. Was there such a thing? And if not, could I invent it?

The answer was, yes! I found several variations online. In my usual fashion, I mixed and matched, picking aspects I liked from a number of recipes to come up with my own take on the dish. 

The outcome was quite tasty. Here’s my recipe.

Dough:
3/4 cup milk, warmed to about 43℃ (110℉)
1/4 cup granulated sugar
2 1/4 tsp yeast
1 cup pureed pumpkin
1/4 cup butter, melted
1 egg
2 cups high grade (bread) flour
2 cups wholemeal (whole wheat) flour
1 Tbsp cinnamon
1 tsp cloves
1 tsp ginger
1 tsp allspice
3/4 tsp salt

Filling:
2/3 cup brown sugar
1 1/2 Tbs cinnamon
1/4 cup butter, softened
2/3 cup chopped walnuts

Glaze:
1/2 cup icing (confectioner’s) sugar
2-3 tsp fresh lemon juice

To make the dough, combine milk, granulated sugar and yeast in a small bowl and let sit until foamy. Combine pumpkin, melted butter and egg in a medium bowl. Combine flours, spices and salt in a large bowl.

Combine the yeast mixture with the pumpkin mixture and beat until smooth. Pour this mix into the flour, and stir until a dough forms. Turn the dough out onto a lightly floured surface and knead for about 10 minutes, until smooth and elastic. Allow to rise in a greased, covered bowl for 1-2 hours, until doubled in bulk.

Roll the dough into a large rectangle, about 35 x 40 cm (14 x 16 in). Spread the dough with the softened butter, leaving a narrow strip of dough on one of the shorter sides free of butter. Combine the brown sugar and cinnamon, and sprinkle over the butter. Sprinkle walnuts on top.

Starting at the buttery short edge, roll the dough into a log, pressing the unbuttered edge firmly to seal. With a sharp knife, slice the log into 12 rounds.
Place the rounds in a well-greased baking tin 23 x 33 cm (9 x 13 in)*, cover with a damp towel, and let rise about 30 minutes.**

Bake at 180℃ (350℉) for 25 minutes, until nicely browned.

Make the glaze by mixing lemon juice, a little at a time, into the icing sugar until the mixture is thick and pourable. Drizzle over the still-warm buns.

*Knowing this recipe makes enough for 2 breakfasts for my husband and me, I divided my rolls, arranging them into two 25 cm (11 in) round pans. I slipped one pan into the freezer, to bake another week.

**If you want to have these for breakfast, cover the pan with plastic wrap and refrigerate overnight. Allow to stand on the kitchen bench for about 30 minutes to warm up before baking.

A week later … PS: the buns I put in the freezer for a week were every bit as delicious as the ones baked right away. I moved them to the fridge the night before, then let them sit out for 45 minutes before baking. They took about 5 minutes longer in the oven than the first batch, but otherwise, you’d never know they had been frozen. Yum!

Oven Fried Zucchini Sticks

Many years ago, I posted a blog titled 50 Ways to Eat Zucchini. Since then, I’ve gotten much better about my zucchini planting—I plant half as many as I used to. Of course, that still means we have too many. We’re currently giving away 5 to 10 kg of zucchini a week, eating it in every dinner and baking it into desserts.

I don’t mind having too much zucchini. It’s a versatile vegetable that can be grated into all kinds of dishes (chilli, pasta sauce, enchiladas, burgers …) or featured in beautiful slabs or rounds (zucchini and tomato tart, grilled zucchini, frittata …).

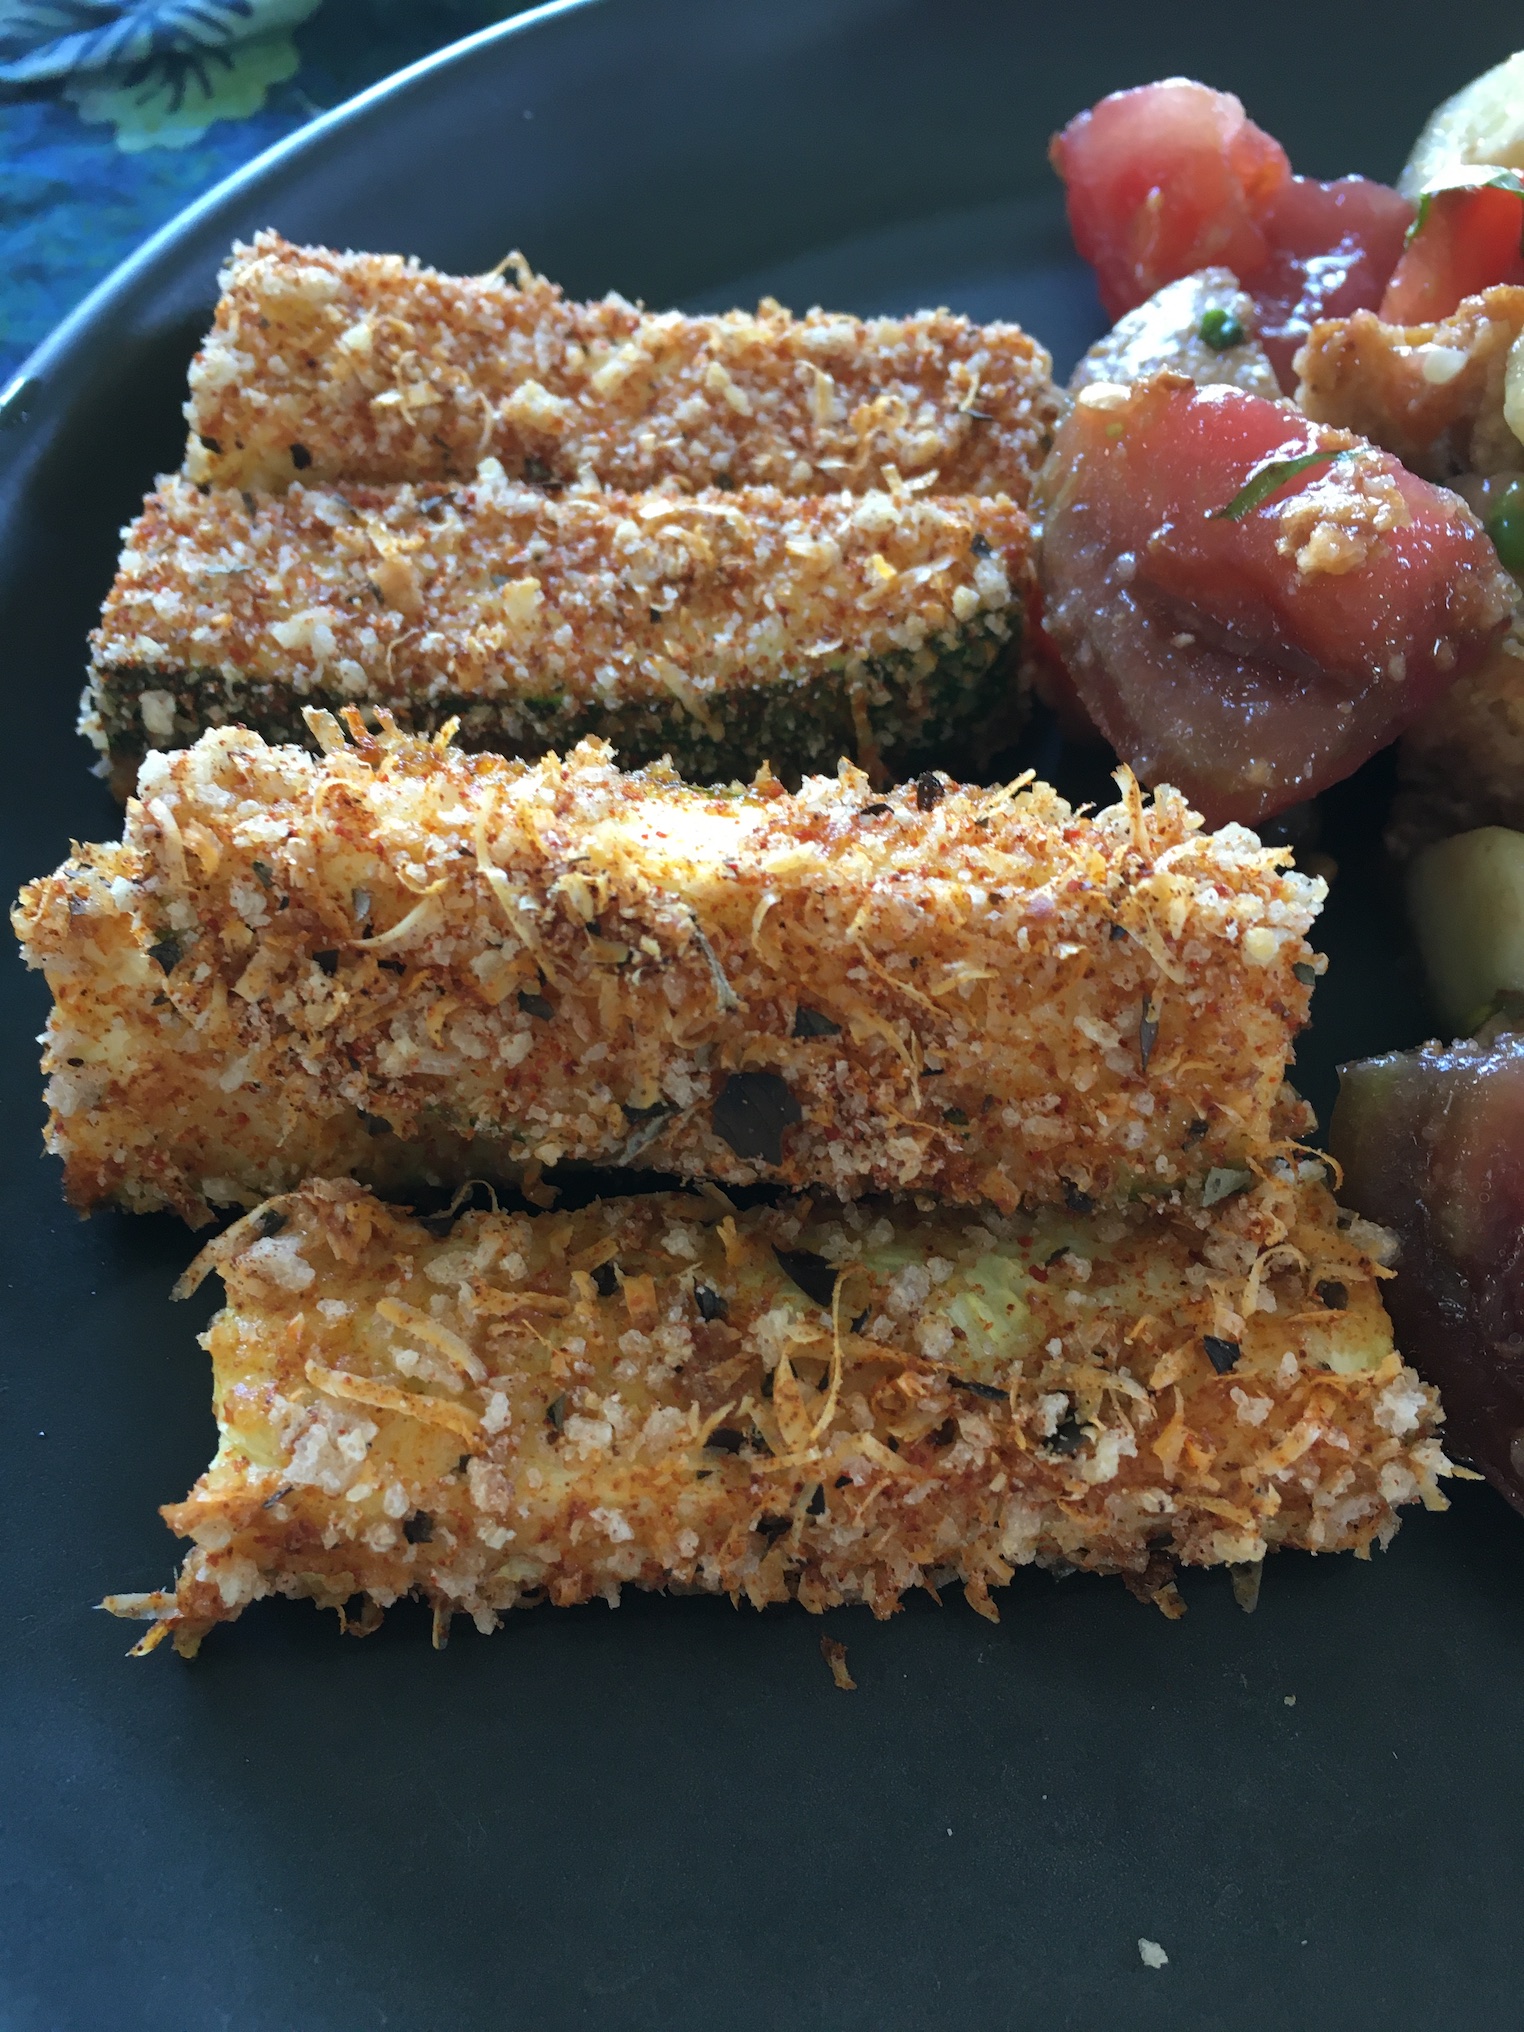
One of my favourite ways to eat zucchini is as breaded, oven fried sticks. These tasty ‘fries’ take a little work, but are well worth the effort. I fill a large jelly roll pan with them, and they vanish, even when it’s just my husband and me for dinner.

I don’t have a set recipe, but here’s an approximation of what I do:

2 small to medium sized zucchini
1 egg
1 cup bread crumbs
3/4 tsp salt
1/2 cup grated Parmesan cheese
2 tsp paprika
1/4 tsp chipotle
1/2 tsp smoked paprika
1 tsp dry oregano
small handful of fresh parsley or basil, finely chopped

Cut the zucchini into thick sticks, about the length and thickness of a finger. Whisk the egg in a small bowl. Combine all other ingredients in a separate bowl. Generously oil a large baking sheet.

Dredge each zucchini stick in the egg, then the breadcrumb mixture and set on the pan.

Bake for about 20 minutes at 200℃, until browned and cooked through.

Serve hot, with your favourite dip, if desired. We love chipotle mayonnaise with them, but they really need no further embellishment—they’re delicious as is.

Cake Season, 2025

Those of you who have followed my blog for years will know that the first three months of the year are birthday months in my family. For years, I called it crazy cake season, because I would obsess over birthday cakes all month, and spend literally weeks designing and making crazy birthday cakes.

Like the octopus:

The geode:

The peripatus:

An alpine botanical scene:

And many others.

But now that the kids are adults, the crazy cake season is far less crazy. It still involves cake, of course, but the cakes are more subdued and geared toward adult tastes.

This year, my daughter said ‘surprise me’ when I asked about her cake preferences.

So, faced with a kitchen full of beautiful ripe peaches from our trees, I made her a three-tiered peach upside down cake using my favourite upside down cake recipe, from King Arthur Flour’s Whole Grain Baking book. 

The cake recipe is meant for nectarines, but I’ve also made variations of it with pears, lemons, peaches, and plums, and it’s fabulous.

I recommend reducing the sugar in the batter, because it can be overly sweet, with the gooey fruity sugar that soaks in from the topping. I also adjust the spicing to suit the fruit and my own tastes. And I always use more fruit than the recipe suggests. 🙂

Here’s the original recipe:

Topping:
3 Tbs butter (43 g), melted
1/2 cup brown sugar
1/4 tsp nutmeg
1/4 tsp cinnamon
2 large nectarines
2 tsp lemon juice

Batter:
1 3/4 cups whole wheat flour
1 3/4 tsp baking powder
1/4 tsp salt
4 Tbs (57 g) butter, softened
3/4 cup brown sugar (I use 1/2 cup)
2 large eggs
1 tsp vanilla or almond extract
1/2 cup milk

To make the topping: Place the melted butter in an ungreased 8-in (20 cm) square baking pan, tilting to coat the bottom evenly. Mix together the brown sugar and spices, and sprinkle evenly over the butter. Slice the fruit (either peeled or unpeeled is fine) 1/4-inch (half a centimetre) thick and arrange the slices in the pan on top of the sugar and butter. Sprinkle with lemon juice. Set aside.

To make the batter: Whisk together the flour, baking powder and salt in a small bowl. Cream together the butter and sugar in a large bowl until light in colour and fluffy. Beat in the eggs, one at a time, and the vanilla. Stir in half the flour mixture, then the milk. Add the remaining flour mixture, stirring until the batter is evenly moistened. Gently pour the batter over the fruit in the pan.

Bake at 375℉ (190℃) for 45 minutes or until the cake begins to pull away from the sides of the pan and a cake tester inserted into the centre comes out clean. Allow to cool 5 minutes in the pan. Then invert the pan onto a serving platter and let sit for 1 minute before removing the pan. Serve warm, with whipped cream or ice cream, if desired.

We enjoyed our peach upside down cake with homemade peach ice cream, made by my husband.

In Praise of the Sauerkraut Crock

There are certain pieces of kitchen equipment that don’t get used often—the milk frother, the crinkle cut knife, the herb scissors … Most of these items are really unnecessary, and some don’t work very well, so they’re only pulled out on rare occasions when you feel like faffing around with something.

Other equipment is absolutely essential, but serves a specific purpose.

The sauerkraut crock is one of those.

This heavy, straight-sided 3-gallon stoneware crock is the perfect vessel for fermenting cabbage. It holds a large amount of cabbage, and is easy to pack and empty. With straight sides, weighting the cabbage while it ferments is easy to do, and we’ve made a custom ‘chaser’ for this very purpose.

For six weeks of the year, the sauerkraut crock is full of bubbling cabbage.

For the remaining forty-six weeks, it sits in the corner of the living room—a dubious decoration in an otherwise unused corner. It’s pretty much useless for anything else in the kitchen—it’s heavy, bulky, and an inconvenient shape. The custom chaser, too, is of limited use—it gets tucked into the unreachable cabinets above the refrigerator. 

By the time I pull the crock out again, it’s full of dust and dead insects.

You might think it’s not worth keeping around. And for many items I use maybe once a year, I’d agree.

The milk frother, crinkle cut knife and herb scissors … when they break, I won’t replace them. The sauerkraut crock, I will.

Because I can’t imagine not making sauerkraut, and the crock is the only tool that will do for the job.

Sorrel Salad

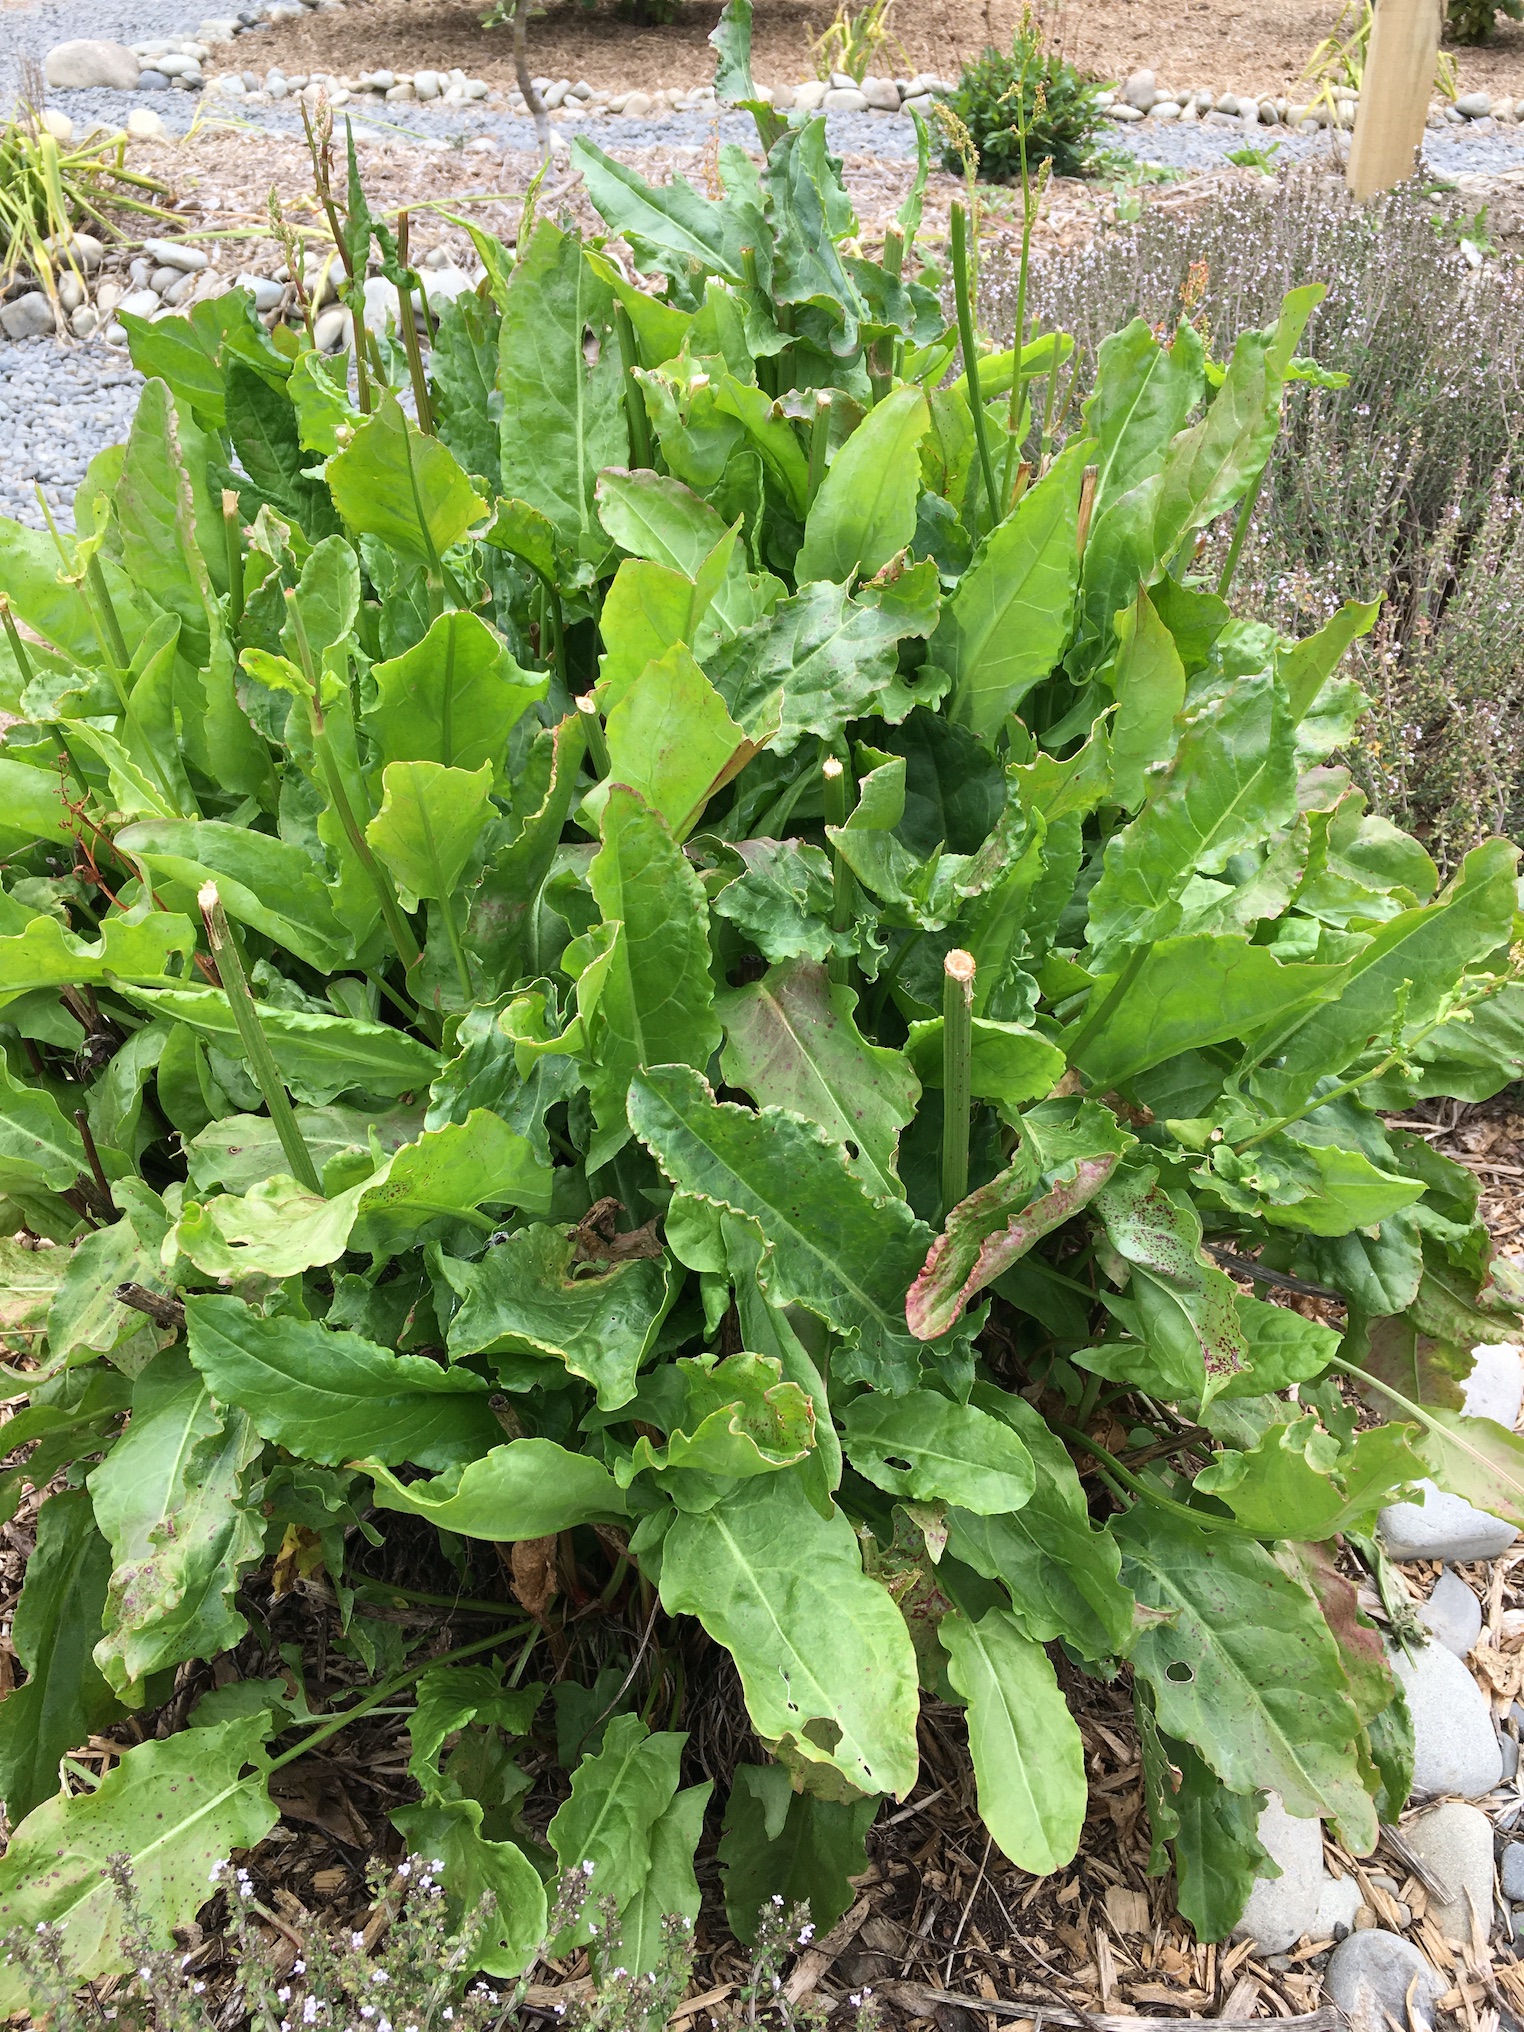
I love sorrel, with its succulent texture and bright sour flavour, but I don’t often think to use it. I occasionally use it to fill out early spring salads, when the lettuces aren’t quite big enough to make a full salad, and that’s generally about it. 

But last night I wanted a salad to go with quiche. The spring lettuces are long since bolted, and the fall lettuces are still baby seedlings, so I turned to sorrel, this time to make the bulk of the salad.

I got inspiration from a few different sorrel salad recipes, but then simply used what I had on hand. The result was a spectacular salad—one I will definitely make again.

Here’s my ‘recipe’, for what it’s worth:

1 handful sorrel leaves, chopped into thin strips (maybe 2 cups, chopped)
1/4 cup walnut pieces, toasted in a 190C oven until aromatic and beginning to darken
6 small olives, chopped (I used my own olives, and they are quite small. If you’re using big commercial ones, you probably don’t need more than 2 or 3)
6 cherry tomatoes, cut in quarters (I would have used a lot more tomatoes, but this was all I had)
1 Tbs olive oil
1 Tbs balsamic vinegar
1 small clove of garlic, crushed
dash of salt

Whisk together the oil, vinegar, crushed garlic and salt in a small bowl.

Place all the other ingredients in a bowl, and toss with the dressing. If you want a little less knock-your-socks-off fresh garlic flavour, strain the garlic out of the dressing first.

The (not quite) Perfect Icing, Part 2

I took another step on my quest for the perfect carrot cake icing on Sunday. This variation on cream cheese icing is made into a fluffy confection with the addition of quite a lot of cream, slowly beaten into the already fluffy cream cheese. 

I had my doubts. I’m not overly fond of a straight whipped cream topping. Would the cream cheese flavour come through enough? Would there be enough tart zing to it to offset the sweet?

The answer was no. 

Don’t get me wrong, this icing is GOOD! There’s enough cream cheesy goodness to give it body and depth of flavour. And the addition of cream means it gets away with having half as much sugar as other cream cheese frostings. The texture is divine—smooth and creamy, with a lightness you don’t often get in a cream cheese frosting. It’s delightful on the lemon and blackberry cupcakes I used it on. 

But is it the perfect carrot cake icing? Not quite.

So, the first icing was great on flavour, lousy on texture. This one is amazing for texture, not right for flavour. I can work with that. Trial number three will be a fusion of the two, hoping for that perfect balance.

It’s a tough job, but somebody’s got to do it. 😉

Meanwhile, I do recommend frosting #2. I think it would be spectacular on chocolate cake, and absolutely stunning rolled up in a bûche de Noël. Here’s the recipe if you want to give it a go:

170 g cream cheese
3/4 cup icing sugar (confectioner’s sugar), sifted
1 1/2 tsp vanilla
1 cup heavy cream

Beat the cream cheese until fluffy. Add the sugar and vanilla and beat until smooth. With the mixer on low, slowly pour in the cream. Then turn the mixer on high and beat until stiff peaks form.

Because of the quantity of cream in this frosting, I recommend storing cakes with this frosting in the fridge.

Baking One for the Team

I’ve recently sent out my next book, Demonic Summoning for the Modern Gardener, to beta readers. It’s a more fleshed out tale than my husband read and commented on last month. A few weeks ago, I mentioned on the blog that my husband had requested more carrot cake in the story. In my rewrite after his comments, I made chasing the perfect carrot cake a sort of running gag/tiny subplot through the book.

Then I decided I should include the perfect carrot cake recipe in the back of the book.

I had already developed the perfect carrot cake recipe, so that was easy to include. But the frosting … I’ve made some very good carrot cake frostings, but I can’t say I’ve hit on the perfect frosting. Everyone agrees, of course, that carrot cake must be frosted with a cream cheese frosting, but there’s a lot of variation among cream cheese frostings. I’ve had them too sweet, too grainy, too dense …

No better excuse for baking!

So last night I whipped up a carrot cake and tested out a new variation on cream cheese frosting. This one has no butter—just cream cheese as the fat. It also contains lemon zest and lemon juice for a bit of added tartness. Lots of potential to be awesome!

Flavour-wise, it’s good … the texture, not so much. It’s too gummy. Not fluffy enough. Definitely not the perfect frosting.

But never fear, we’ll suffer through this almost perfect cake (have I mentioned that I’ve had two pieces of it already, and it’s been only 12 hours?), and then I’ll make another!

Because I couldn’t let my readers down with sub-standard carrot cake, now could I?

If you have a favourite cream cheese frosting, let me know—maybe I’ll try it out. How many cakes do you think it will take to reach peak frosting?

Cardamom Coconut Pound Cake

I love cardamom, but I don’t use it very often. Inspired by the book, A Whisper of Cardamom by Eleanor Ford, which I checked out of the library last week, I decided to use it more frequently.

I’ve made Coffee Cardamom pound cake before (from Sweet by Yotam Ottolenghi and Helen Goh), and that was my first thought. But I didn’t have the instant coffee the recipe calls for, and anyway, coffee wasn’t what I wanted. I considered chocolate cake with cardamom, which would be good, but wasn’t really what I wanted either. 

What about coconut? Maybe with a spark of lemon to brighten the flavours? I decided to give it a go. Starting with a vanilla pound cake recipe, which I only loosely followed, I added lemon zest, cardamom, coconut, and a lemon glaze. The result was quite lovely. Here’s the recipe if you want to give it a go.

2 1/2 cups wholemeal (whole wheat) flour
1 cup all purpose flour
3/4 tsp salt
1 tsp freshly ground cardamom
250 g (1 cup) butter
1 cup icing (confectioner’s) sugar
1 cup granulated sugar
1 tsp baking powder
4 eggs
1 cup yogurt
2 tsp vanilla
grated zest of one lemon
1 cup coconut

For the glaze:
1/4 cup lemon juice
3/8 cup granulated sugar

Combine the flours, salt and cardamom in a medium bowl.

Cream together the butter, sugars and baking powder in a large bowl until light and fluffy (about 5 minutes). Add the eggs, one at a time, and beat well after each addition. Add the flour mixture alternately with the yogurt. Stir in the vanilla, lemon zest and coconut.

Bake in a greased bundt pan at 180℃ (350℉) for 55 minutes to an hour. Remove the cake from the oven and let sit in the pan for 5 minutes before turning it out onto a rack. 

To make the glaze, combine lemon juice and sugar in a small, microwave-safe bowl. Microwave on high for about 30 seconds, and then stir until the sugar is dissolved. Brush the glaze onto the warm cake until it’s all absorbed.

Winging it–Quince and walnut rolls

Sometimes, you try something new in the kitchen (like using an entire quart jar of black currants in a recipe for cupcakes), and it’s edible, but not something you particularly want to repeat. Then there are times you make something up and it just works.

On Saturday I made a cake that used all the eggs in the house and most of the butter. It didn’t leave me much to work with for Sunday breakfast. (This blog is not about Saturday’s cake, but it was amazing—the Brown Sugar-Spice Cake from King Arthur Flour’s Whole Grain Baking book—it’s what you’d get if gingerbread and pound cake had a baby together, and it was raised by carrot cake.)

So I figured I’d make a yeasted bread for Sunday breakfast. My initial thought was cinnamon rolls, which we do for Christmas breakfast every year. But I wanted something different—cinnamon rolls are for Christmas, not everyday. 

I started off by looking at recipes for various traditional fortified breads, but all of them either had eggs or lots of butter in them. 

So I decided to wing it.

Saturday evening, I combined two cups of warm milk, some yeast, about two tablespoons of butter, some salt, a spoonful of honey and enough flour (half wholemeal (whole wheat) and half high grade (bread flour)) to make up a nice bread dough. It rose beautifully, and after two hours, I rolled it out into a large rectangle. I spread it with about three quarters of a cup of quince paste, then sprinkled on some cinnamon and a generous handful of chopped walnuts. Then I rolled it into a log and cut the log into twelve thick slices, which I arranged, cut side down, in a greased 9 x 13-inch baking tin. 

I popped the pan in the fridge overnight, and the rolls were beautifully risen by 5 this morning. I gave them 30 minutes in a 210℃ oven, pulling them out when they were nicely browned.

While they were still warm, I drizzled a simple glaze over them—1/2 cup icing sugar (confectioners sugar), about 1/2 tsp vanilla, and enough milk to make a thick, pourable consistency.

It’s really too bad I didn’t actually measure most of the ingredients, because the result was excellent. In fact, I think it’s worth running out of eggs and low on butter purely to have an excuse to make these rolls. Maybe next time I’ll measure my ingredients so I can give you all a recipe—it’s definitely one worth sharing.

In the meantime, if you’re adventuresome and would like to give my loose winging-it recipe a go, I highly recommend it. If you can’t get quince paste, I reckon apple butter or a thick apple sauce would work nicely, too, though it’s hard to beat quince for flavour. 

Good luck, and happy experimenting!

Ginger Scones

Ginger cream scones are a classic, but I rarely have cream on hand. So Sunday morning, with a hankering for ginger scones, I made up a new recipe.

Taking inspiration from an excellent ginger muffin recipe, I included oats in the scones. A touch of vanilla rounded out the flavours for a thoroughly delicious breakfast. In fact they were so good, they all vanished before I thought to take a photo of them. (the photo here is of some previous scones I made–honestly they look just like the ginger scones.)

Here’s what I did, in case you’d like to try it too.

1 1/2 cups all purpose flour
1 cup quick cooking rolled oats
1/2 tsp salt
3 Tbs brown sugar (next time I’ll use just 1 1/2 Tbs—this was a bit too sweet for my taste)
2 tsp baking powder
100 g cold butter
1/2 cup crystallised ginger, finely chopped
1 egg
1/2 cup + 1 Tbs milk
1 tsp vanilla

Combine the flour, oats, salt, sugar and baking powder in a large bowl. Cut the butter in with a pastry knife until the mixture looks like coarse meal. Stir in the crystallised ginger.

Whisk together the egg, milk and vanilla in a small bowl, and then combine with the flour mixture. Knead gently a few times until the dough comes together in a ball. On a floured surface, pat the dough into a disk about 1.5 cm thick.

Bake at 210℃ for about 15 minutes until nicely browned.