A Reason to Celebrate

“Wow! What’s the occasion?” he asked.

I shrugged. “I felt like it.”

Then I thought more about it. What’s the occasion?

The sun shone all day today.
I had a good writing week.
The kids have been helpful all day.
The snowdrops are blooming.
Pīwakawakas outside my office door.
The neighbour gave us grapefruits.
My seed order arrived in the post.
I had just enough sugar to make the icing.

Every day is a day to celebrate. Every day is a day to enjoy whatever gifts life offers, no matter how small.

Go ahead. Have some cake. Be sure to try the frosting. It’s one of my favourites:

Grapefruit frosting

Beat until smooth:
250 g (8 oz) cream cheese
1 1/2 cups confectioners (icing) sugar

Add and beat until smooth:
1/2 tsp fresh lemon juice
1 1/2 tsp fresh grapefruit juice
1 Tbsp grated grapefruit zest
1 tsp grated lemon zest

Spread on your favourite cake.

Crazy Cake Season 2018—#2

My son left it wide open for me this year. He wanted his usual spice cake (the one I’ve marked with his name in the cookbook), but he left it up to me how I decorated it.

I swear that was more difficult than being told what he wanted.

After many hours scouring the cupboards and looking at cake photos online for inspiration, I came up with a large geode.

Most geode cakes online are, frankly, weird—an ordinary tiered cake covered smoothy in fondant, with a slash down the side filled with geode crystals. They don’t look like a geode at all, and some look disturbingly like vaginas. I didn’t think my son would appreciate that. I strove for a more natural geode look.

I also hoped for a tastier geode material. I was inspired to do a geode by a bag of crystalised ginger in the cupboard. Most geode cakes, though, are made with rock candy, which isn’t the nicest accompaniment to cake. On a spice cake, I thought crystalised ginger would be a much more appropriate flavour (and texture). Unfortunately, my experiments with colouring ginger were uninspiring—the ginger had a beautiful sparkling appearance, but light colours looked grey on the yellowish ginger, and dark colours looked black. I couldn’t manage a nice geode-like lavender.

So I made purple hard candy and broke it into shards for the crystals.

The result was reasonably geode-like, and easy to make. And better than a crystal vagina.

Orange Cake

Having friends over is such a good excuse to bake. I normally wouldn’t experiment for guests, but I was pretty sure of the orange cake I tried out on Saturday, because I based it on my lemon cake recipe.

It’s a close race, but I think I may like the orange version even better than the lemon. I filled the cake with gooseberry jam and drizzled it with a simple orange icing, both of which nicely set off the cake itself.

Here’s the recipe. I suggest trying the lemon version also, to see which you prefer. You might need to make them both several times to decide.

1 cup butter, softened
1 3/4 cups sugar
4 eggs, separated
grated rind of 1 orange
2 1/4 cups all-purpose flour
1 cup barley flour
1/2 tsp salt
2 1/2 tsp baking powder
1/2 cup orange juice
1/2 cup water
3/4 cup threaded coconut

In a medium bowl, mix flours, salt, and baking powder. In a large bowl, cream butter. Add sugar gradually and beat until fluffy. Add egg yolks and orange rind and continue to beat. Add dry ingredients alternately with orange juice and water. Beat thoroughly after each addition. Fold in stiffly beaten egg whites and coconut. Pour into greased pans. Bake at 180ºC (350ºF) for 30 minutes.

Orange frosting: Sift 1 cup confectioners sugar into a small bowl. Stir in orange juice by the teaspoon until the icing reaches a thick, just pourable consistency (I used about 2 Tbsp total).

The Queen’s Carrot Cake

A very happy birthday to Her Majesty this weekend. And many thanks for the extra day off and the excuse to go all out on a cake.

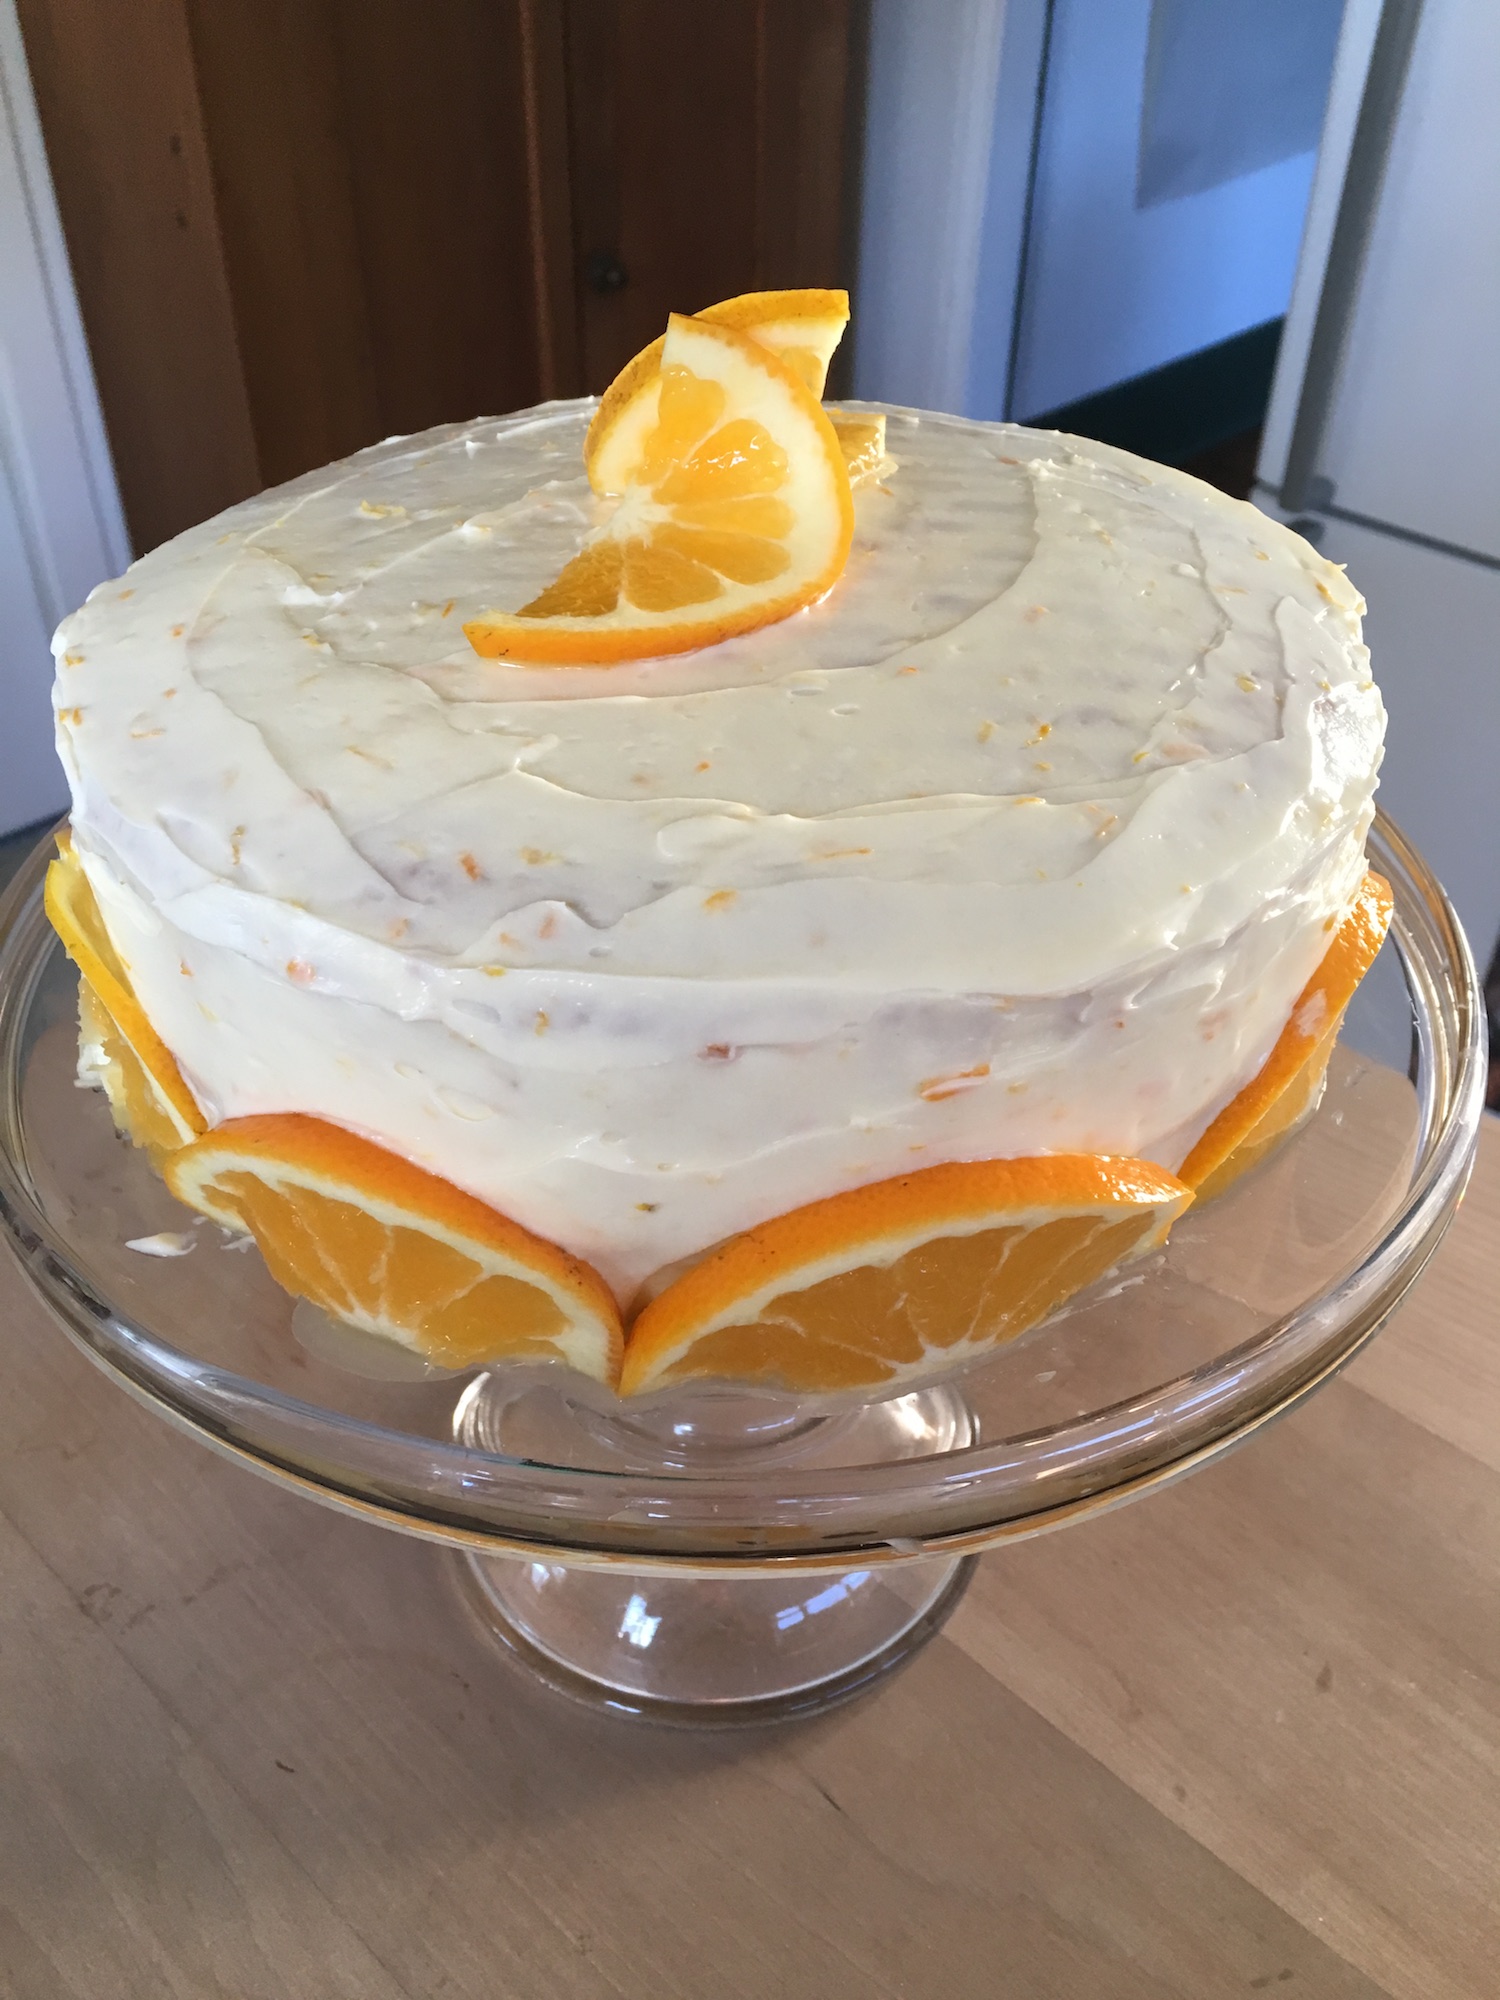
Carrot cakes are so easy to make, they’re rarely considered special occasion cakes, but in my family we’re all rather fond of it.

My favourite carrot cake recipe is a modification of a recipe in King Arthur Flour’s Whole Grain Baking book. This recipe creates a cake packed full of goodies that is delicious even without icing. The addition of cream cheese frosting makes it a thoroughly decadent celebration cake.

2 cups whole wheat flour
2 tsp baking soda
1 1/2 tsp baking powder
1 tsp salt
1 Tbsp cinnamon
1/2 tsp nutmeg
1/2 tsp ginger
4 eggs
1 cup vegetable oil
2 tsp vanilla
1 cup packed brown sugar
2 1/2 cups grated carrot
1 cup chopped walnuts
1 1/2 cups raisins
1/2 cup chopped crystallised ginger


Combine flour, baking soda, baking powder, salt and spices in a medium bowl.

In a large bowl, beat eggs. Slowly add the vegetable oil while continuing to beat. Add the vanilla, then gradually add the sugar until the mixture is thick and foamy.

Add the dry ingredients to the egg mixture and mix until smooth. Stir in the carrot, walnuts, raisins and crystallised ginger.

Spread the batter in two greased and floured 23 cm (9 in) layer pans. Bake at 188°C (350°F) for 35-40 minutes. Cool 10 minutes in the pans, then turn out onto a rack to cool completely before frosting.


Frosting:

1 package (250g/8 oz) cream cheese, softened
85 g (6 Tbsp, 3 oz) butter, softened
1 tsp vanilla
2 cups icing sugar

Beat the cheese, butter, and vanilla until light and fluffy. Gradually add the sugar. If the icing is too stiff, add milk by the teaspoon until it reaches the right spreading consistency (I generally don’t need to add any milk).


Cake #2 of Crazy Cake Season

img_3078He asked for a cube. Said I could decorate it however I wanted to. My first thought was to create a building (because he’s keen on architecture) but, truth is, a cubical building just looks wrong. Then I thought a Rubix cube or Lego block would be cute…but dreadfully boring to make. I wanted to create something unexpected, something not meant to be cubical. And I wanted an excuse to play with more Mexican paste.

So, inspired by Terry Pratchett’s Discworld, I created Cubeworld. Instead of elephants holding it up, there is a dragon holding it down…or something.

Along the way, I learned more about Mexican paste (or maybe I learned more about my sculpting skills…). Creating largish shapes with it is easy–it’s lovely to work with–but fashioning tiny animals was almost impossible (again, probably my skill here, not the Mexican paste at fault). I tried to make the dragon smaller, in keeping with the scale of the other parts of the scene, but I just couldn’t manage the tiny spikes and other sculptural details needed. And the longer I fussed with it, the drier it got, until the thin parts started crumbling. I just couldn’t work fast enough at a tiny scale.

In hindsight, it would have been good to practise with modelling clay or plasticine until I could form the dragon quickly.

Despite its limitations, the Mexican paste was, again, fun to play with, and was able to do things icing just can’t do.


Crazy Cake Season Begins!

2017-01-26-21-49-17-smWoo hoo! My favourite time of year–the time when I have lots of excuses to make ridiculous cakes–has begun with the daughter’s birthday.

I like to try new cake decorating techniques, and this year I’m using Mexican paste. It’s surprisingly easy to make and to work with, if you don’t mind remortgaging your house to pay for the gum tragacanth that gives it the right texture. I expect the stuff is dirt-cheap elsewhere in the world, but here the price was shocking (about $10 per tablespoon).

Great fun to work with, though. I’ve already gotten my money’s worth in entertainment.

Combine 227 g (8 oz) icing sugar (confectioner’s sugar) and 1 Tbsp (15ml) gum tragacanth in a bowl. Add 2 Tbsp water. Stir until it becomes crumbly and damp. Turn out of the bowl and knead until pliable. Place in a plastic bag and leave at room temperature for 12 hours until firm. When you’re ready to use it, break off a small piece and knead until softened.

The paste can be moulded into shapes, or rolled thin and cut with cookie cutters. It works a lot like modelling clay, though it tends to stick. I rolled mine out on a non-stick baking sheet, and would have appreciated a non-stick rolling pin, too, but with care I managed with an ordinary wooden rolling pin. I picked up a cheap set of fondant shaping tools that proved very helpful for producing the shapes I wanted.

After you’ve made your shapes, you need to let them dry and harden for about 24 hours. Then they can be painted with paste food colouring thinned with gin. You can also knead food colouring into the paste.

Once the paste hardens it is quite tough, but thin pieces are brittle (reminds me of unfired ceramics). I didn’t plan very well for my leaf and flower stems. I made the leaves and flowers, and only considered what I was going to use for stems after they’d dried. In hindsight, I should have attached the stems while the paste was still pliable. Nothing a little gingerbread icing, used as glue, couldn’t fix.

So, where was all this sugary sculpture heading?

My brief was an alpine scene atop chocolate cake.