Here we are at the autumnal equinox! Hard to believe my garden year is three-quarters over. But the days are feeling very short, and the vegetable garden is slowing down.
Despite the short days and cool weather, the harvest is really just getting going. I picked over 64 kg of pumpkins last weekend, and there are more to bring in. I’ve been harvesting dry beans for weeks, and will continue for another few weeks as they mature on the plants. Most haven’t been weighed in yet, because they’re still drying, but I’ve recorded over 4 kg so far, and I estimate my final total will be around 10 kg.
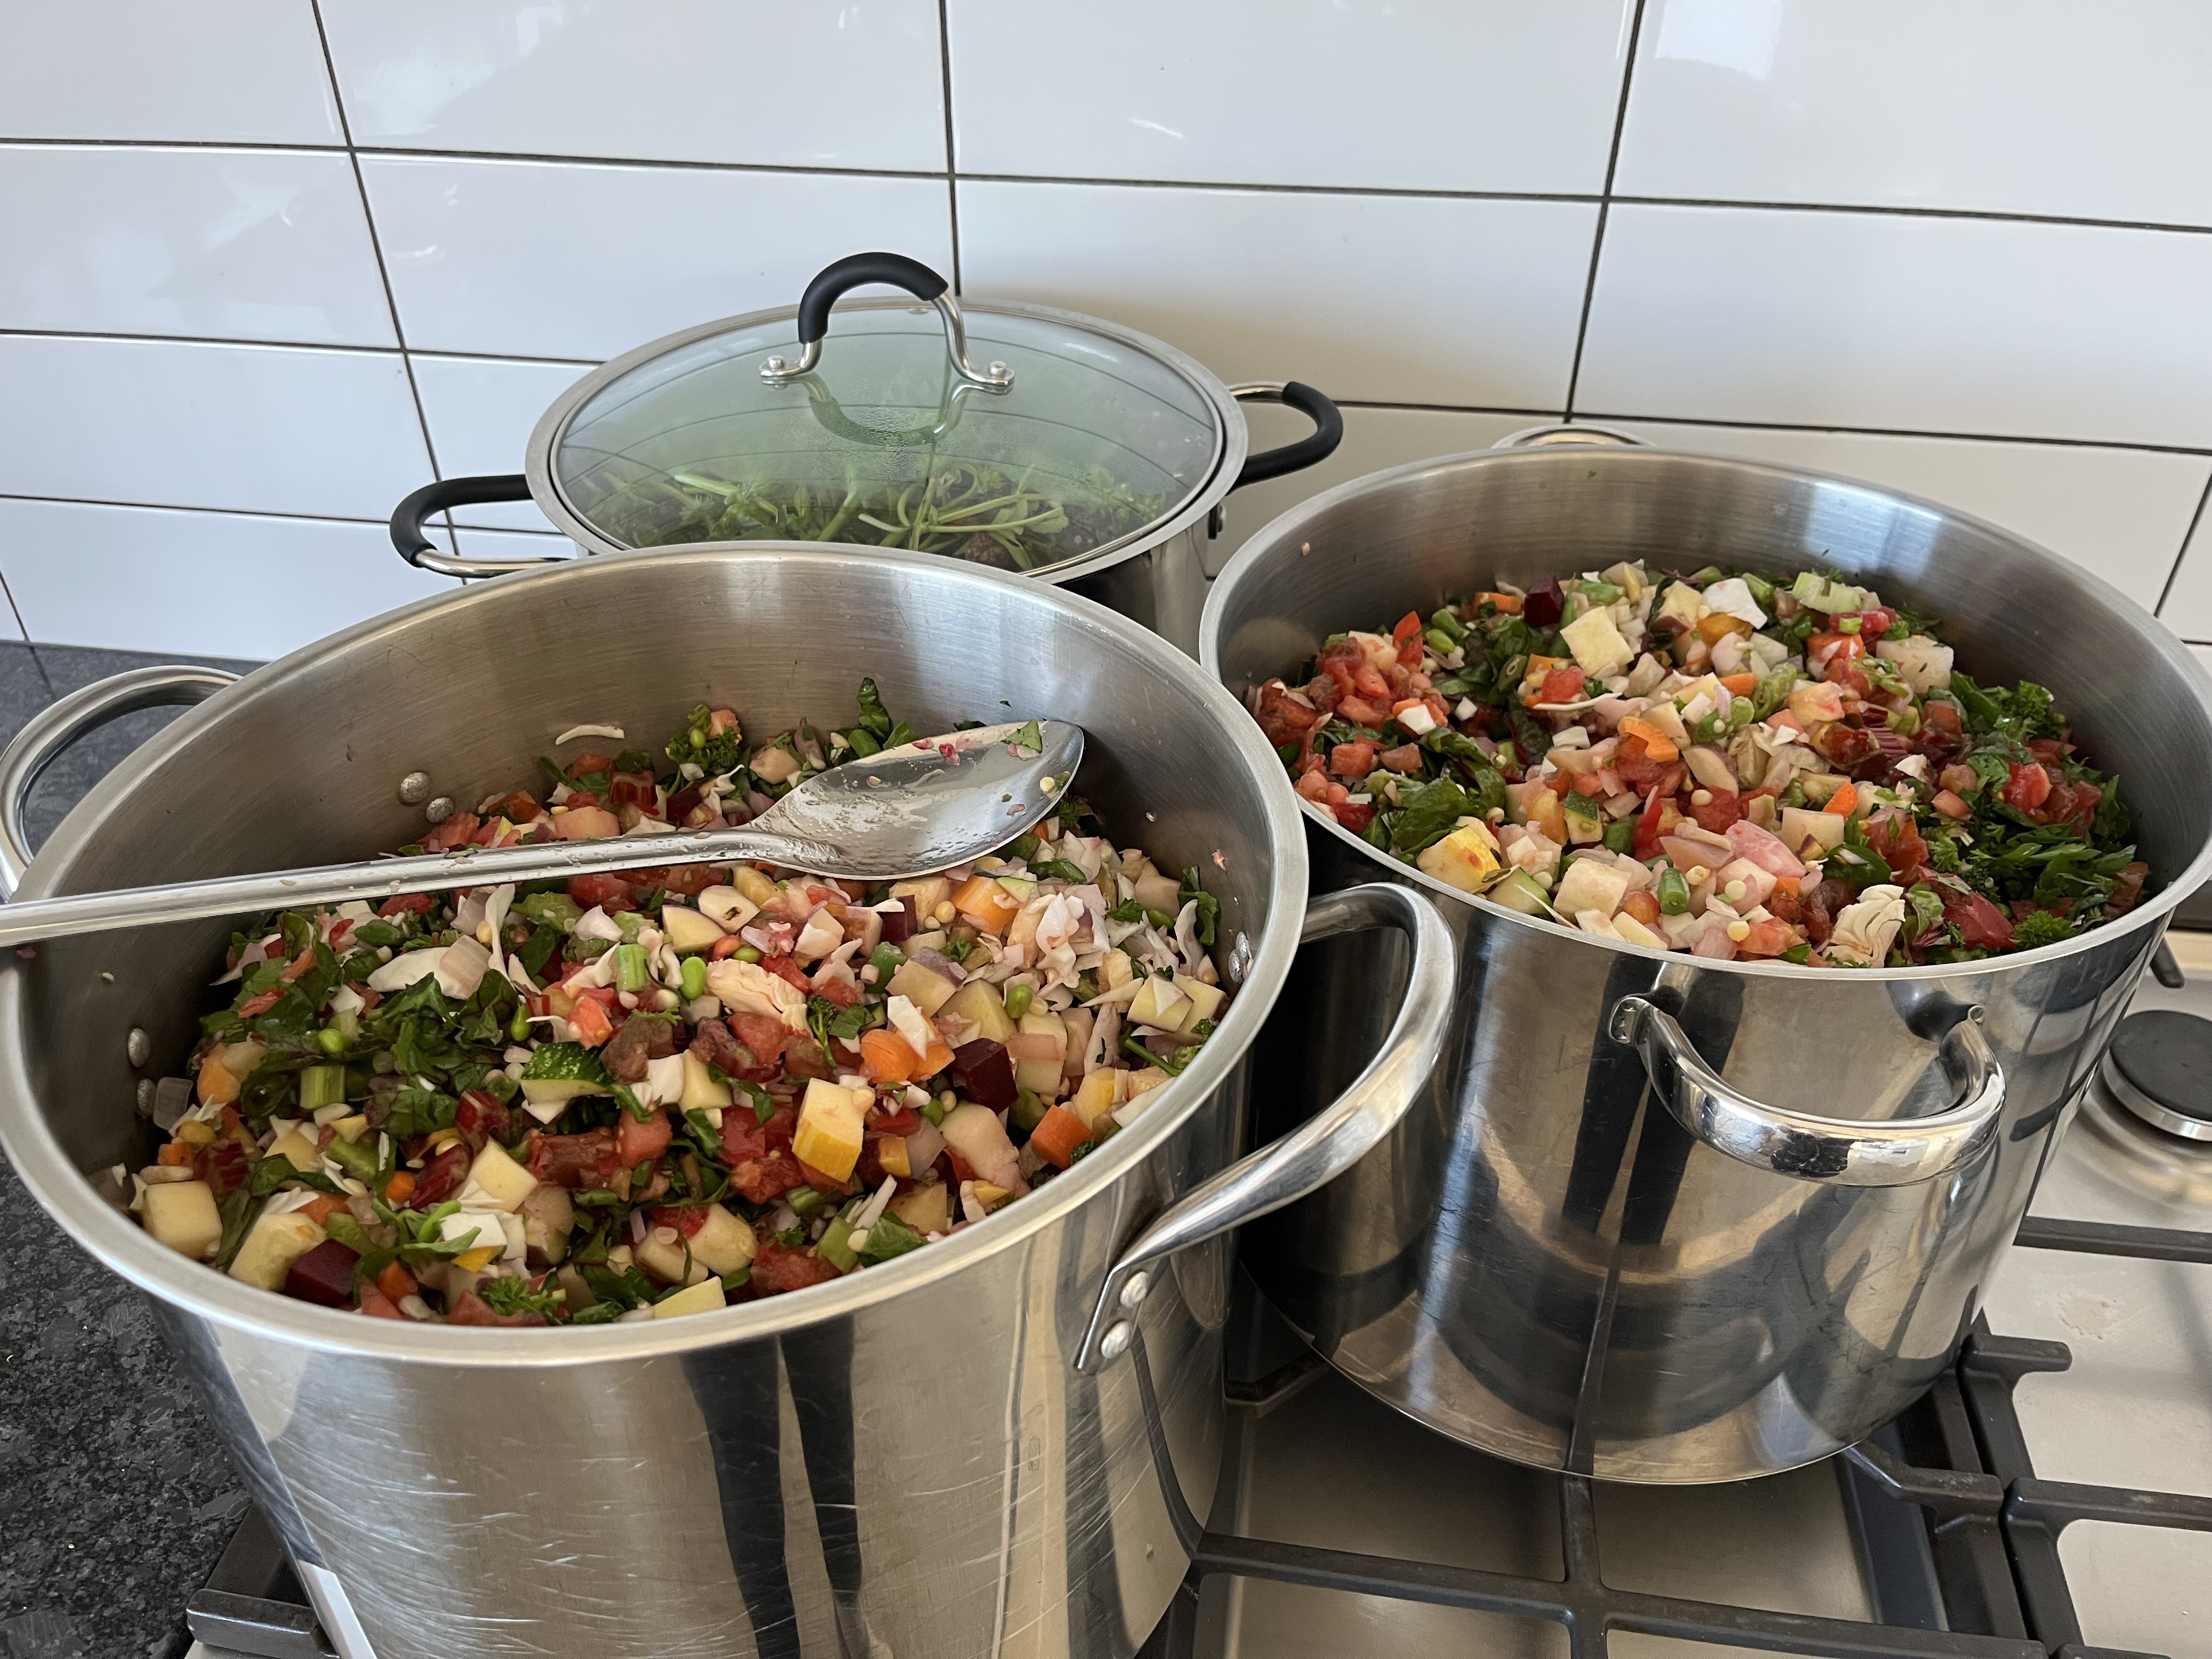
Sweet corn is at its peak at the moment, and one of these days soon, I’ll be picking and freezing a whole lot, because we can’t keep up with it, despite having corn on the cob pretty much every day for dinner (it’s a rough life…).
The popcorn still has a few weeks of maturing on the plant before it will be ready to harvest, and there are still two apple trees and a pear awaiting harvest.
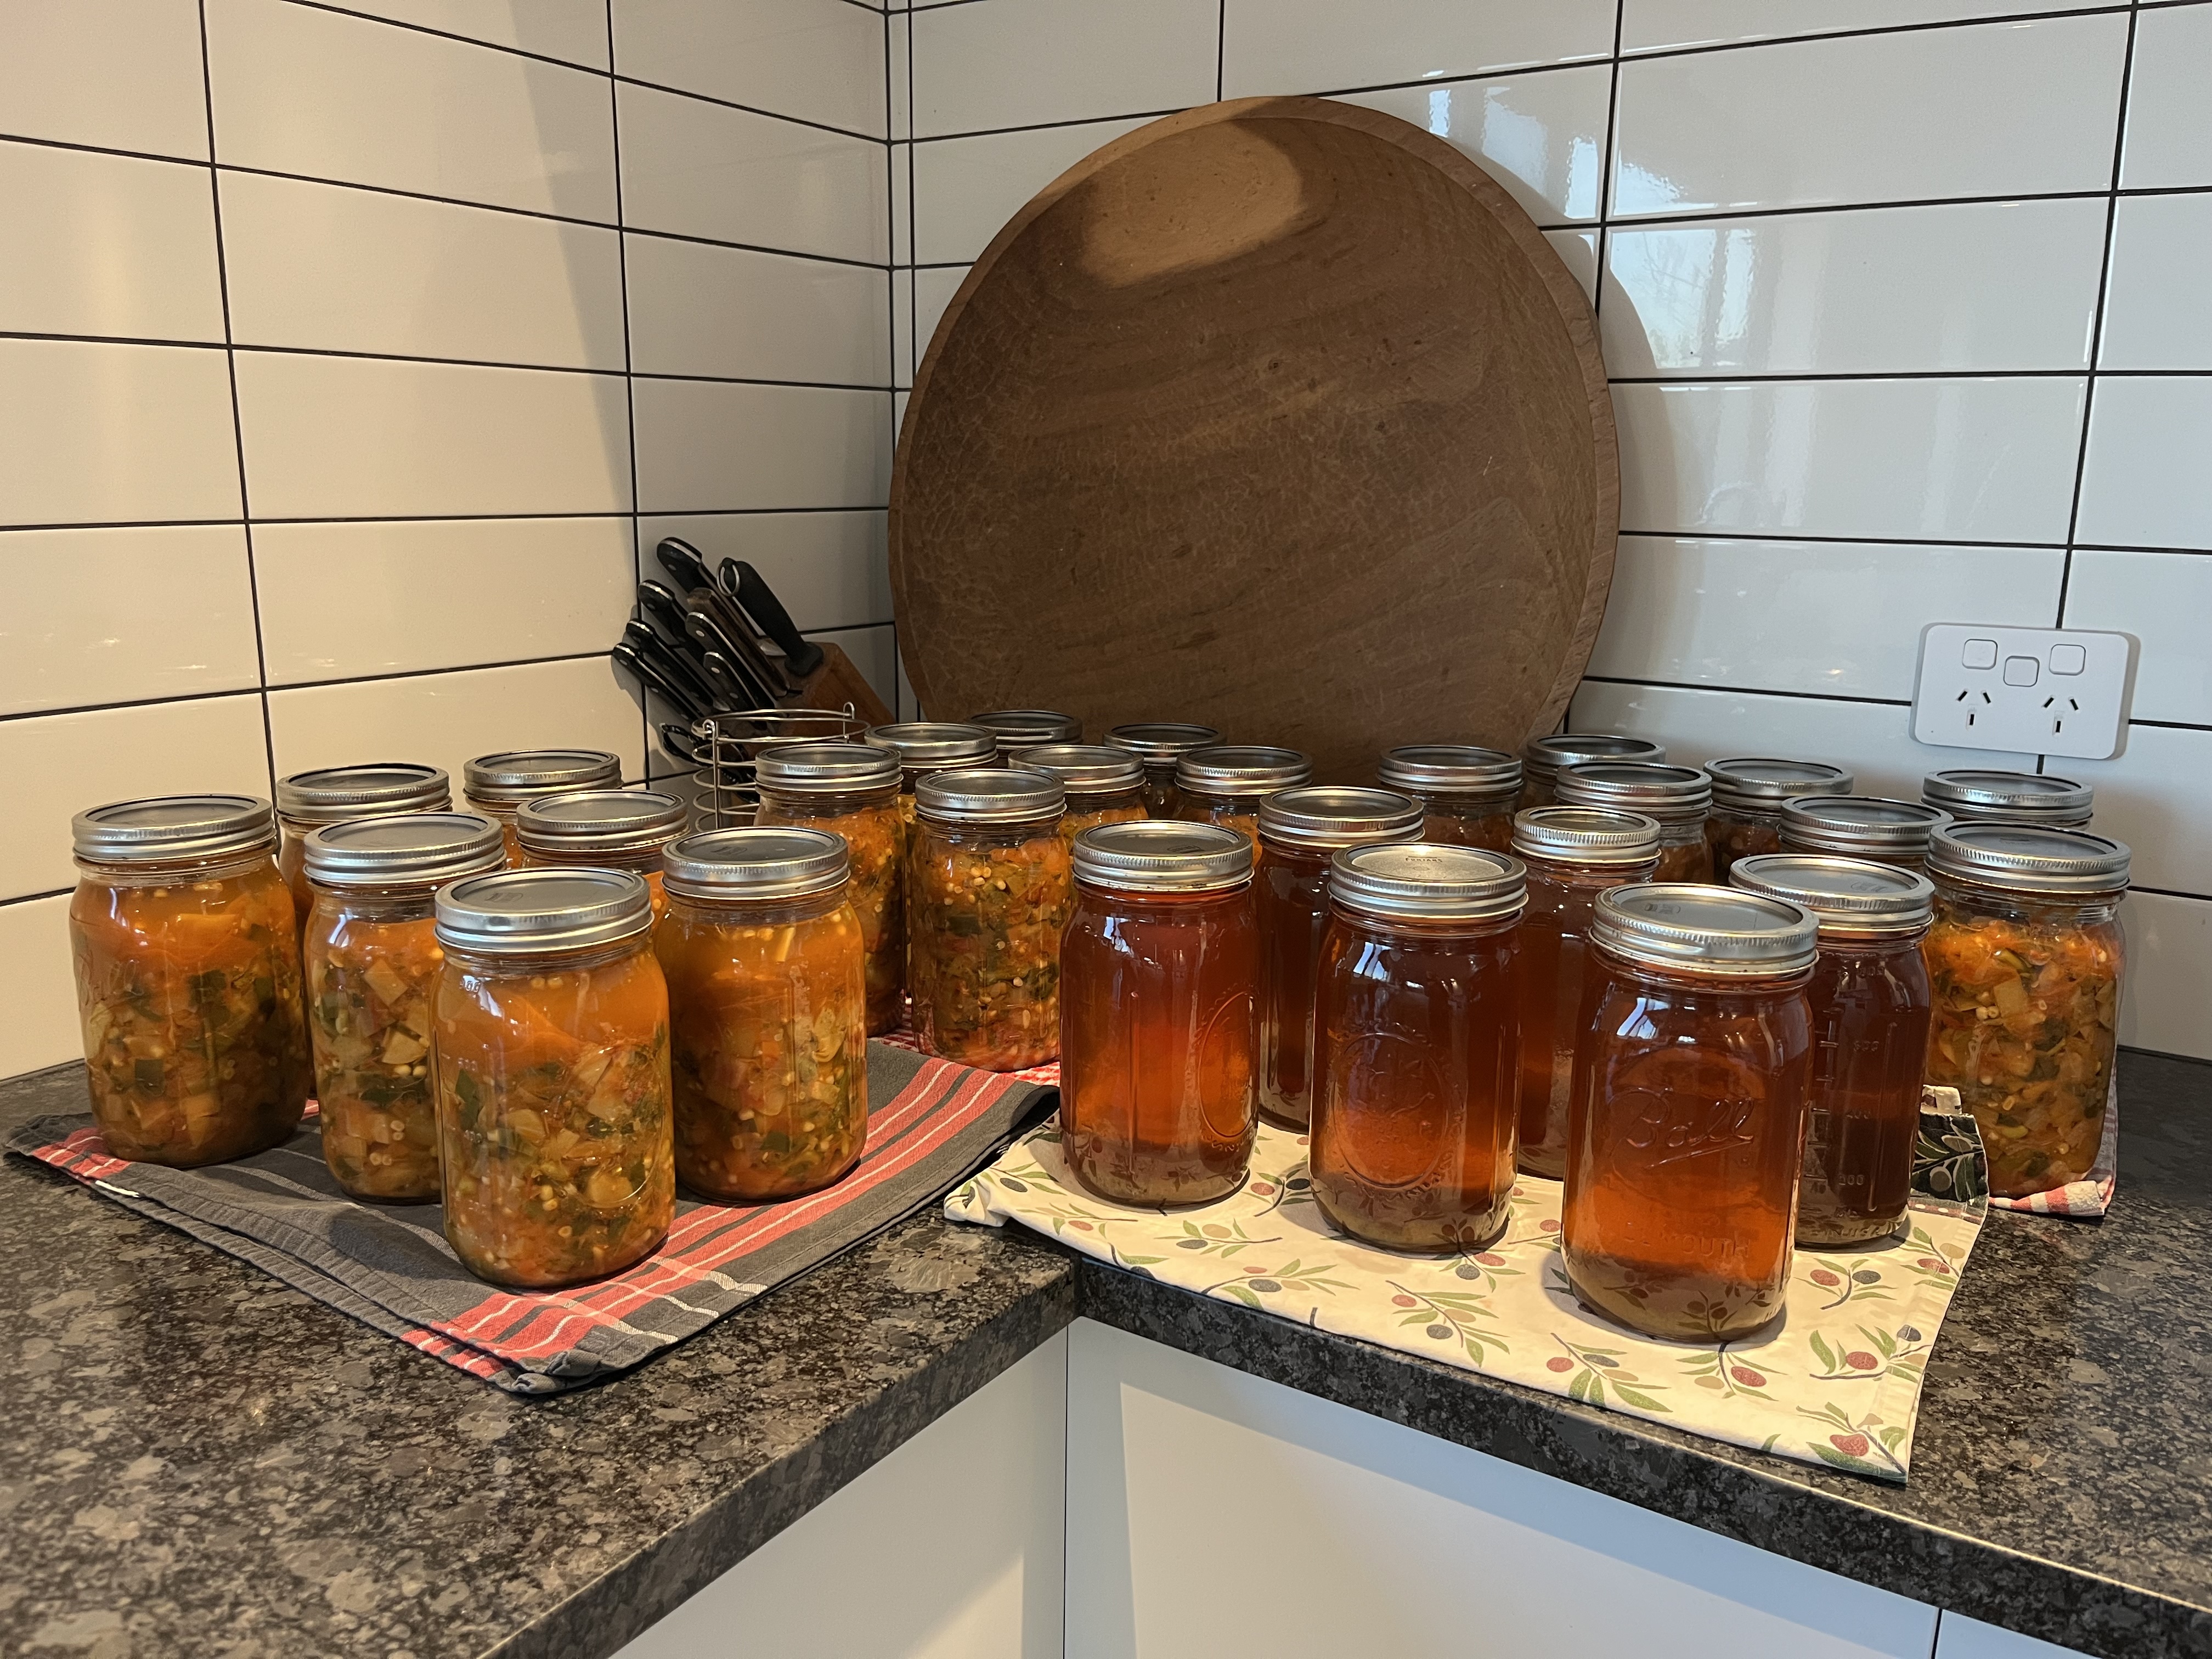
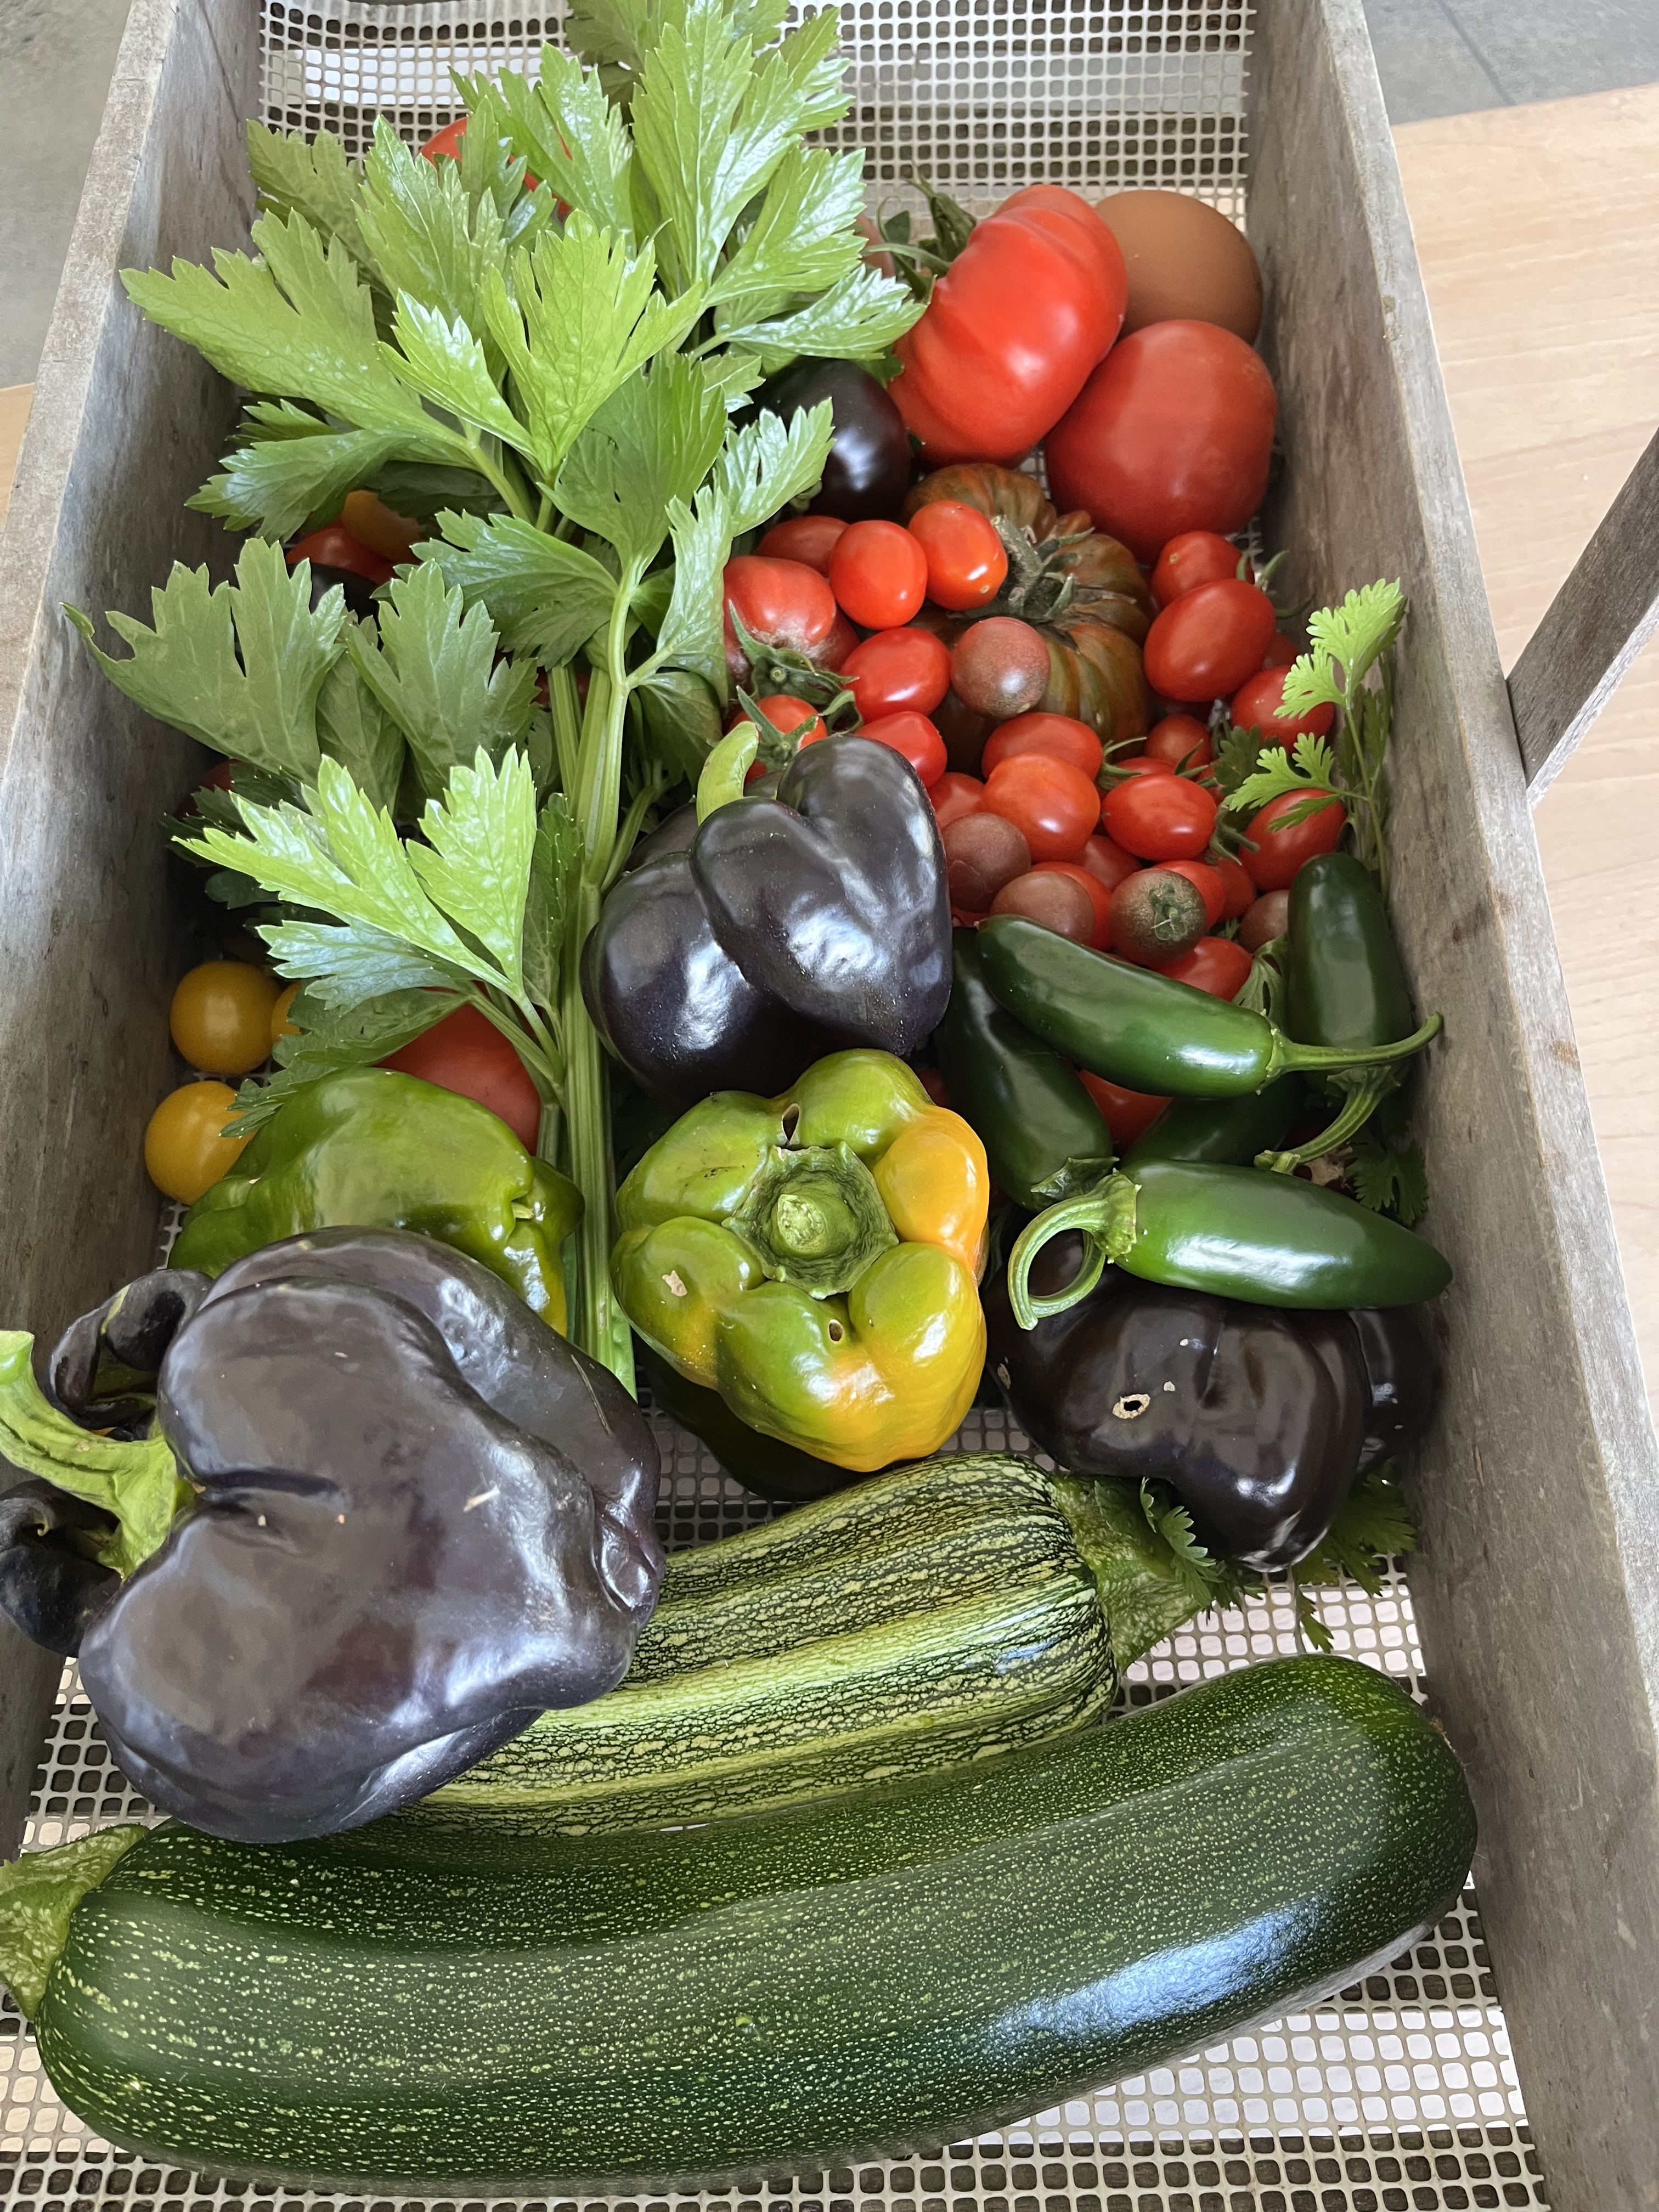
Meanwhile, the summer crops continue to trickle in at a pace to keep us feasting.
In total so far, since the winter solstice, the garden has given us over 526 kilograms of fruit and vegetables and 490 eggs.
Having not bought vegetables in about 20 years, I was curious about the monetary value of our garden, so I checked the prices of a few of the currently in-season vegetables at the grocery store. I was, quite frankly, shocked at how expensive fresh vegetables have become.
Some quick calculations …
Our garden has (so far) produced this year:
- $388 worth of zucchini
- $348 worth of tomatoes
- $379 worth of potatoes
- $30 worth of onions
- $235 worth of pumpkin
- $60 worth of chilli peppers
- $192 worth of green beans
- $287 worth of garlic
- $47 worth of carrots

And most of these calculations are based on the price of conventionally grown (not organic) vegetables, because organic options weren’t available at the store.
Just that short list of vegetables adds up to over $2000, and it doesn’t include any of the expensive berry fruits we produce. And, of course, it doesn’t take into account that we grow things that you simply can’t buy in the grocery store—delicious, but non-commercial crops like ugniberries and quince, heirloom tomatoes that can’t survive shipping, colourful carrot varieties. Add to that the fact that our vegetables have been off the plant for minutes when we cook them, versus days or weeks for the sad specimens in the grocery store, and it is clear that the value of our garden can’t be measured by an instrument as blunt as price. Still, it’s good to know that the hundreds of dollars I spend each year on seeds, pea straw, and other garden supplies are more than paid back in food.
Just three months to go to complete our garden year. The tally continues as delicious fruit and vegetables roll in!
Happy autumn (or spring, if you’re in the northern hemisphere)!