Winter Hiking

I love hiking at any time of the year, but there’s something particularly enjoyable about winter hikes. 

Part of that enjoyment for me is that it’s the only chance here in Aotearoa New Zealand to walk in snow, because it rarely snows at lower elevations. To get to snow, you’ve got to hike to it. (Yes, you can hike to snow even in summer, but it’s easier to do so in winter, and there’s more of it.)

Last weekend, my husband, daughter and I headed to Red Hill, which sits between Lake Lyndon and Lake Coleridge. At 1640 metres, Red Hill is higher than nearby Porters Skifield, but lacks the snow making machines. So the snow was patchy, even at the top. 

Still, winter hiking was in its full glory. On the way up, we hiked across crunchy frozen mud, pushed up by countless ice needles. We teetered on icy tussock mounds as we crossed a wetland. As we gained altitude, the wind increased and the temperature fell. We passed pockets of spectacular frost, with ice crystals so long, it looked like leaves. Snow in the shady hollows was wind sculpted and hard, more ice than snow.

By the time we hit the open tussock and scree-covered tops, the freezing wind was burning my cheeks, and I was thankful for my snood, which I pulled over my face to block the worst of the wind.

The view from the top was definitely worth the windburn. Winter mountains—covered in snow—stretched across the skyline. Down below us, the water of Lake Coleridge glistened blue in the sun.

The only bad part about winter hiking is that it’s often not pleasant to sit on the top for lunch, and last weekend was absolutely not a weekend to hang out on top of any mountain. After a quick look around and some photos, we hightailed it back down.

But one of the cool things about winter hiking is that, on a sunny day, you can start the hike in winter conditions, and end in spring or summer-like conditions.

Having donned all our warm layers at the top of Red Hill, we began shucking them as we descended. We went from thermals, jacket, hat and gloves to just t-shirts by the time we were back to the car. It was a balmy 17℃. Warm enough for a swim … according to our daughter. (We decided not to swim that day, but she did take a swim the following day after a hike with a friend.)

As someone with mediocre circulation, I struggle with overheating when I hike. I can be sweating, but still have numb fingers and toes, because my body doesn’t push the heat to my extremities. It turns summer hiking into a sweat-fest. But hiking during winter is much more pleasant. I can shuck my jacket to cool my core, but keep hat and gloves on to warm my extremities. It makes for a much more pleasant experience.

We’ve enjoyed some memorable winter hikes: Cragieburn under a freshly fallen 15 centimetres of fluff, a trek to Woolshed Creek Hut in fresh calf-deep snow, followed by barefoot wading in the stream at the top, a winter wonderland of wind-sculpted ice atop Mount Isobel … Winter landscapes are spectacular.

Hopefully, we’ll get out for a few more hikes before the end of winter. Gotta enjoy the snow while it’s there!

Excitement Builds

Lately, it has still been light outside on our drive to and from work. The daffodils are up, and a few blooms are even open. When I weeded the asparagus bed last week, the Californian thistles were sprouting new buds 15 centimetres underground. 

And most importantly, my seed order has arrived!

Yep. Spring is on its way. Never mind that the frost behind the house hasn’t melted in a week, and the bird bath is skimmed-over with ice at 3 pm. Never mind that much of the country hit yearly lows yesterday. Never mind that our worst winter weather tends to arrive after spring has already officially started. 

This weekend, I’ll write my weekly spring to-do list, covering August to December. I’ll tidy the garden shed of winter detritus, and pull out the peppers in the greenhouse which have finally died. And I’ll finish the last of the winter pruning and deadheading. I’ll probably also fret over how little of those winter activities I accomplished—the sewing, spinning and other crafts I enjoy. 

And with the windows open (for the few hours it’s warm enough … just), and the house smelling of fresh air and the promise of growing things, I’ll impatiently await spring.

Blackcurrant Twists

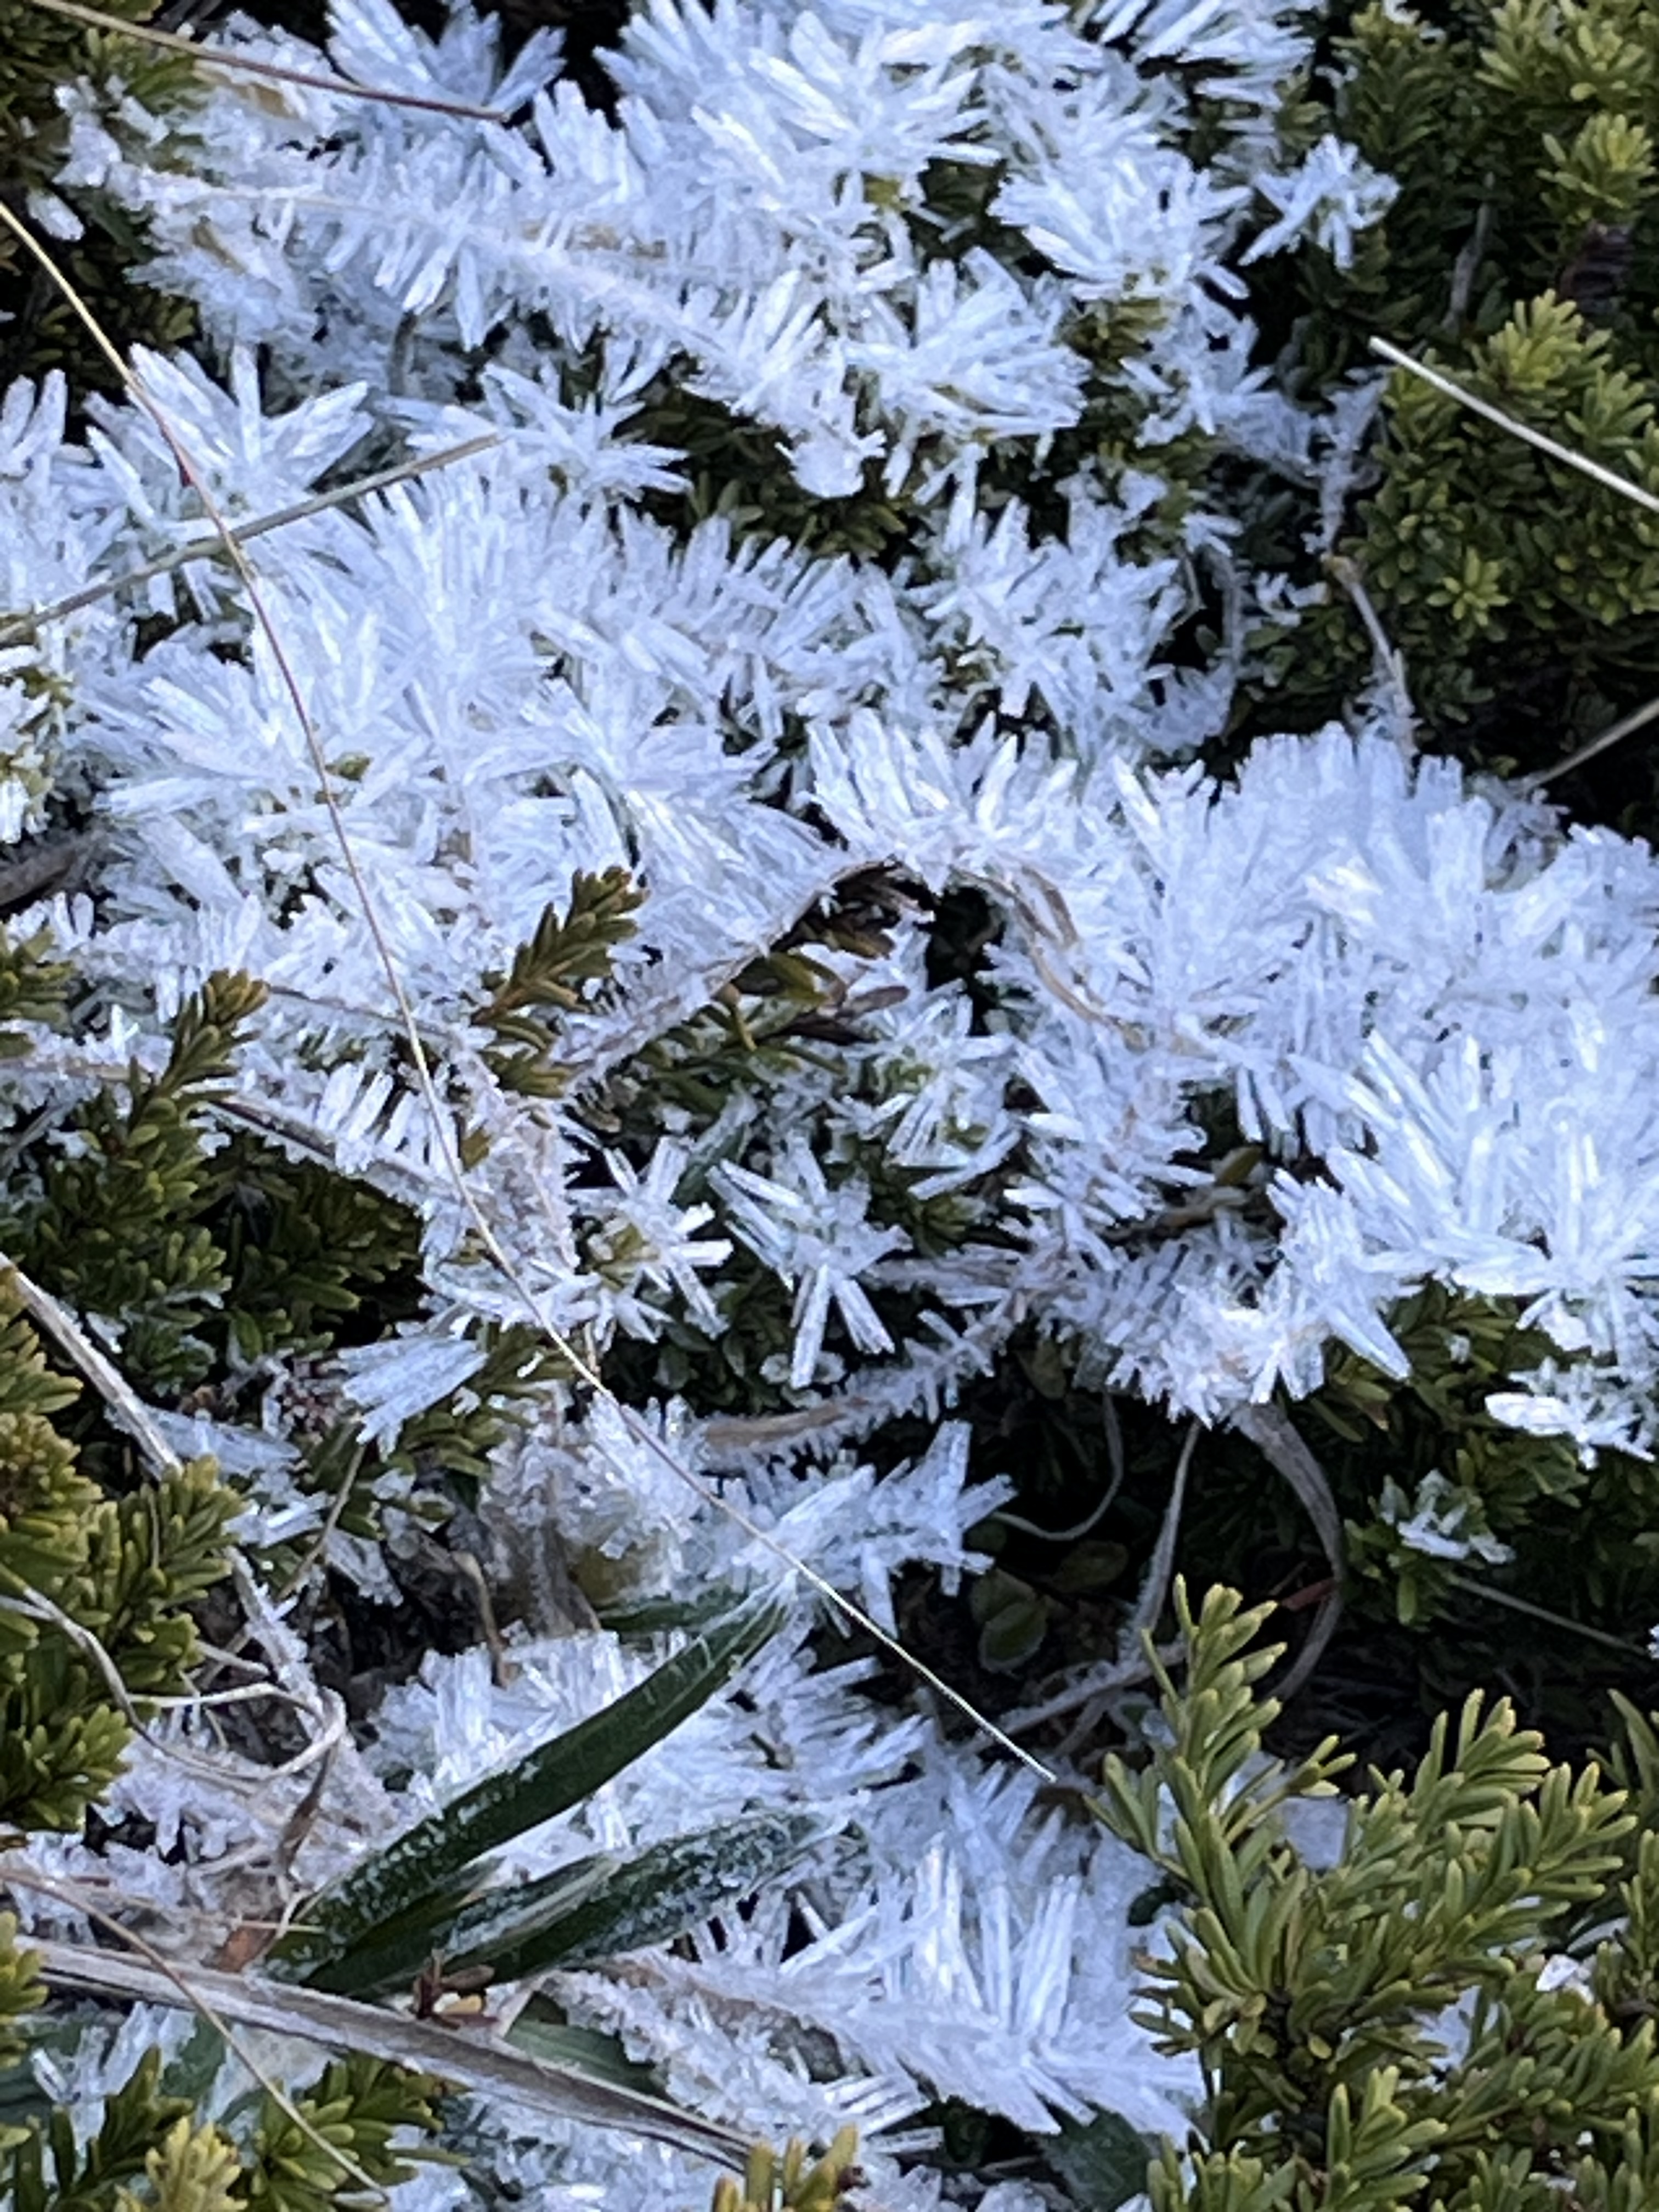
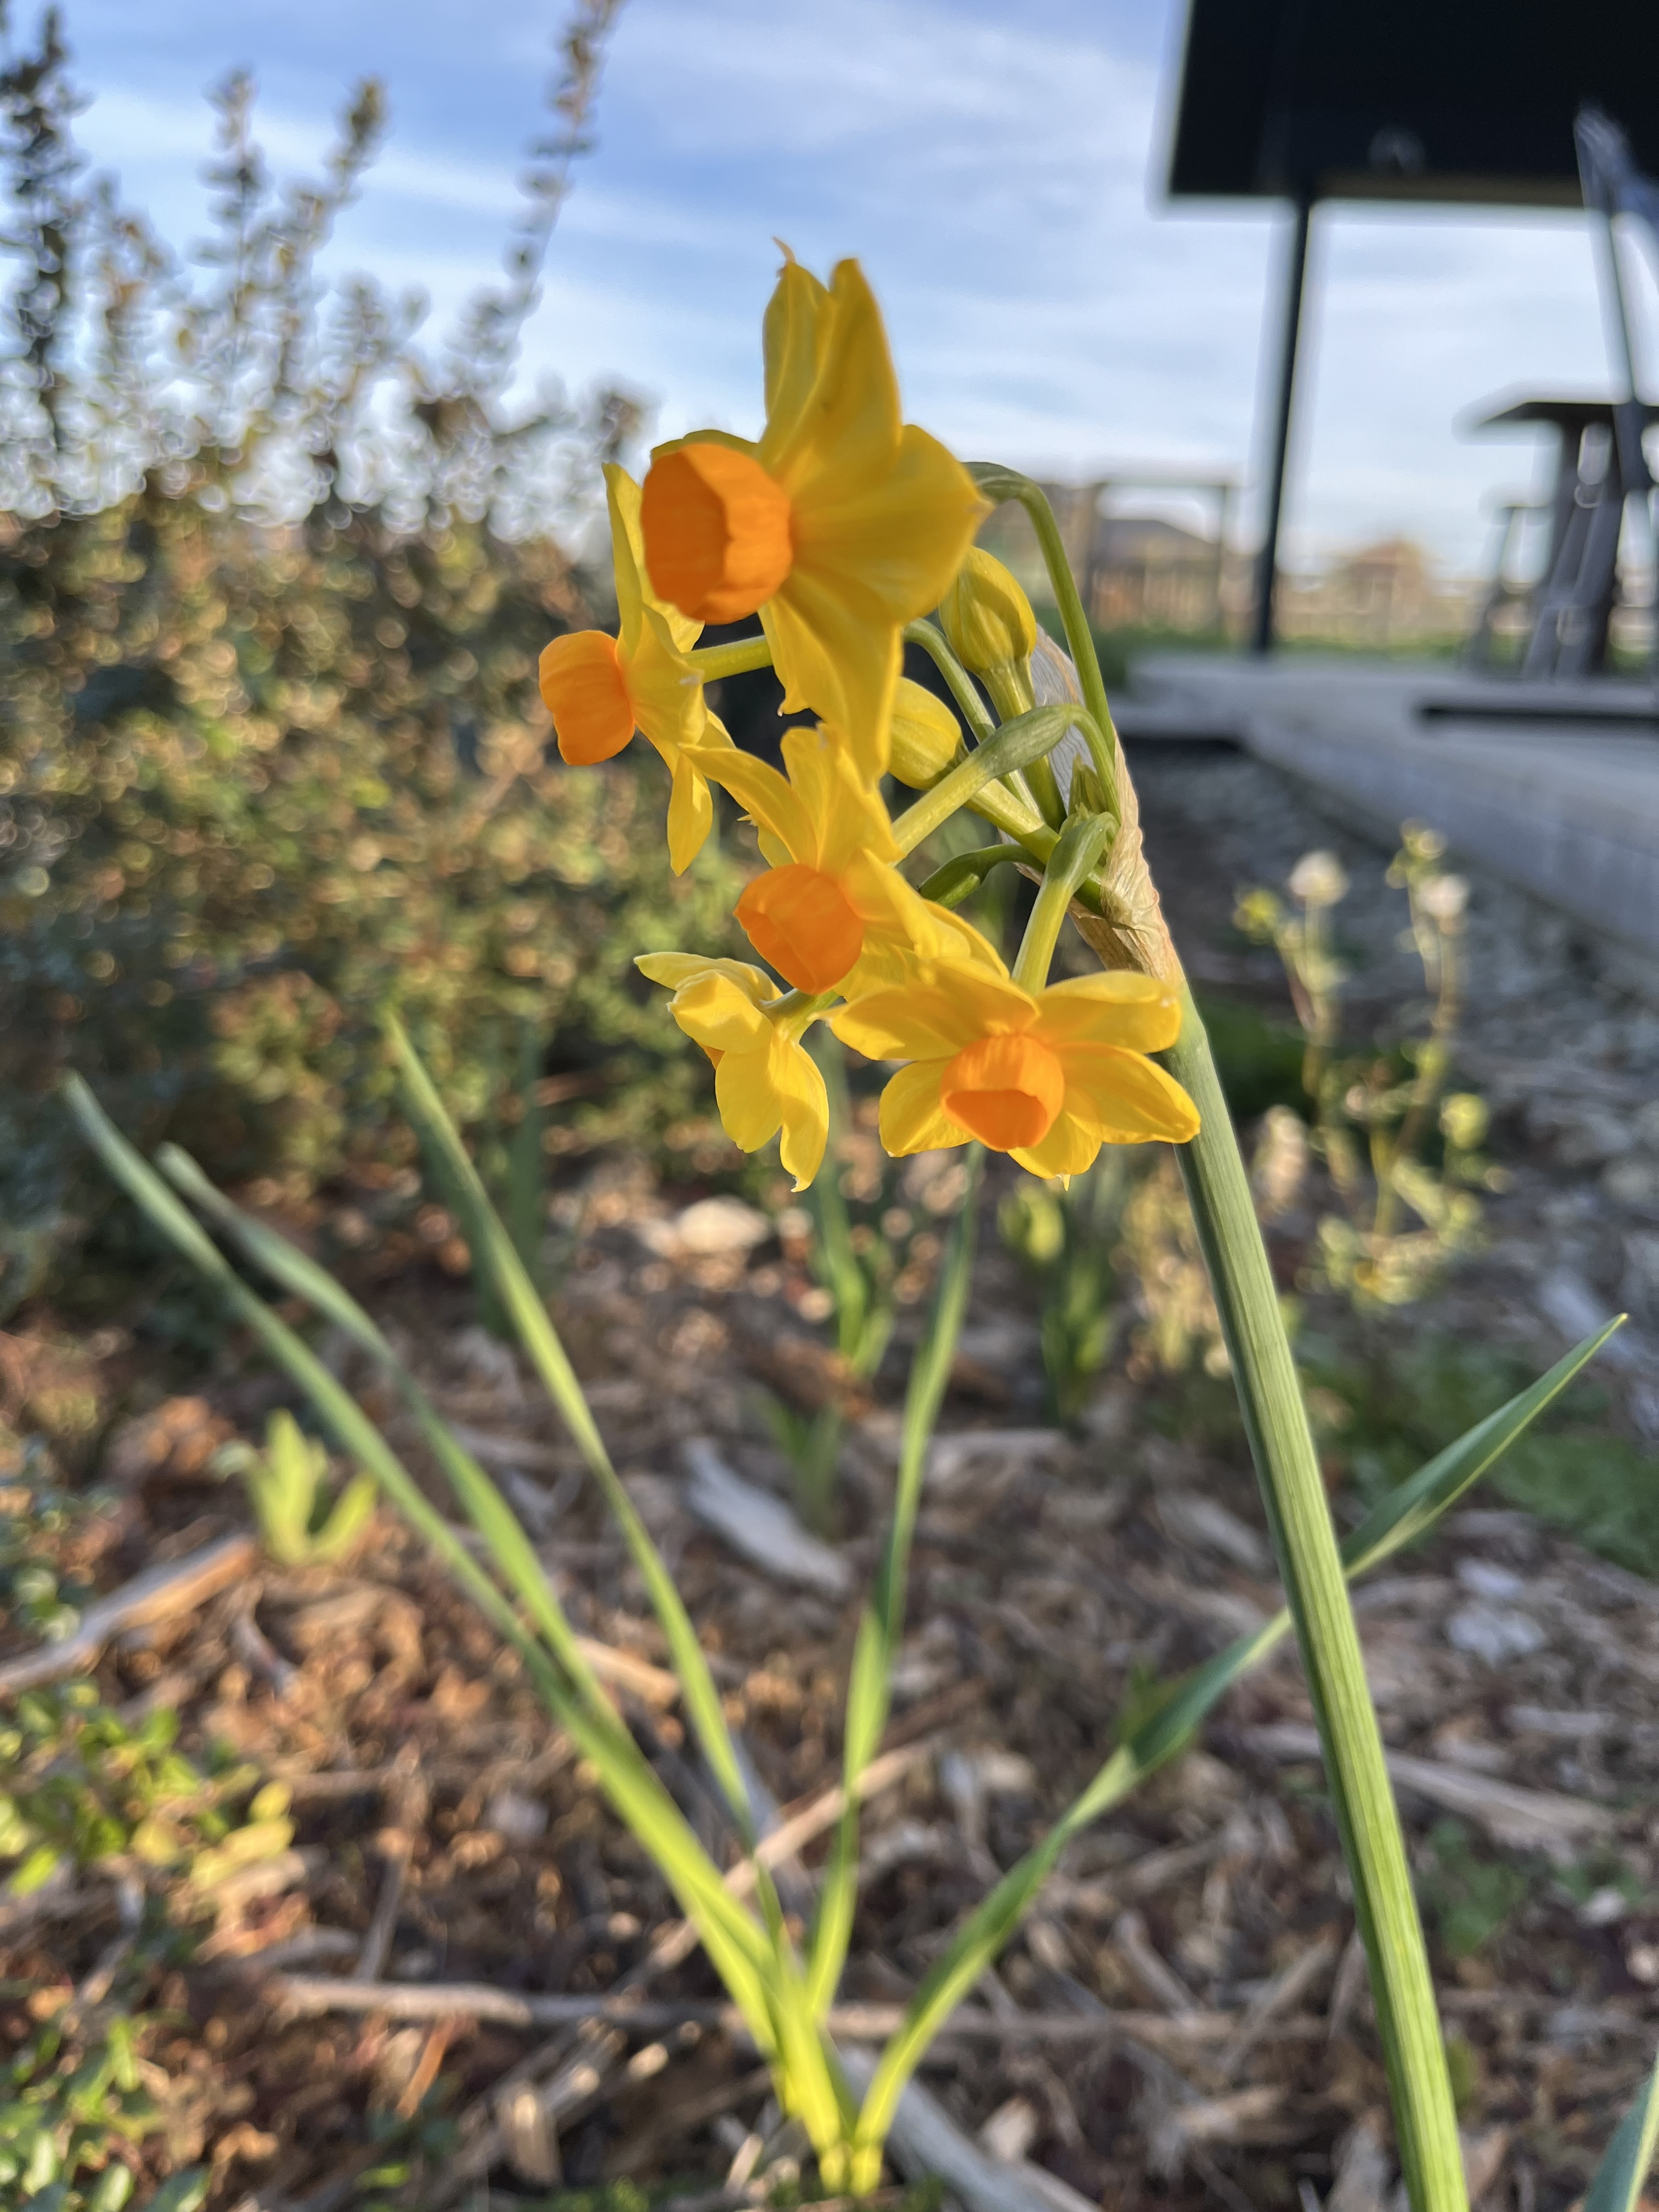
Things are slow in the garden during these rainy, dark, cold weeks of winter, and there’s no better excuse to bake.

Over the past three weeks,I’ve baked spice cake, blackcurrant pie, raspberry studded pound cake, molasses crinkle cookies, and lemon chocolate chip cupcakes. 

And two weeks ago, I went overboard on Sunday breakfast. Saturday evening, I made up some blackcurrant twists, which rose in the fridge overnight, to be baked Sunday morning. Half of the twists went into the freezer, to be baked last Sunday morning before I went off to the Tamariki Book Festival. (Because I couldn’t miss my Sunday morning baking just because I was working all weekend, now could I?)

The twists were excellent, and the dough froze well. But they were very messy.

The recipe I was loosely following said something vague like “Twist each strip into a knot.” Um … sure. A twist and a curl, and I called them good enough. All the while, blackcurrant jam was spewing out of them, and I was wondering whether there’d be any jam left inside by the time they baked. 

I wisely baked them on parchment, rather than directly on a tray, because the jam did continue to ooze out. But there was plenty left inside, and those gooey baked jam blobs that escaped were delicious!

I thought they looked a bit rough, coming out of the oven, but my husband loved their rustic look. (he didn’t see the beautiful buns pictured in the online recipes…) Regardless, they really were yummy.

Here’s my variation, based on a couple of online recipes:

Dough:
1 1/4 cup milk
60 g butter
scant Tbs yeast
1 large egg
1/4 cup sugar
2 cups regular flour
2 cups wholemeal flour

Blackcurrant jam:
2 cups frozen or fresh blackcurrants
juice of 1 lemon
1/4 cup sugar
1 Tbsp cornstarch
1 Tbsp water

Filling:
25 g melted butter
1/4 sugar
1/4 brown sugar
1 Tbsp cinnamon

Make the dough: Bring the milk nearly to a boil in a small saucepan. Remove from the heat and add the butter, stirring until melted. Allow to cool to lukewarm. Add the yeast and allow to sit until it begins to foam. Then beat in the sugar and egg.

In a bowl, combine the flours. Add the milk mixture and stir until it comes together in a ball. Turn out onto a floured surface and knead for 10 minutes until smooth and elastic. Place the ball of dough in a greased bowl and cover. Allow to rise about 2 hours, until doubled in bulk.

While the dough rises, make the blackcurrant jam: Combine fruit, lemon juice and sugar in a saucepan. Cook on medium heat until it just begins to thicken. In a small bowl, combine the cornstarch and water, and then add to the blackcurrants. Cook, stirring, for a few more minutes, until it thickens. Remove from the heat and allow to cool.

Once the dough is risen, roll it out on a floured surface into a large square (about 45 cm on a side). It will be quite thin.

Melt the butter for the filling, and spread the dough with it. Combine the sugars and cinnamon, and sprinkle over the butter. Then spread the whole thing with blackcurrant jam (I used ALL the jam, but if you want less messy buns, you could use less).

Fold the dough into thirds, like a letter. Then cut the folded dough into 12 strips with a sharp knife (Yes, jam will spill everywhere. You can lick it up later, I won’t tell anyone). Give each strip a twist, and then coil it into a knot and set it on a baking sheet lined with baking paper.

Cover with plastic wrap and allow the buns to rise 15-20 minutes (or put them into the fridge to rise overnight). Bake at 190℃ (375℉) for 16 minutes. Allow to cool for a few minutes before eating. If you’ve refrigerated or frozen your buns before baking, allow them to warm up on the kitchen bench for about 30 minutes before baking. Frozen buns require a few extra minutes in the oven.

Garden Tally

Years ago, struggling with the feeling that I wasn’t pulling my weight in my family because I wasn’t earning much money with my business, I did a few back of the envelope calculations of what my gardening and milking/cheesemaking activities ‘earned’. At the time, I worked out that I was producing about $50,000 worth of food every year. The domestic accounting blew me away and put my mind at ease.

Plenty of food in the winter garden.

I’m no longer concerned about the monetary value of the gardening I do, but I’m still curious, and I love data and numbers. So I’ve decided to do some garden accounting this year.

Beginning at the winter solstice, I started keeping a log of all the food that comes out of the garden. Although the garden year never really ends here, I figured the solstice was as good a place as any to start. I’ve dedicated a notebook to the task and I’m recording as much information as I can about what I harvest—weight, number, variety, etc. I’ll periodically enter the data into a spreadsheet, so I can play around with the numbers.

Okay, yes, I’m a total nerd. But I love playing with data. And we always come to late summer (as we heave yet another laden basket onto the kitchen bench) wondering just how many kilos of courgettes we’ve harvested. But by then it’s too late to go back and weigh them. 

Peppers hanging on in the greenhouse.

Besides, there’s always the fascinating harvests, like the 500 grams of hot peppers I harvested yesterday. (in July?! For those in the northern hemisphere, July is the seasonal equivalent of January.) In addition, the exercise might tell me a bit about which varieties are more or less worth growing. Not that it would stop me from growing a crop I love, even if it doesn’t produce a lot, but it never hurts to have the data.

My intent is not to place a dollar value on what we harvest (Who can put a value on a warm, heirloom tomato fresh from the garden?), but to use the exercise to capture the quantity and diversity of food we enjoy. 

Festival Time!

Less than two weeks until the Tamariki Book Festival, and preparations are just about done. Last month, we had a little get-together with all the authors and, seriously, you don’t want to miss this year’s festival. The authors have gone above and beyond with their creative ideas for festival activities! Among the many activities, we have author Marc Meaney, who is bringing a real sailboat that kids can hop into and pretend to sail (I also hear he’s giving away a sailing lesson as a prize to a lucky reader). Author Sue Heazelwood will be decorating hundreds of cupcakes with kids to accompany her absolutely gorgeous recipe-lated storybooks. Author Sandra Isaacs will be leading an i-spy activity in a rock pool to promote her beach-themed books. I’ll be there with my dragon name selection spinners and a bit of origami using pages from my books. And there will be so much more from all the other participating authors!

In addition to the authors’ activities, we’ve got lots of fun stuff to do related to our Books Take Flight theme. A selfie station with dress-up wings to wear, a chance for you to make your own writing take flight (literally), a model airplane to assemble, and flight-themed prizes for our author scavenger hunt!

There will also be author readings, spot prizes for those dressed as their favourite book characters, and a prize draw for those who post their selfie-station photos on social media.

If a noisy festival isn’t your cup of tea, visit between 3.30 and 4 pm for our quiet time–no music or loud announcements, quiet voices, and smaller crowds.

Come prepared to find your new favourite books, too! Pick up signed copies directly from the authors themselves! Be sure to bring some cash, as not all authors will have eftpos facilities.

Did I mention the workshops?

Our incredible authors are also running writing and illustration workshops for ages 6- 17. Workshops cost $10, but all participants will receive a $10 voucher to be spent at the festival, so they’re essentially free! Budding authors and illustrators should register soon, or all the spaces will be gone!

Setting Goals, Celebrating Achievements

We all love it when we get that sense of accomplishment—the feel-good sensation when we can step back and say ‘I did that.’

But sometimes that feeling is hard to come by. When we have lofty goals or a big job ahead, it can feel daunting. The grinding slog to your goal might never end—or at least it feels that way.

I know a lot of people who have started on some project or creative pursuit, but have given up partway, because they felt they’d never reach their goals.

I’ve certainly felt the same from time to time.

But I’ve come to realise that there’s a difference between goals and dreams, and by defining the difference, we can keep ourselves motivated to continue those massive projects.

Dreams are the big-picture goals. For example, one of my dreams is to be able to support myself with my writing. Another is to be able to produce all the food my family consumes.

It’s possible (okay, probable) I’ll never reach those dreams, for lots of reasons. I should probably give up on both of them. But then I’d never reach them, for certain.

Here’s where goals come in. Goals are achievable steps towards those dreams. Businesses and organisations use goals all the time to measure their progress. A charity might have the dream (or mission, in organisational speak) of eliminating child poverty. Are they likely to actually accomplish that? No. So they turn to smaller, achievable goals to measure their progress—number of meals handed out, number of families housed, etc.

I do the same thing in both writing and gardening.

This week, I am working on my quarterly plan for July – September. This is my road map. My 3-month to-do list. Modified from a report form I was required to file as a Peace Corps Volunteer 30 years ago, I’ve been using these quarterly plans for decades now. 

Each quarterly plan includes goals for that quarter. Goals are actions I can take. Things within my control. For example, I never include a goal like, ‘publish four short stories in literary magazines’, because I have no control over whether a literary magazine accepts my story. Instead, my goal might be to ‘submit short stories to ten literary magazines.’ This is something I can accomplish. And if I keep doing it, eventually I’ll end up with those four short stories published in literary magazines. But as the rejections pile up, I won’t feel as though I failed to meet my goal, provided I did actually submit to ten literary magazines. Likewise, sales goals might include attending a certain number of markets during the quarter, but wouldn’t include goals as to number of books sold at those markets. Because I can’t control how many people show up to the market, or whether the people at the market are interested in buying books on that day. Of course, over time, I’ll learn which markets are worth attending, and how many books I can reasonably expect to sell at a particular market. But my goals will always centre on attendance at those markets, because that is the only thing I can realistically control.

And every time I accomplish one of those goals (and mark that satisfying tick in the DONE column of my plan), I get to celebrate. At the end of each quarter, I can look back at my plan and say, ‘look at all the things I’ve accomplished.’ Have I reached my dream? Yeah, nah. Have I taken concrete, useful steps towards it? Absolutely.

I do the same when I’m gardening, although it’s a more seasonal activity. When I survey the garden and consider all there is to do in order to grow enough to feed us, it’s easy to get overwhelmed. So late each winter, I make a plan that includes achievable goals for each week. All of those goals add up to plants in the ground—an excellent accomplishment. Of course, there’s nothing I can do about the weather—if there’s a drought, or weeks of rain, or excessive heat … I still might not reach my dream. But I have still accomplished my goals and given myself the best chance I can of reaching that dream.

And, honestly, that’s all we can ask of ourselves. Everything we want to achieve—those big dreams we have—include aspects that are out of our control. Luck, the decisions or actions of others, the weather, the economy, pandemics, earthquakes … you can’t pin your sense of accomplishment on the outcome of events like that.

So set yourself some achievable goals, then celebrate your accomplishments. You’ll find the journey to your dreams much more rewarding.

Walnut Acorn Cookies

I was perusing my favourite cookie cookbook, The Gourmet Cookie Book, the other day, looking for inspiration, and decided to make a recipe I hadn’t tried yet. I’m not sure why I’d overlooked these cookies before. Maybe because they look like a lot of work, dipped in chocolate and nuts.

I had no idea what I was missing.

These buttery, nutty nuggets are not only cute and delicious, they’re really not much work to make.

And they seem to get better as they age (though I know they won’t last long—they’re too tasty).

They’re made with English walnuts, but as I was savouring one with a cup of tea this morning, I thought they’d be spectacular with black walnuts. Unfortunately, I can’t test the theory, since black walnuts aren’t available here. I’ll have to let my readers in North America tell me.

Here’s the recipe as I made it. I made a few adjustments from the original, because I like whole grains in my baked goods.

For dough:
1 cup plain (all-purpose) flour
1 cup wholemeal (whole wheat) flour
1/2 tsp baking powder
3/4 tsp salt
220 g (1 cup) butter, melted and cooled
3/4 cup packed brown sugar
1 tsp vanilla
1 cup finely chopped walnuts

For decoration:
225 g (8 oz) dark chocolate, melted*
1/2 cup finely chopped walnuts

Sift together flours, baking powder and salt. Beat together butter, brown sugar and vanilla with an electric mixer until pale and fluffy. Mix in the flour mixture on low speed, then stir in the walnuts. 

Form 2 tsp of dough into an egg shape and arrange them 2.5 cm (1 inch) apart on ungreased baking sheets.

Bake at 190℃ (375℉) for about 10 minutes, until lightly browned on the bottom. Cool on a wire rack.

Once cool, dip the end of each cookie in melted chocolate and then in chopped walnuts. (It helps to have the chocolate and walnuts in the smallest possible bowl they’ll fit in, so they’re deep enough for dipping.) Set on a sheet of baking paper to set.

* I found the proportions off on the recipe—using 2 tsp of dough gave larger cookies than the recipe called for (or maybe my idea of 2 tsp is different … I ended up with 3 dozen instead of the 4 dozen the recipe said it made), so I used less chocolate—only 100 g. But I had just barely enough walnuts for coating.

Tamariki Book Festival

Four weeks from the Tamariki Book Festival, and my life has been taken over by festival preparations. We’re thrilled to have 14 authors and illustrators attending the festival this year, writing everything from picture books to young adult novels.

This year’s theme is Books Take Flight, and we’ve collaborated with the Air Force Museum of NZ to bring festival goers all sorts of fun flight-themed activities and prizes.

With so many participating authors and fun activities, we’ve nearly outgrown our space in Tūranga. So this year, we’re running our workshops on Saturday 12 July, and the festival on Sunday 13 July.

If you’re in Canterbury, with kids ages 3 to 17, I highly recommend checking out the festival and festival workshops!

Pumpkin Cinnamon Buns

Winter has definitely arrived this weekend, with squally rain, and chilly winds. The mountain passes have been closed by snow, and no doubt we’ll see some stunning snowy peaks when the clouds finally lift.

In response, I’ve been craving dense, high calorie food (never mind the fact I’ve been indoors most of the weekend and don’t need high calorie food in any way). 

Yesterday, I was contemplating today’s breakfast, and imagined pumpkin spice sticky buns. Was there such a thing? And if not, could I invent it?

The answer was, yes! I found several variations online. In my usual fashion, I mixed and matched, picking aspects I liked from a number of recipes to come up with my own take on the dish. 

The outcome was quite tasty. Here’s my recipe.

Dough:
3/4 cup milk, warmed to about 43℃ (110℉)
1/4 cup granulated sugar
2 1/4 tsp yeast
1 cup pureed pumpkin
1/4 cup butter, melted
1 egg
2 cups high grade (bread) flour
2 cups wholemeal (whole wheat) flour
1 Tbsp cinnamon
1 tsp cloves
1 tsp ginger
1 tsp allspice
3/4 tsp salt

Filling:
2/3 cup brown sugar
1 1/2 Tbs cinnamon
1/4 cup butter, softened
2/3 cup chopped walnuts

Glaze:
1/2 cup icing (confectioner’s) sugar
2-3 tsp fresh lemon juice

To make the dough, combine milk, granulated sugar and yeast in a small bowl and let sit until foamy. Combine pumpkin, melted butter and egg in a medium bowl. Combine flours, spices and salt in a large bowl.

Combine the yeast mixture with the pumpkin mixture and beat until smooth. Pour this mix into the flour, and stir until a dough forms. Turn the dough out onto a lightly floured surface and knead for about 10 minutes, until smooth and elastic. Allow to rise in a greased, covered bowl for 1-2 hours, until doubled in bulk.

Roll the dough into a large rectangle, about 35 x 40 cm (14 x 16 in). Spread the dough with the softened butter, leaving a narrow strip of dough on one of the shorter sides free of butter. Combine the brown sugar and cinnamon, and sprinkle over the butter. Sprinkle walnuts on top.

Starting at the buttery short edge, roll the dough into a log, pressing the unbuttered edge firmly to seal. With a sharp knife, slice the log into 12 rounds.
Place the rounds in a well-greased baking tin 23 x 33 cm (9 x 13 in)*, cover with a damp towel, and let rise about 30 minutes.**

Bake at 180℃ (350℉) for 25 minutes, until nicely browned.

Make the glaze by mixing lemon juice, a little at a time, into the icing sugar until the mixture is thick and pourable. Drizzle over the still-warm buns.

*Knowing this recipe makes enough for 2 breakfasts for my husband and me, I divided my rolls, arranging them into two 25 cm (11 in) round pans. I slipped one pan into the freezer, to bake another week.

**If you want to have these for breakfast, cover the pan with plastic wrap and refrigerate overnight. Allow to stand on the kitchen bench for about 30 minutes to warm up before baking.

A week later … PS: the buns I put in the freezer for a week were every bit as delicious as the ones baked right away. I moved them to the fridge the night before, then let them sit out for 45 minutes before baking. They took about 5 minutes longer in the oven than the first batch, but otherwise, you’d never know they had been frozen. Yum!

Pleasing Spaces, Pleasing Spouses

I’ve been gardening with my husband for almost 33 years now. Over the years, we’ve created many different garden spaces together. And even after all these years, we have different ideas about what our garden should look like. Each garden we’ve created has been a push and pull of our ideas, a creative collaboration, better for the different ideas we bring to the task.

I tend towards tidy, functional. My husband tends towards whimsical, aesthetic. I think about how I’m going to get a wheelbarrow into a space, how I’m going to weed it. He thinks about seating and art, lines of sight, and how we will enjoy the space. We joke that he builds gardens and I weed them.

The end result is beautiful gardens that are relatively easy to maintain. The end result is a garden that feeds us, but is also a place we regularly stroll with a glass of wine in hand, just to enjoy the beauty of it. The end result is beautiful spots to eat lunch, read a book, or write a blog post. The end result is a space that meets our physical, emotional and spiritual needs. 

And I can’t help but suspect that the collaborative act of gardening is one of the reasons we’ll be celebrating our 33rd anniversary next month. A lifetime of what are essentially team building activities can’t be bad for a relationship.

In fact, I see the same in many of the couples in our local garden group—spouses acting as teams, collaborating with one another to create spaces to nurture each other. I love to see the beautiful, supportive relationships between spouses in that group, and I have to believe that gardening together is a strengthening factor in those relationships.

One more reason (if you needed one) to get out there and garden—but do it with your partner.