Cheese Magic

Curds and whey

Curds and whey

To be honest, until I had dairy goats, I don’t think I knew at all how cheese was made. Oh, I knew it was made from milk, but beyond that, I had no clue. I loved cheese, and I ate quite a lot of it, but how it came to be on the supermarket shelves, I didn’t know.

Truth is, cheese making is magic.

Well, OK, not really. It’s a simple matter of coagulating proteins, and the whole process is governed by the laws of chemistry. But it feels like magic.

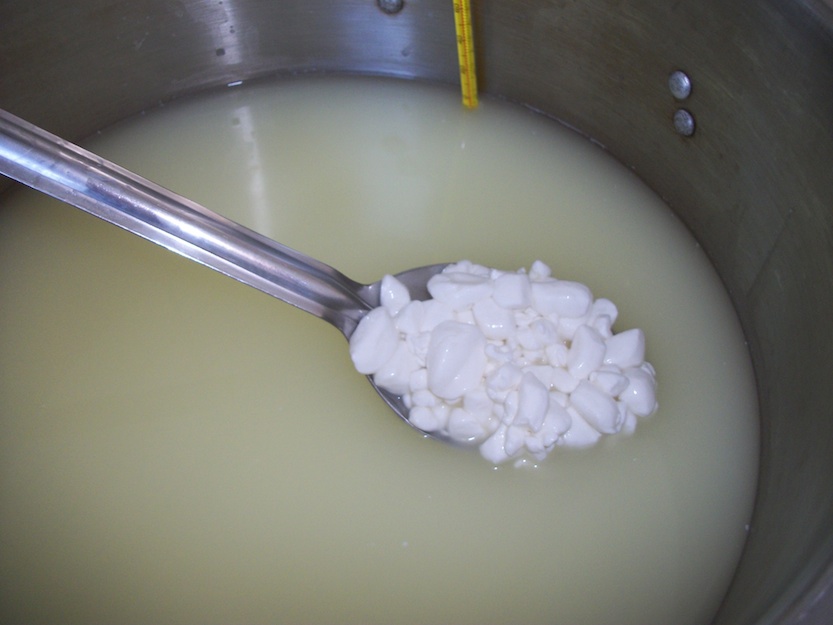
Slow and painstaking magic, that is. Ignore for a moment the six months of planning and animal husbandry required to produce the milk itself, and let’s focus on the actual cheese making process. The process to make a simple farmhouse cheddar, one of the least time-intensive hard cheeses I make, usually starts at about 6.15 am. Two hours of heating the milk and adding cultures and rennet, and the first of the magic happens—liquid milk becomes a solid mass of cheese curds. I carefully cut the curd into small cubes, marvelling at its beautiful silky firm texture. Then I tediously stir for almost an hour and a half while I heat the milk to expel liquid from the curds. The curds finally go into the press at about 10 am. The “green” cheese doesn’t come out of the press until 11 pm. A week later, once the surface of the cheese has dried, it is waxed, and left to age for at least 4 weeks.
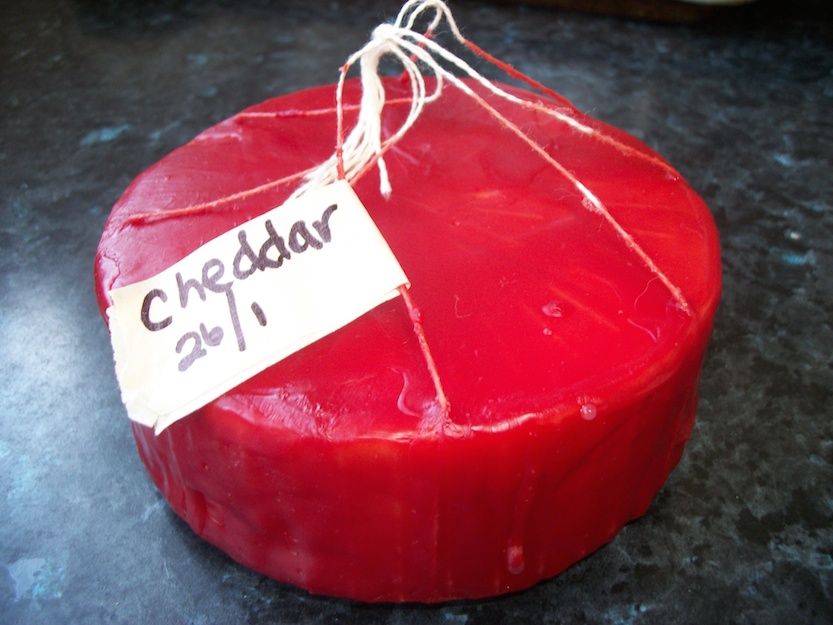
cheddarsmSo, the fastest of cheeses is almost 5 weeks in the making. Other cheeses require much more active processing, and a much longer aging period (parmesan needs a minimum of 10 months, and is best after a year). Some cheeses aren’t waxed, and need daily or weekly washing for their entire aging period to avoid mould.

But once a cheese is ready, the second bit of magic happens, and it is my favourite part of cheese making–opening a new cheese. Only at this point do I know for certain how the cheese making months before actually went. Is it the right texture? Is it properly salted? Has it aged enough? Was I able to prevent unwanted mould growth? The whole family is drawn to the opening of a cheese. Everyone gets a slice, and weighs in on how good it is. This magical moment, standing around in the kitchen with the family is worth all the tedious stirring and waiting.
More Cake!

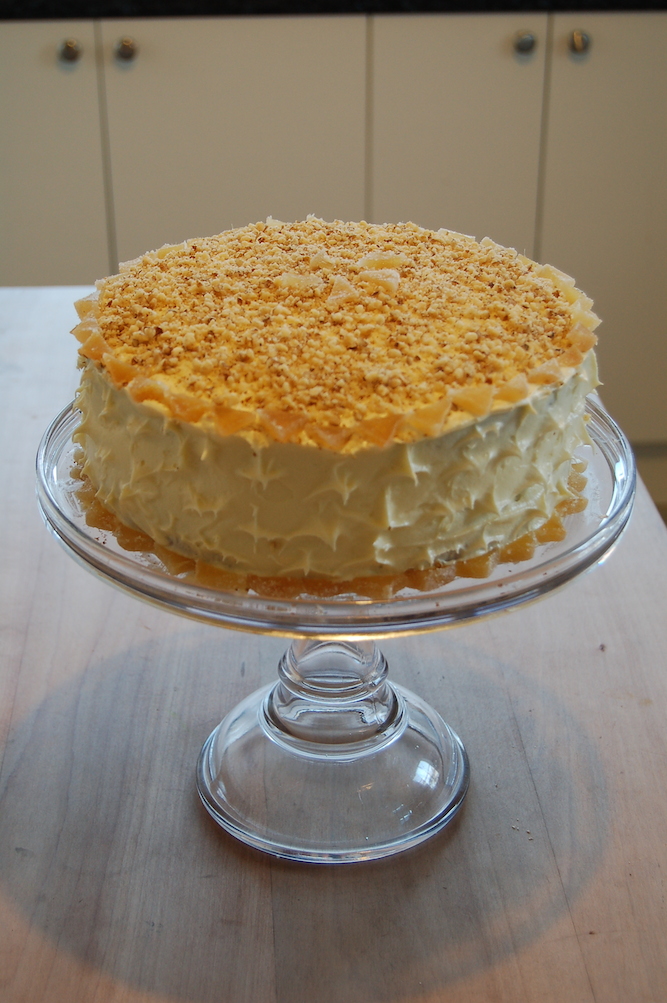
DSC_0008 copyLast but not least! Ian’s cake ends my obsession with cake each year (well, OK, I obsess about cake most of the year, it’s true). Though I enjoy making the kids’ cakes, turning food to fantasy, I appreciate the opportunity to focus as much on flavour as presentation on Ian’s. (No, he didn’t ask for Smaug, or a Hobbit hole, or an ork, or anything else…) For many years, he requested cheesecake, but lately he’s been asking for carrot cake. It almost seems like a cop out to make such a simple cake for a birthday cake, but carrot cake dresses up well. Of prime importance to Ian is the cream cheese frosting. He’s not a fan of sicky sweet frosting, so the tart cheesiness of cream cheese frosting is perfect. I’ve been tweaking a recipe that calls for four cups of confectioner’s sugar, and have it down to 1 ½ cups. That’s about half a cup more than is necessary for flavour, but on a warm summer day, I needed the extra sugar to stiffen the icing.

In fact, in the cake, too, I reduced the sugar by half. It’s not that I worry about too much sugar in our food—we’re already on the low end of sugar consumption, so I don’t fret about the occasional treats. But I find too much sugar dulls the other flavours in cakes and other baked goods. Lightening up on the sweeteners allows the subtle flavours of nuts, fruit, and whole grain flours to shine through. This is especially important in a cake like carrot cake—so full of complex flavours it would be a crime to smother them with too much sugar.

I suppose that’s what my kitchen philosophy comes down to. A lot of people think I’m some sort of health nut, but the truth is I just enjoy flavours. Fresh ingredients, a light touch with sugar and salt, few highly processed foods…these choices are all about flavour.

So, let them eat cake!

The French Potager

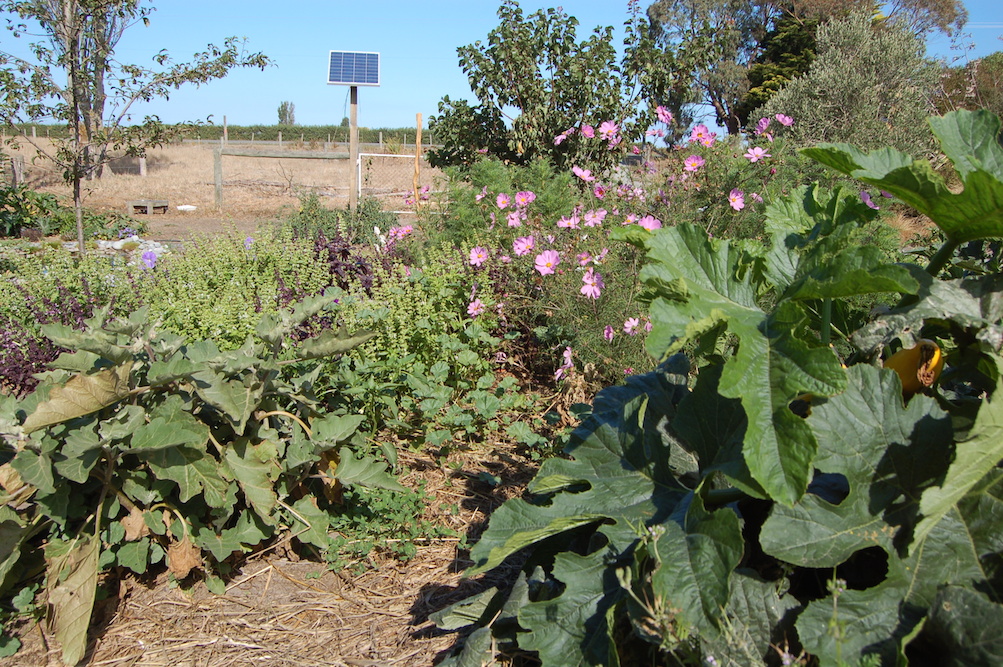
Zucchini, eggplant, basil and cosmos nestle happily together.

Zucchini, eggplant, basil and cosmos nestle happily together.

I love the idea of the French potager—the small garden densely planted with a mix of flowers, herbs, and vegetables. When we lived in St. Paul, Minnesota with a yard the size of a postage stamp, we had a delightful potager in raised beds near the house, and flowing down rocky terraces to the sidewalk. Showy okra flowers competed with cosmos and marigolds for the most beautiful plant award. Eggplants nestled next to thyme, corn formed a backdrop for zinnias, and colourful lettuces marched in a neat border around the whole arrangement.

Now that we have more than enough space, the vegetables are segregated and confined to the vegetable garden, where I can be sure they are well watered and mulched, and I don’t worry about a few spent, ugly plants hanging around. I’ve also found that here in the land of pernicious twitch (couch grass), planting perennials and annuals together is usually a recipe for disaster—annuals don’t compete well with twitch, and the perennials harbour fragments of twitch among their roots, providing an endless source of the weed.

But this spring, Ian was looking for temporary plantings for his new pond garden—plants he wouldn’t mind killing off along with the weeds in the fall when he plants the perennials he wants there. He picked up a few flats of annual flowers, took all my leftover vegetable plants, and created a delightful potager bursting with colour, fragrance and flavour. It’s a lovely reminder that you don’t need a “vegetable garden” to grow food, and that vegetable plants are beautiful, too.

There Will Be No Blog Today…

DSC_0001 copy4.26 pm.

I sit, finally, to blog.

Do I blog of the cheese I made this morning, pressing on the kitchen counter? Do I describe the magical beauty of liquid milk congealing to a smooth, firm solid? The hours of tedious stirring? The firm, almost live feel of a new cheese?

Do I blog of the ten quarts of tomatoes, onions, peppers, tomatillos and spices I boiled down into ketchup today? Do I write of the bees that swarmed the kitchen when the vinegar was added, inexorably drawn to the sharp, spicy smell?

Do I blog of the corn and soybeans still awaiting me in the garden? Of the hours of steaming pots, and dirty dishes that still await me today?

No. I am weary of the kitchen. I am sick of its tantalizing fragrances and its steamy dishwater. I am irritated by the bees, who, once inside, can’t find their way out, and force me to watch every step for fear of ending my day with a trip to the hospital.

So there will be no blog post today, of the lingering smell of cloves and allspice, no detailed description of the art of cheese, no reminiscing of childhood afternoons shelling soy with my sister.

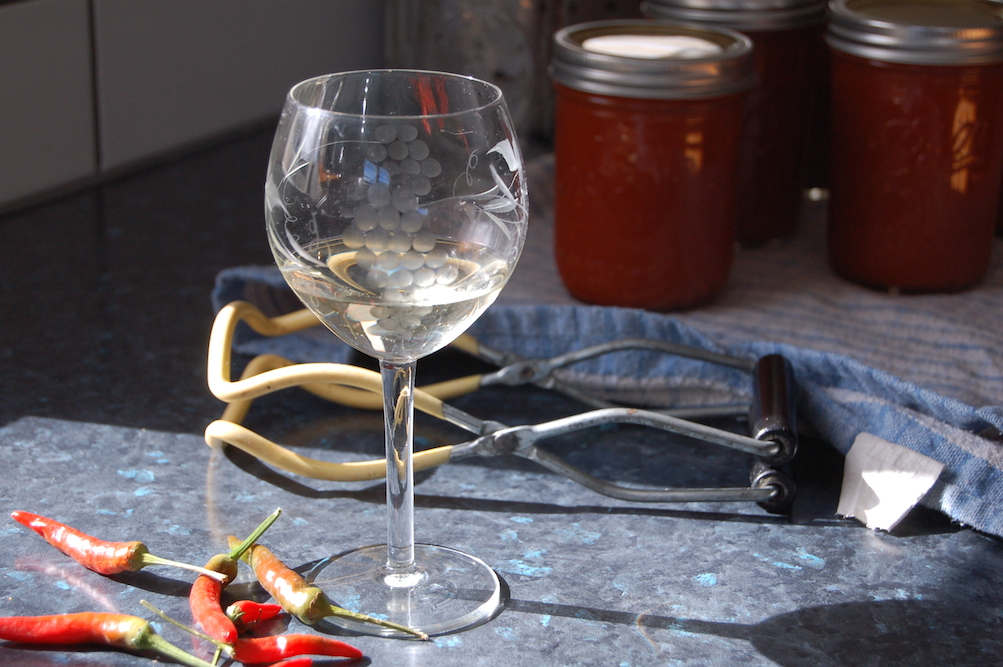
No. Instead, there will be 15 minutes of rest. A glass of wine. And then back into the fray.

The Exuberant Kitchen

messykitchensmMy kitchen is a mess.

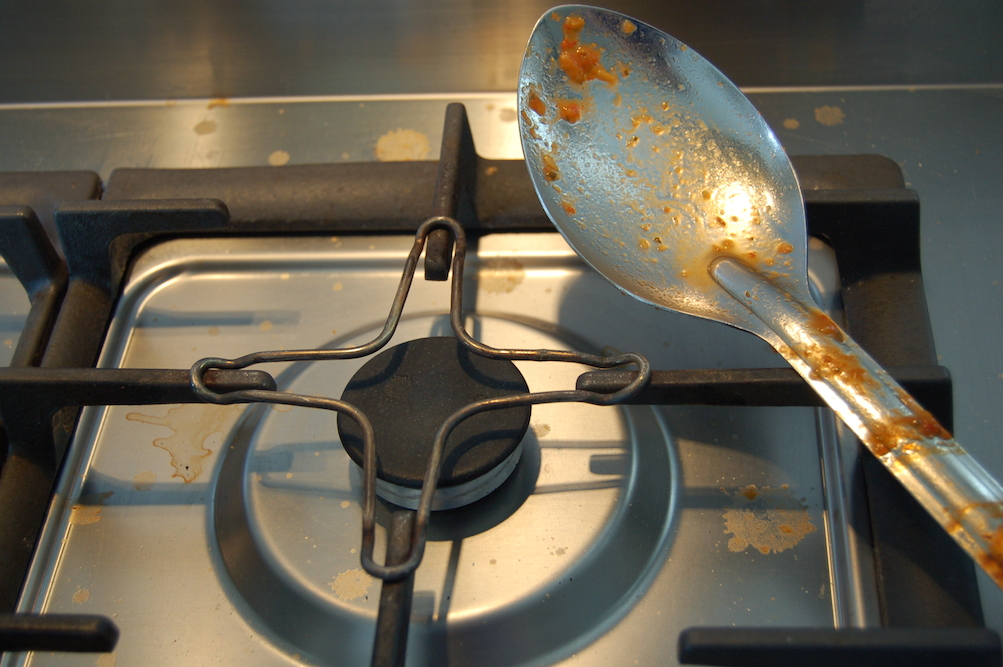
The stove, and the wall behind it is splattered with tomato sauce. The floor is littered with bits of onion skin, lost basil leaves, and sesame seeds. The backsplash behind the sink is splattered with dirt.

It’s not that I don’t clean. In fact, I’m a bit obsessed with cleaning. I’ve been accused (rightly, I’m afraid) of preferring to stay home and mop the floors rather than go out on a Friday night.

But I can clean constantly, and still have a messy kitchen, because the kitchen is in near-constant use. It’s a working space, and I’ve learned to accept it as such. Right now there is a vat of pasta sauce boiling down on the stove, and an hour ago, the kitchen was the scene of a massive vegetable preparation operation. There will necessarily be dirt, vegetables and tomato sauce everywhere. Earlier, it was being used for pasteurising the morning’s milk and for making mayonaise. Later, it will be covered in flour as I roll out homemade pasta.

Flipping through a Home and Garden magazine, you could be forgiven for thinking that kitchens are meant to be gleaming, spotless backdrops for perfect flower arangements. Ours, however, is usually a grubby setting for a pile of dirty dishes.

Our kitchen works hard. All five burners on our stove are regularly going at once, and some days, I swear we wash every pot, bowl and spoon twice. A space hosting so much activity can only be truly clean for brief moments—say, between midnight and 2 am on every fouth Tuesday.

But a kitchen like ours is also a scene of laughter, life, and love. It is steeped in delicious odours, and tantalizing flavours. It is where the produce of the garden is transformed into the fuel for our bodies and the treats for our celebrations. It’s not a messy kitchen, it’s an exuberant one.

The Caprine Composter


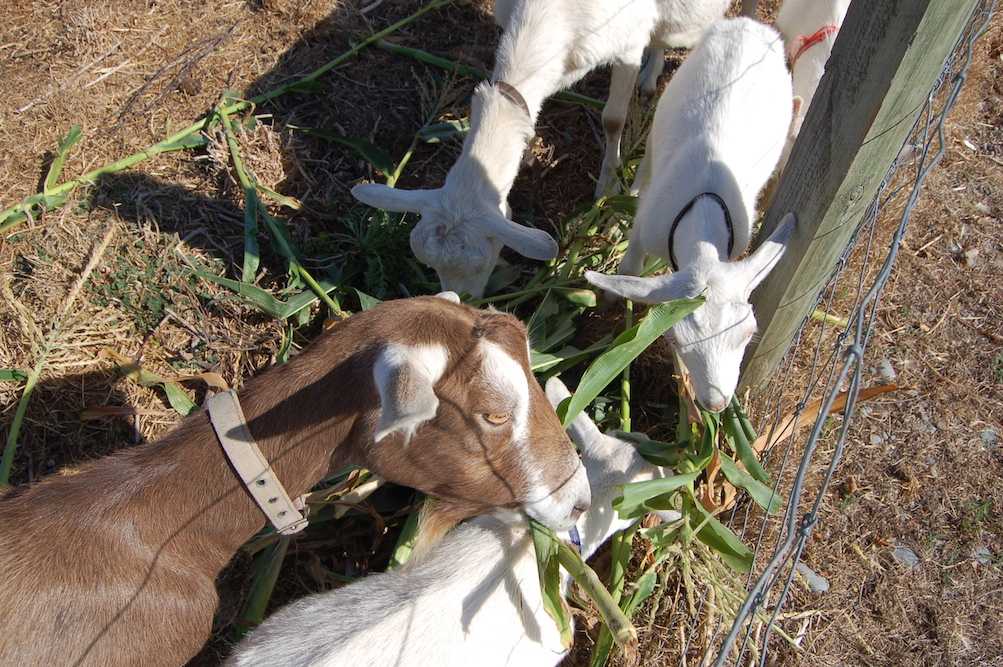
Caprine Composters at work on tough corn stalks.

Caprine Composters at work on tough corn stalks.

There are dozens of ways to compost. There are barrels that rotate, rocket-shaped bins with handy doors on the bottom for extracting the finished compost, clever bokashi buckets, and worm bins. Then, of course, there are the non-commercial composting systems like sheet or pit composting, and my personal favourite, throw-it-in-a-pile-and-ignore-it composting.

None of these systems works well for large, woody items, though—small branches, corn stalks and the like. These things linger (or don’t even fit) in most composting systems.

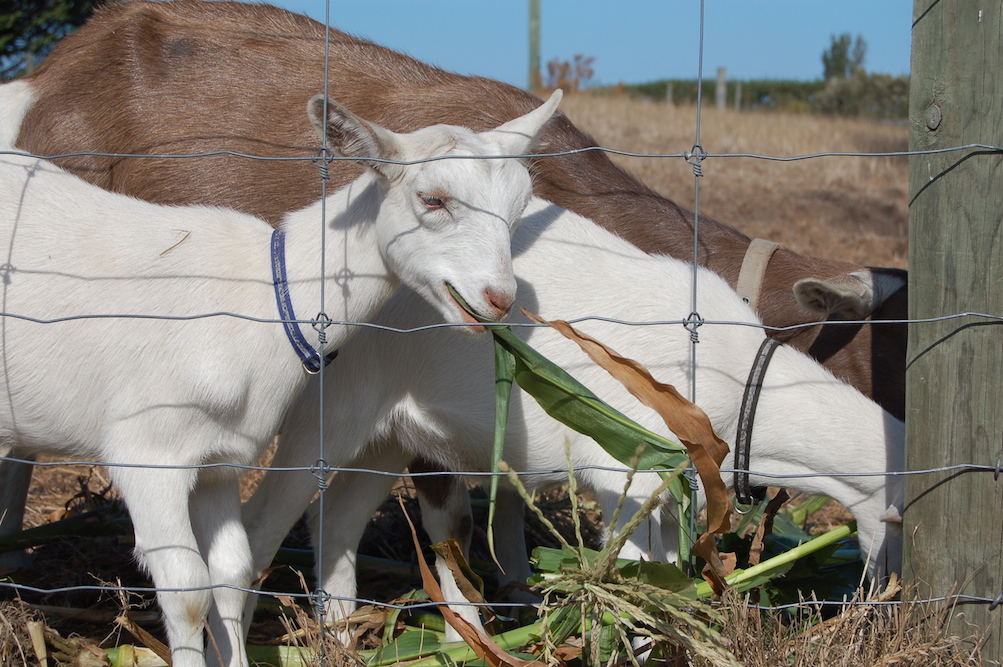
For these woody items, I prefer the Caprine Composting System. This effective and efficient composter takes large woody plant material, and reduces it to convenient, pelletised fertiliser in just 24 hours. No tedious chopping and waiting on your part, just throw it over the fence, and the Caprine Composter does the rest!

Bonus! The Caprine Composter is adorable, too!

Bonus! The Caprine Composter is adorable, too!

Comes in fashionable and discrete colours like white, brown and black. No assembly required.

Caution! The Caprine composter is highly efficient, and can compost valuable trees, shrubs, and other plants if not properly operated and restrained. Read all instructions before operation. Use with care!


Cultural Icons

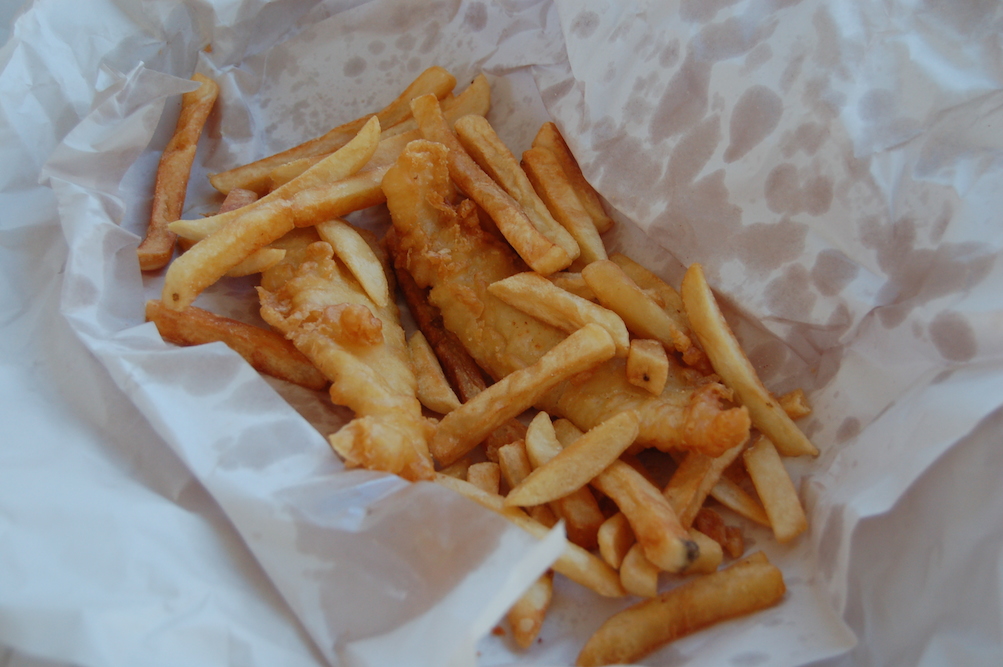
fishnchipssmWhat does it take to become a Kiwi? An appreciation for the uses of number 8 wire? The ability to pronounce Whangaparaoa without stumbling? Knowing the culturally acceptable way to pass a mob of sheep on the road? Understanding that a statement like “I wonder if you should move your car out of the way?” actually means “MOVE YOUR F#*&%^ CAR OUT OF THE WAY!” An ability to converse coherently about rugby?

All these things are certainly important. Equally important is an understanding of New Zealand food icons.

Food is central to cultural identity. Apple pie and hot dogs are quintessentially American, a Panamanian festival wouldn’t be complete without ojaldre, and Costa Ricans would lose their sense of self without black beans.

Wherever I’ve travelled, I’ve tried to experience the local, iconic foods so as to fully experience the culture. I try not to let my own dietary choices prevent me from these experiences, so among other things, I’ve eaten spicy chicken salteñas from a street vendor in Bolivia, and titi (muttonbird) traditionally caught and preserved by local Maori. These experiences haven’t always been positive—the spicy salteña tasted a lot worse coming back up an hour later in a public park—but they’ve always taught me something.

Modern Kiwi culture is culinarily represented by pavlova (a meringue topped with fresh fruit), kiwi fruit, and fish and chips. Determined that our kids not be culturally and socially handicapped by vegetarianism, we’ve made a point of occasionally picking up fish and chips at our local shop. We don’t do it often—maybe 3 times a year—so it’s a rare treat for the kids (as greasy, salty fried food probably should be), but it has worked. Though they still speak with an American accent, and have no interest in rugby, they can connect with their peers over the cultural icon of fish and chips. And I can think of no better way to fit in than around the dinner table.

Mum’s Fluffy Buns

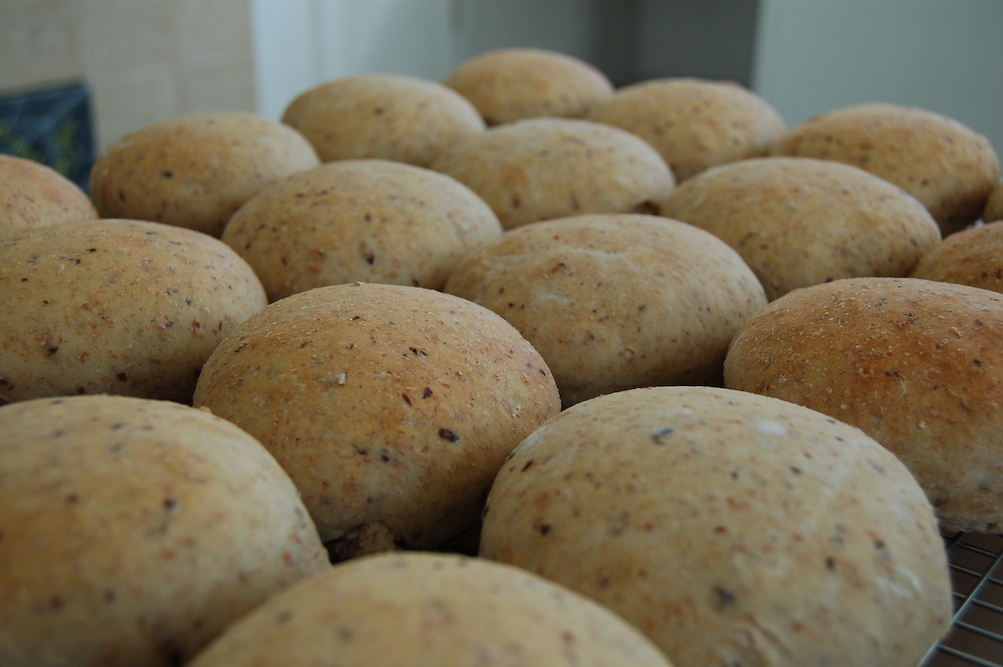
Mum's fluffy buns1smWe don’t ever buy bread; Ian bakes all the bread we eat…well almost all.

Most of the bread Ian bakes is sourdough. Wonderful, hearty, wholegrain stuff with dark, beautiful crusts. The kind of bread you want to eat, slathered with butter, for a late-night snack. Unfortunately, this toothsome bread makes lousy burger buns. It has too much body, doesn’t give enough under the teeth. The burger ends up squishing out the sides of a bun made of Ian’s sourdough.

Which is where Mum’s Fluffy Buns come in. This is what the children call my light and soft burger buns. Still whole grain, but made with commercial yeast, and baked only until the centres are done. They are soft and yielding—perfect for burgers.

I wish I could give you a good recipe for them, but I don’t follow one, and I tend not to measure the ingredients I put in. Here’s a rough approximation. This yields enough buns for several meals—they freeze and reheat well. Of course, they don’t last long if they’re left out—the kids love snacking on them.

4 cups lukewarm water

scant tbsp yeast

scant tsp honey

1 ½ tsp salt

2 tbsp ground flax seed

2-3 tbsp (25-40 g) butter

bread flour (high grade)

whole wheat flour (wholemeal)

Dissolve yeast in the warm water and allow to proof. Add honey, salt, butter and flax and stir until the butter is mostly melted. Add equal quantities of whole wheat and bread flour to make a dough of the right consistency for bread. Turn the dough out onto a floured surface and knead about 10 minutes, until the surface springs back when touched. Work into a neat ball, and place in a greased or oiled bowl. Cover with a damp towel and allow to rise about 2 hours. Punch down and divide into pieces of about 100-110 grams (about 3 ½ oz). Work each piece into a neat ball and flatten onto a greased baking sheet. Cover with a damp towel and allow to rise as the oven heats. Bake at 210°C (400°F) until just barely beginning to brown (maybe 15 minutes).

The Harvest Hangover

The morning after

The morning after

I woke this morning with a headache. It was one I recognised—the Harvest Hangover. It’s a combination of fatigue and dehydration that comes after a day of picking and preserving vegetables.

Back in the years B.C. (Before Children), I used to lose 10 pounds during harvest season. I’d forget to eat and drink as I picked and processed mountains of tomatoes, zucchini, eggplant, beans, etc. Ironic, eh? After a night of canning, I’d wake with a Harvest Hangover. I’d stumble to work grumpy and groggy, as though I’d been out carousing all night.

As I age, I’m more moderate in my preserving. Instead of weeks of late-night canning sessions, I do two or three a year. It helps that I can’t grow the quantity of tomatoes I used to during the hot summers in Pennsylvania, but I’ve also rationalised my preserving. Here, where winters are mild, I can grow cool-weather crops year round, so winters aren’t the fresh vegetable desert they are in a harsher climate. If I don’t have 50 quarts of tomatoes in the cupboard for winter, it doesn’t matter—we can eat something else instead. I preserve only what I know we’ll eat, so I’m not throwing away old canned goods every summer. I’ve learned to better manage my planting so that I’m not completely overwhelmed with any one crop (usually). And I allow myself to simply give away extra produce when I am overwhelmed.

Perhaps it’s a sign of aging that I don’t wake with Harvest Hangovers very often any more, but I like to think of it as a sign of wisdom. As they say, know your limits!